Stove temperature dials are among the most frequently handled parts of a kitchen appliance. Every time you cook, these knobs regulate the heat settings, determine the precision of your recipes, and keep you in control of your meals. Over time, however, stove dials can wear out, loosen, crack, or simply stop functioning properly. When that happens, replacement becomes not just a matter of convenience but of safety and efficiency. Replacing a stove temperature dial may seem like a simple task, but it requires a careful understanding of how these parts work, why they fail, and how to install new ones correctly without compromising your stove’s performance.
Understanding the Role of Stove Temperature Dials
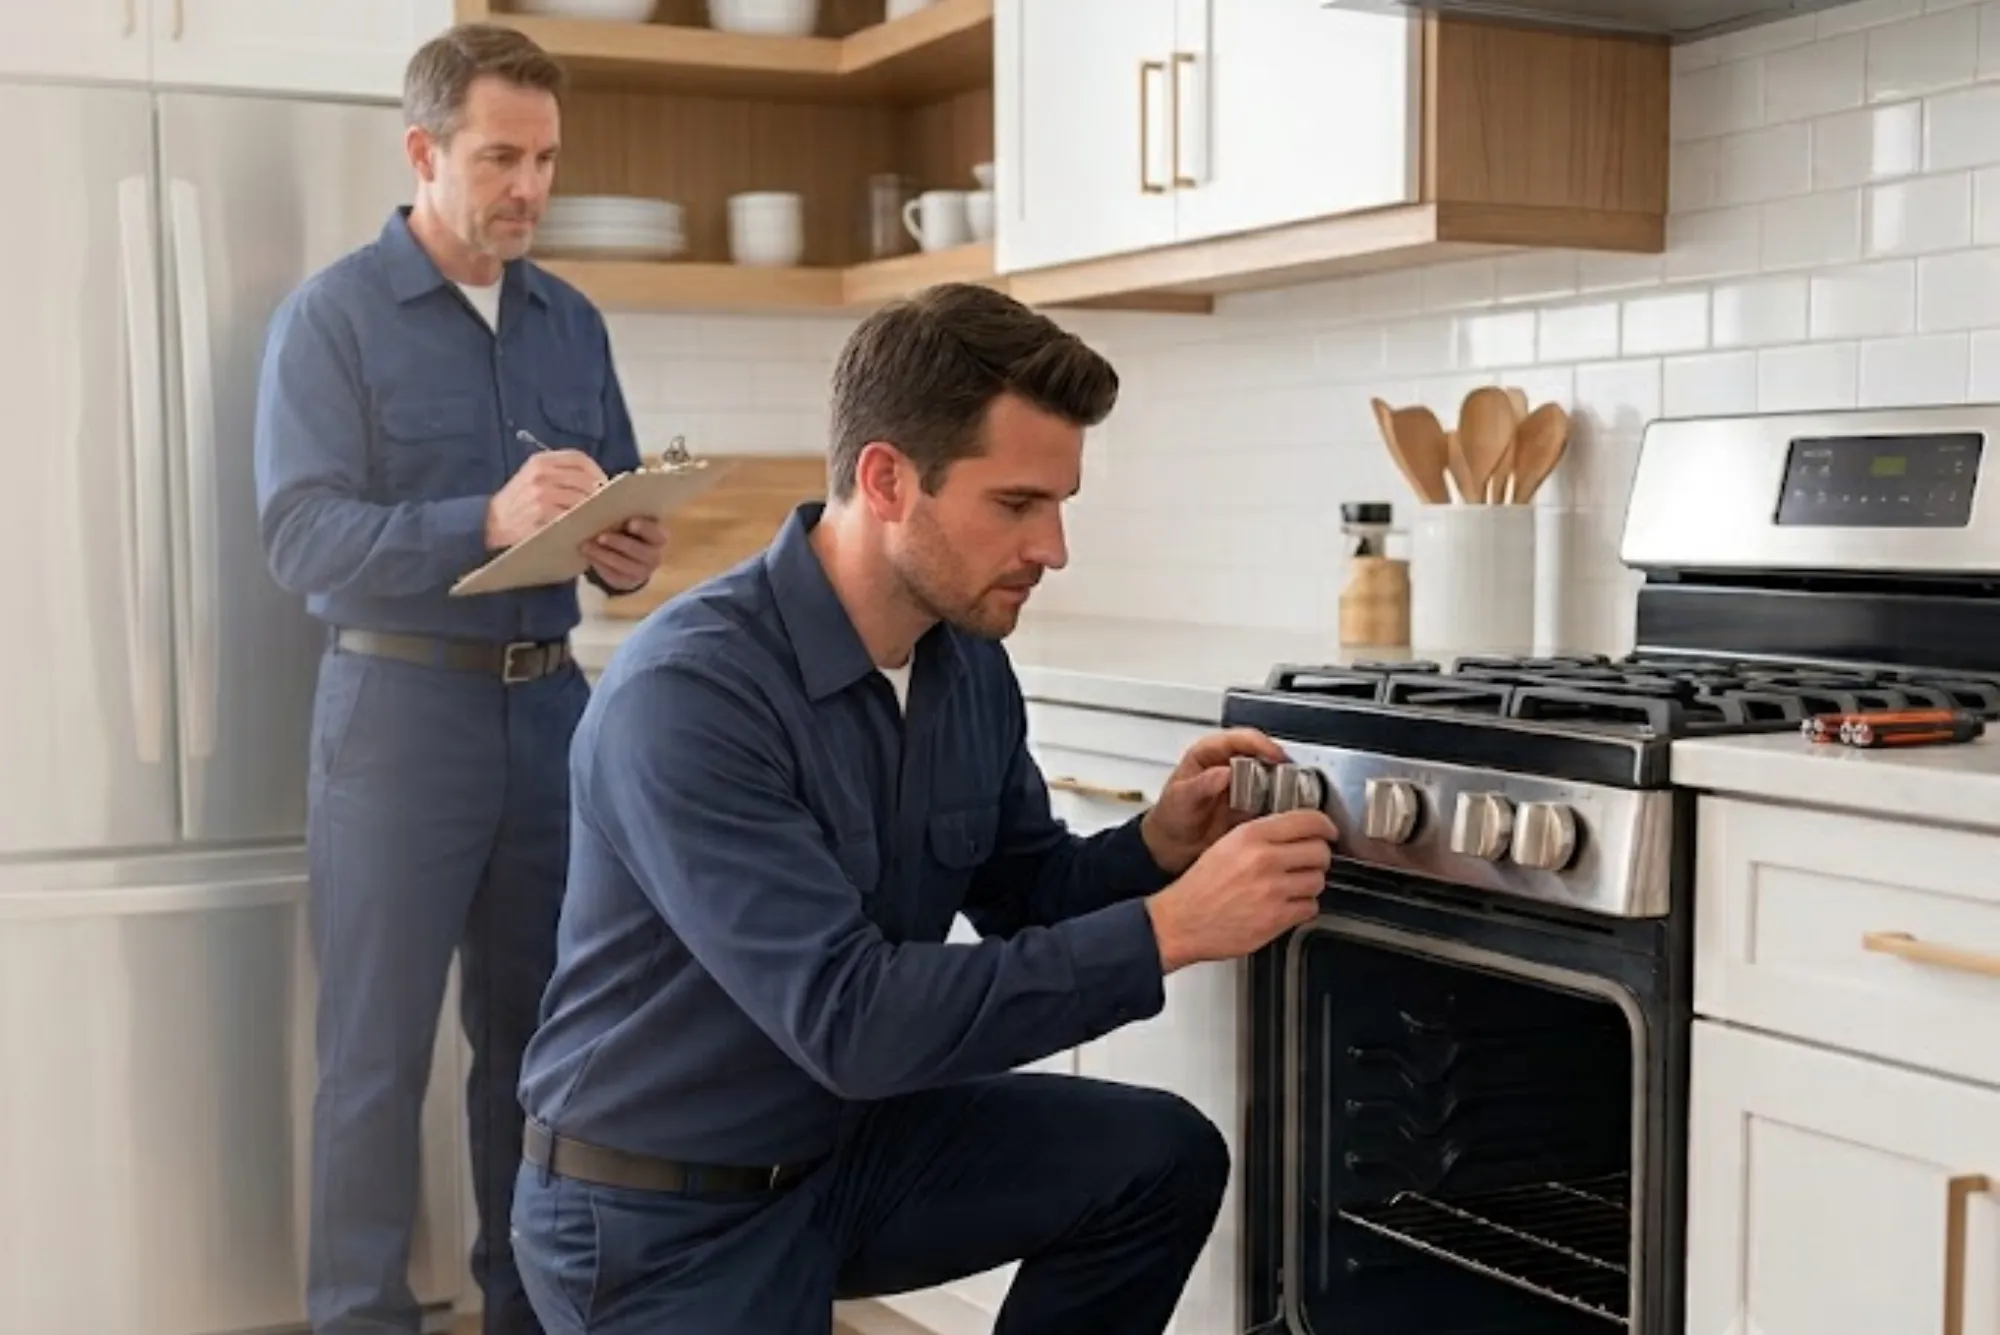
A stove temperature dial is more than just a plastic knob you turn before cooking. It acts as the physical interface between you and the stove’s control system. Each dial connects to a spindle or control shaft that sends signals to the stove’s heating element or gas valve. On electric stoves, the dial regulates the flow of electrical current to the burner, adjusting the heat level from low simmer to full boil. On gas stoves, it manages how much gas is released, working in coordination with the igniter. This makes dials central to both performance and safety, as an inaccurate or damaged knob could cause overheating, underheating, or difficulty in turning the appliance off properly.

Common Reasons Dials Need Replacement
Even though they may look durable, stove dials endure constant stress. Exposure to high heat, grease, and repeated use can cause cracking or fading of their indicators. Plastic knobs may warp from excess heat if the stove design lacks sufficient shielding. Some knobs lose their grip on the metal control shaft, making them spin loosely without properly engaging the stove’s mechanism. In some cases, a knob may break entirely, leaving the spindle exposed and forcing the user to operate the stove with pliers or makeshift tools. Not only does this reduce the user’s cooking precision, but it also poses hazards, such as accidental gas leaks or overheating.
Identifying the Correct Replacement Dial
Before attempting any replacement, it is critical to identify the right type of dial for your stove model. Stoves come with dials designed specifically for their control assemblies, and even a slight mismatch in size or fit could cause malfunction. The first step is locating your stove’s model number, typically found on a label inside the oven door frame, behind the storage drawer, or on the back panel. With this number, you can look up compatible replacement parts through the manufacturer’s website, authorized retailers, or reliable third-party suppliers. Some universal replacement knobs exist, but they should only be used if verified to fit securely and operate safely with your particular stove. Using incorrect parts could lead to inconsistent temperature control or even damage to the control shaft.
Preparing for a Safe Replacement Process
Safety must be the first priority when handling any appliance repair. For electric stoves, disconnecting the power supply is essential. Unplug the unit from the wall outlet or switch off the circuit breaker that supplies power to the stove. For gas stoves, turn off the gas supply line before attempting any work. Even though the dial itself does not directly manipulate wiring or gas lines, accidents can happen if the stove becomes active while being worked on. Allow the stove to cool completely before handling knobs, as residual heat can cause burns. Having the correct tools ready, such as a flathead screwdriver or a soft cloth for cleaning, will make the process smoother and safer.
Removing the Old Dial
Most stove dials are designed for straightforward removal. Typically, they can be pulled directly off the control shaft with gentle but firm pressure. If a knob is stuck due to grime buildup, using a cloth for extra grip can help. Avoid using excessive force that might damage the shaft beneath. In cases where the knob has cracked and remains stuck on the spindle, carefully prying it with a flathead screwdriver wrapped in a cloth can prevent scratching the stove’s surface. During this step, take note of the orientation of the shaft and the indicator markings on the dial, as these will guide you during installation of the new part.
Cleaning the Control Shaft Area
Once the old dial has been removed, it is good practice to clean the exposed control shaft and surrounding area. Over years of cooking, grease, dust, and food particles often accumulate around the knobs. If left uncleaned, this buildup can interfere with the smooth operation of the new dial. Using a mild degreaser or warm soapy water on a cloth, gently clean the surface without allowing liquid to seep inside the control panel. Dry the area thoroughly before proceeding. A well-maintained surface not only ensures proper installation but also extends the life of the new component.
Installing the New Dial
Installing a replacement stove dial is usually the easiest step. Align the new knob with the control shaft, making sure its indicator arrow corresponds with the “off” position. Push the knob firmly onto the shaft until it sits flush against the stove surface. If the knob feels loose, double-check that it is the correct part for your stove model. Some universal replacement kits include small inserts or adapters to fit different shaft sizes, and these must be placed correctly for a snug fit. Test the dial by turning it through its full range of motion, ensuring it clicks or stops at each designated setting without slipping.
Testing the Functionality of the New Dial
Once installed, the new dial should be tested under safe conditions. For electric stoves, restore power by plugging the unit back in or flipping the breaker switch. Turn the dial gradually to different heat levels and check whether the burner responds as expected. For gas stoves, restore the gas supply and test ignition at each setting. Observe whether the flame adjusts smoothly and whether the dial can easily return to the “off” position. If there is any irregularity, such as stiffness, slipping, or failure to ignite, the dial may not be properly seated or compatible, and adjustments may be required.
Ensuring Long-Term Durability of Replacement Dials
Replacing a stove temperature dial does not end with installation. Proper care and maintenance are essential for long-term durability. Cleaning the knobs regularly prevents grease buildup that could cause sticking or difficulty in turning. Avoid using harsh chemicals that may degrade plastic or remove printed markings. If the stove design allows, remove the knobs periodically to clean behind them, ensuring that no residue compromises the control shaft. Being mindful not to use excessive force when turning dials can also extend their lifespan. Many premature failures occur not because of manufacturing flaws but because of rough handling during cooking.
When to Seek Professional Assistance
While replacing stove dials is often a simple do-it-yourself task, there are situations where professional assistance is warranted. If the control shaft itself is damaged, bent, or unresponsive, the issue may extend beyond the dial and into the stove’s internal control system. Attempting to repair electrical wiring or gas components without expertise poses significant safety risks. In such cases, contacting a certified appliance technician is the safest option. Additionally, if the stove is still under warranty, unauthorized repairs or the use of non-OEM replacement parts may void coverage. Always check warranty terms before attempting self-replacement.
The Cost and Value of Replacement
One of the advantages of replacing stove dials is affordability. Compared to major appliance repairs, knobs are inexpensive parts that can restore full function with minimal investment. OEM replacement knobs may cost slightly more than universal alternatives, but they guarantee compatibility and durability. Considering that faulty knobs can reduce cooking precision and create hazards, the small expense of replacement is worthwhile. In many cases, replacing dials also gives a stove a refreshed appearance, making it look newer and better maintained, which adds value to the overall kitchen environment.
Conclusion: Restoring Control and Safety with New Dials
Stove temperature dials may seem like minor components, but their function is central to cooking accuracy and safety. Over time, wear and tear make replacements inevitable. Understanding the role of dials, recognizing signs of damage, selecting the right replacements, and following proper installation procedures ensures your stove continues to perform reliably. With attention to detail and basic safety precautions, replacing stove dials is a task that homeowners can often complete themselves, saving money and avoiding unnecessary service calls. At the same time, knowing when to call a professional ensures that repairs remain safe and effective. By treating these small parts with the importance they deserve, you extend the life of your stove, safeguard your household, and maintain the joy of precise cooking.