Stove surface elements are the heart of any electric cooking appliance. They provide the heat that allows you to simmer, boil, fry, or prepare nearly every meal. When one of these elements fails, it can be inconvenient and even dangerous if left unresolved. Fortunately, replacing stove surface elements is a straightforward repair that most homeowners can handle with proper guidance. This article will provide a detailed walkthrough of the replacement process, covering preparation, safety, tools, installation, and troubleshooting so you can restore your stove’s performance confidently.
Understanding Stove Surface Elements
Electric stoves use surface elements, often called burners, to generate heat. These elements typically come in coil, smooth-top radiant, or induction variations. Coil elements are most common in traditional electric stoves, featuring spiral-shaped metal heating rods that plug directly into a terminal block under the cooktop. Smooth-top radiant elements are embedded under a glass surface and heat through radiant transfer. Induction elements use magnetic energy to heat cookware directly without heating the element itself.

For the purposes of replacement, coil surface elements are the simplest and most user-serviceable, while radiant and induction elements often require more disassembly and technical knowledge. Knowing which type you have is the first step before attempting a replacement.
Identifying When a Surface Element Needs Replacement
A stove surface element does not usually fail suddenly without symptoms. Common signs of a failing element include uneven heating, visible burns or blisters on the coil, sparking when turned on, or complete lack of heat even when the indicator light shows power is flowing. If you have already swapped the element with another burner location and the issue persists, the problem likely lies in the element itself rather than the stove’s wiring or control switch.
Preparing for the Replacement Process
Before beginning any repair on your stove, prioritize safety. Disconnect the appliance from its power source by unplugging it or switching off the dedicated circuit breaker. Stoves operate on high voltage, and working with live electrical components can result in serious injury. Additionally, ensure the surface element has completely cooled before handling it. Having a clean, well-lit workspace will also help minimize mistakes during the process.
Gathering the Necessary Tools and Parts
Fortunately, replacing a stove surface element does not require specialized tools. Most replacements can be done with only a screwdriver, pliers, and sometimes a multimeter for testing. The most important part of the preparation stage is ensuring that you have the correct replacement element. Check your stove’s model number, usually found on a label inside the oven door frame or at the back of the appliance, and purchase a compatible surface element. Using the wrong size or type can result in poor heating performance or even damage to your stove.
Removing the Damaged Surface Element
To remove a traditional coil element, lift the outer edge slightly and gently pull it away from the socket in the terminal block. Avoid yanking or twisting forcefully, as this can damage the connection. For glass-top radiant stoves, removal is more involved. You will need to lift or detach the cooktop, unscrew mounting brackets, and carefully disconnect wiring. Always handle elements cautiously, as they are fragile and may have sharp edges.
Inspecting the Terminal Block and Wiring
When removing the old element, it is crucial to inspect the terminal block and wiring. A burned or loose terminal block is a common reason for heating problems. Look for signs of charring, melted plastic, or corroded connectors. If the block is damaged, replacing the element alone will not solve the issue. In such cases, both the element and the terminal block must be replaced together. This step ensures the new element will function reliably and safely.
Installing the New Surface Element
With the old element removed and the terminal block checked, installing the new part is usually straightforward. For coil elements, align the prongs with the terminal block and push them firmly into place until the element sits flat. For radiant or induction elements, carefully reconnect the wiring, secure the mounting brackets, and return the cooktop to its original position. Double-check that all screws are tight and wires are secure before restoring power.
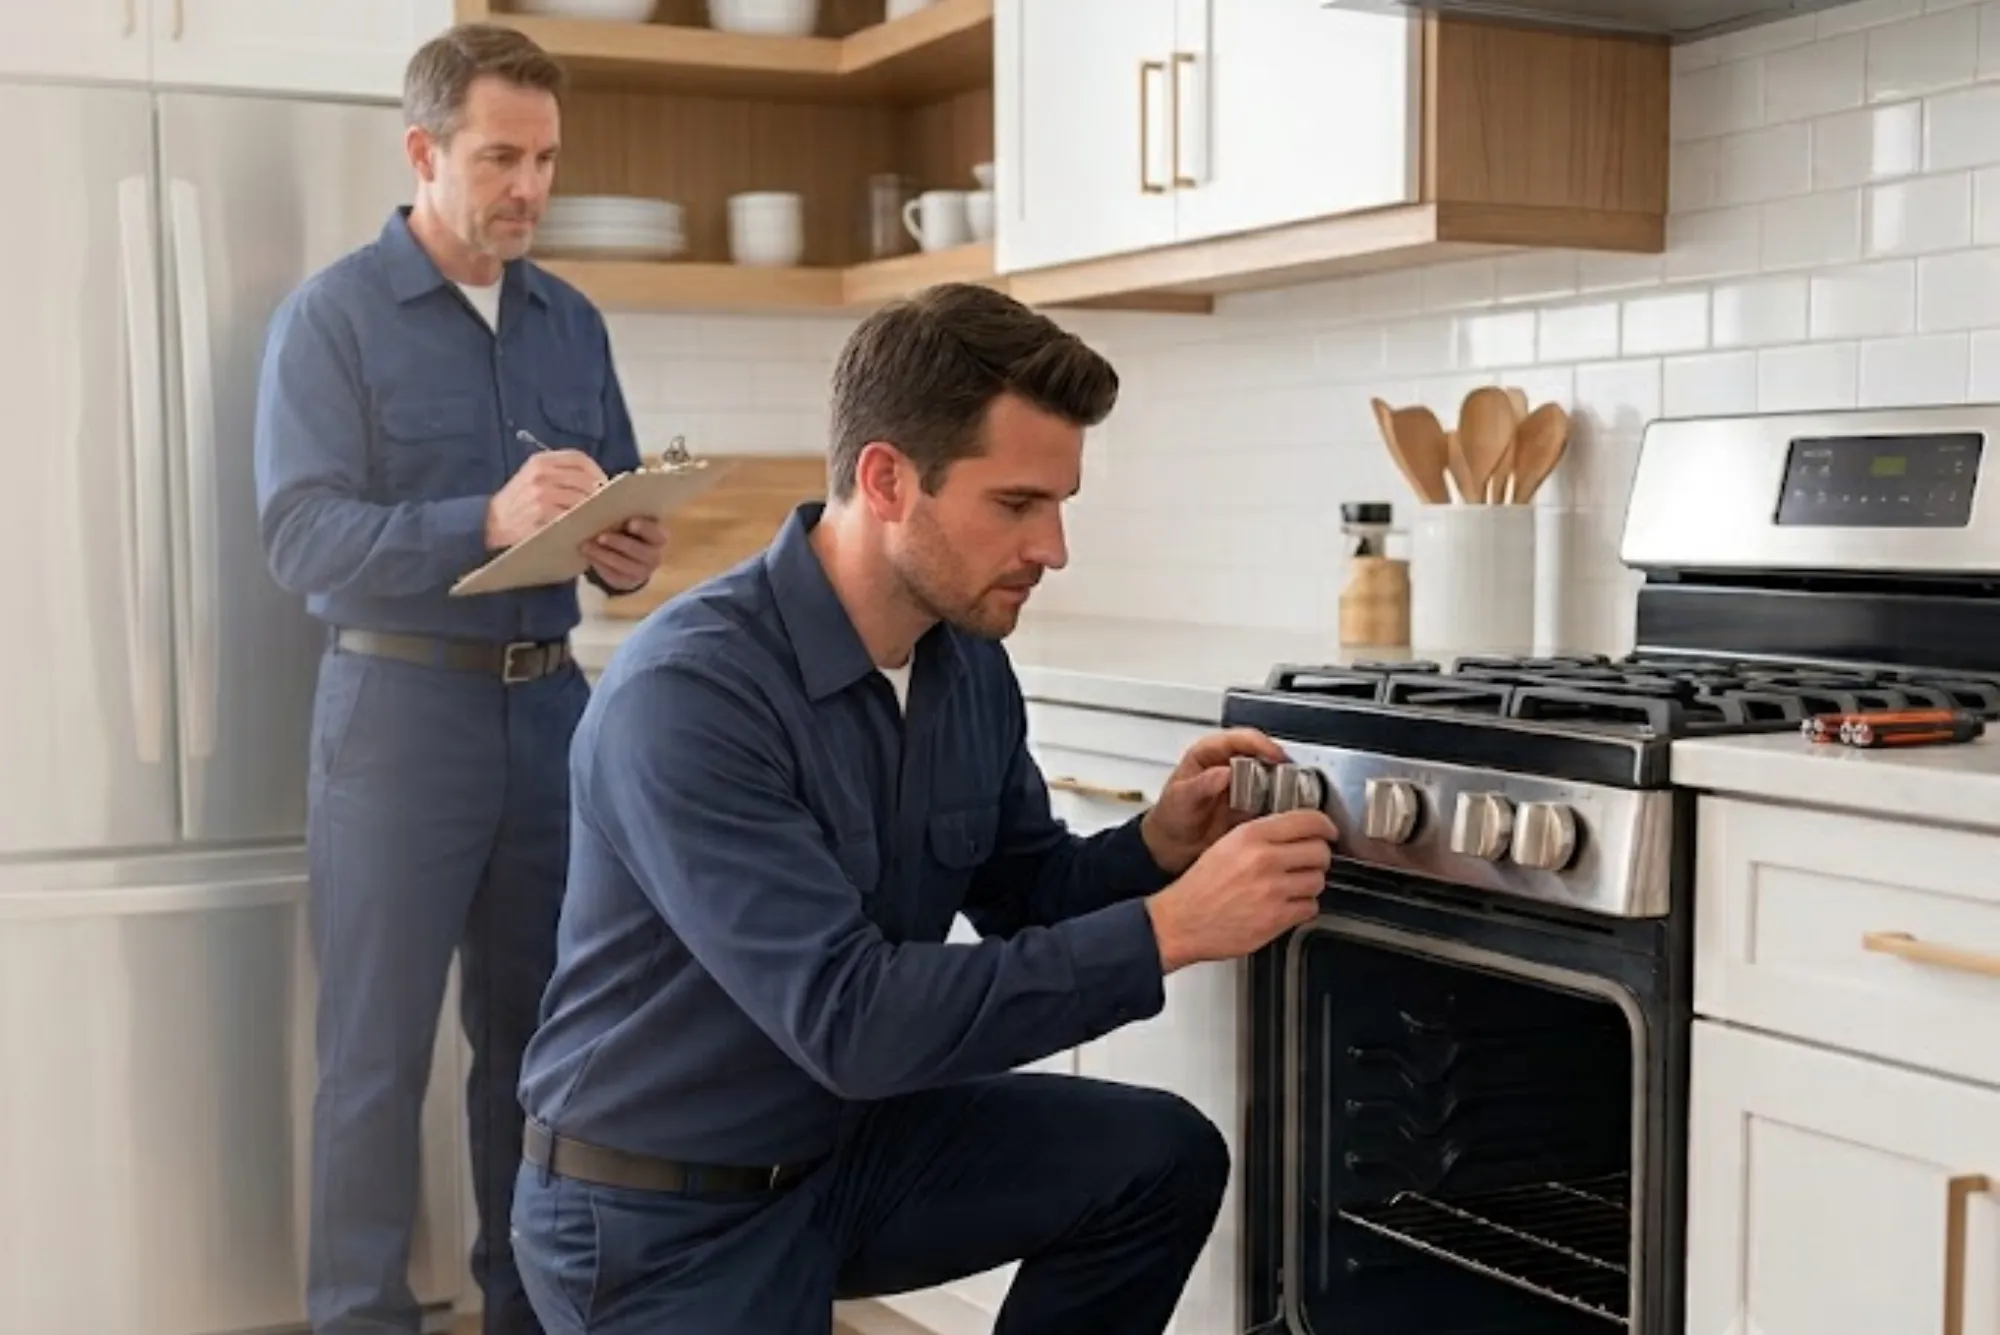
Testing the Replacement for Proper Operation
Once the new element is installed, restore power to the stove and test the burner. Turn the control knob to various settings and observe how the element responds. It should heat evenly without flickering, sparking, or emitting strange odors beyond the normal initial burn-off. If the new element does not function, recheck the installation to ensure it is properly connected. If problems persist, the issue may lie in the stove’s infinite switch, wiring harness, or control board rather than the element itself.
Safety Considerations During the Process
While this is a relatively simple home repair, safety should always remain the top priority. Always wear insulated gloves when handling electrical components, and never attempt to replace an element while the stove is connected to power. For glass-top stoves, be mindful that the cooktop is heavy and can crack if mishandled. Additionally, do not attempt to modify or force-fit an element that is not designed for your stove. Improper installation can lead to fire hazards or further damage.
Maintenance Practices to Extend the Life of Elements
Proper use and maintenance can significantly extend the lifespan of your stove’s surface elements. Avoid placing oversized or warped cookware on the elements, as this creates uneven pressure and stress. Keep drip pans clean to prevent grease buildup, which can overheat and damage elements. For glass-top stoves, always use cookware with flat bottoms to ensure efficient heating. Regularly inspect coils for signs of wear and replace them at the first signs of damage to prevent further electrical issues.
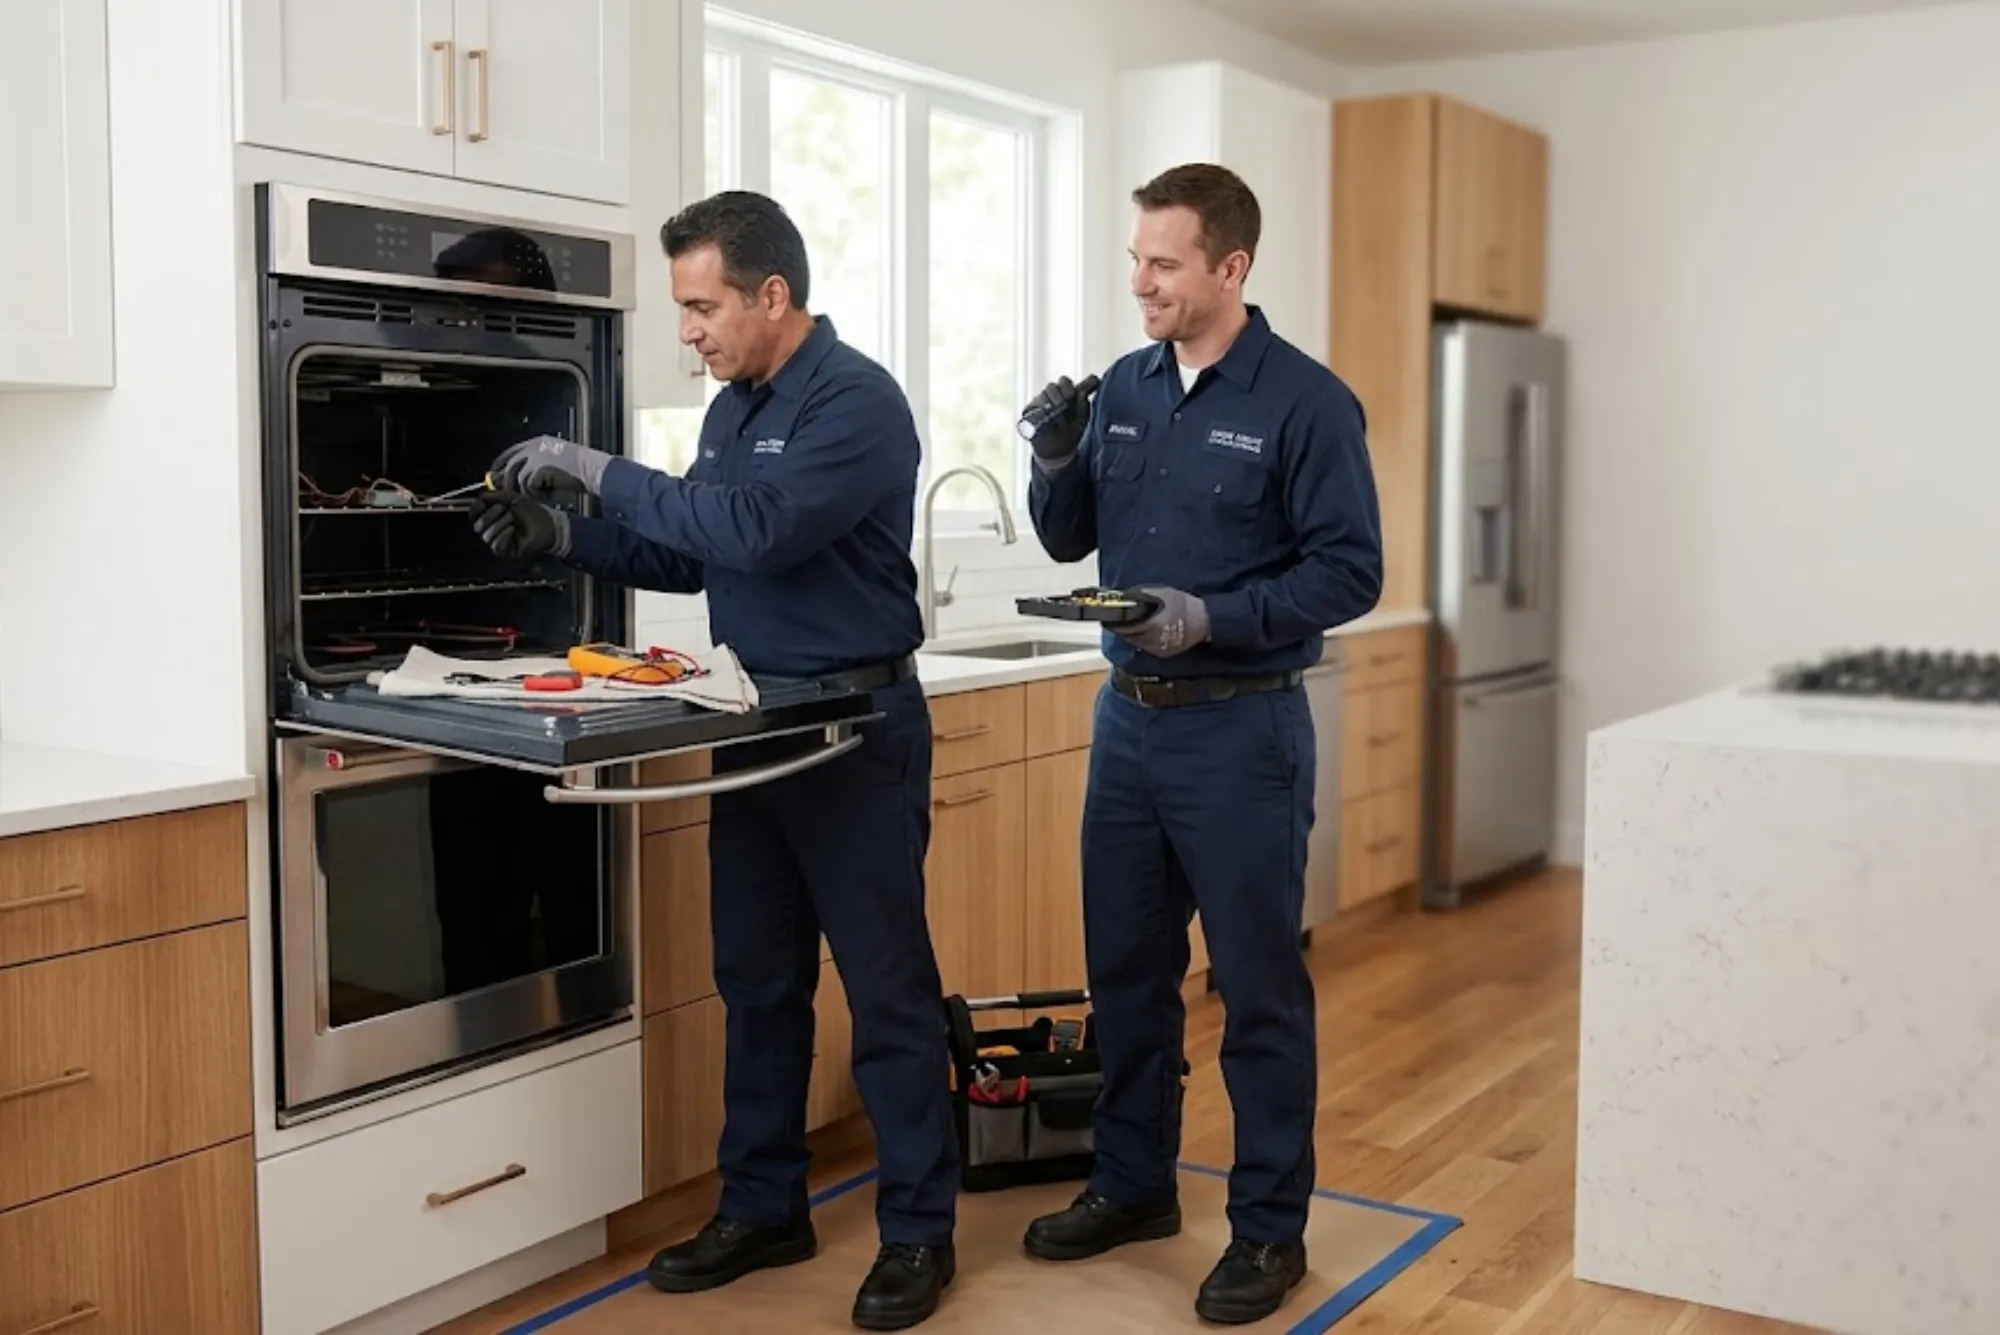
When to Call a Professional Technician
Although most surface element replacements can be handled by homeowners, there are situations where professional service is advisable. If your stove has multiple elements failing simultaneously, the issue may be related to internal wiring or the control system rather than the elements themselves. Additionally, if you feel uncomfortable working with electrical components or own a high-end induction stove, a qualified technician should handle the repair to avoid voiding warranties or causing unintentional damage.
Troubleshooting Common Issues After Replacement
Sometimes a new element may not work as expected even after proper installation. In such cases, testing with a multimeter can confirm whether the element is receiving voltage. If no power is detected, the infinite switch or wiring harness may be defective. Another common issue is uneven heating, often caused by a poorly seated coil or a damaged terminal block. Addressing these issues promptly ensures your stove remains reliable and safe for daily use.
Cost Considerations for Replacement
The cost of replacing a stove surface element varies depending on the type and brand. Coil elements are usually the most affordable, ranging between $20 and $40, while radiant and induction elements can cost significantly more, sometimes exceeding $100. If additional components like terminal blocks need replacement, this can add to the expense. However, compared to purchasing a new stove, replacing elements is a cost-effective solution that restores functionality for years.
Environmental and Efficiency Benefits
Replacing stove elements rather than discarding the entire appliance also carries environmental benefits. Extending the life of your stove reduces electronic waste and conserves resources used in manufacturing new appliances. Additionally, new surface elements often provide more efficient heating than worn-out ones, helping to reduce energy consumption during cooking. This small repair contributes not only to household savings but also to sustainability.
Final Thoughts
Replacing stove surface elements is a manageable task for most homeowners, provided safety measures are taken and the correct replacement parts are used. Whether you are working with coil, radiant, or induction elements, the process involves identifying the problem, disconnecting the stove from power, removing the old element, inspecting connections, and installing the new one. With careful attention to detail, you can extend the lifespan of your appliance, improve cooking performance, and avoid unnecessary service costs.
For those who prefer not to handle electrical components, professional technicians are always available, but learning to perform this repair yourself can save time and money while providing the satisfaction of self-reliance. By following the steps outlined in this article, you can restore your stove’s efficiency and continue preparing meals with confidence.