The oven gasket is the flexible rubber or fiberglass seal that lines the door of your stove oven. It might look like an ordinary strip, but its role is critical to your appliance’s efficiency. The gasket creates an airtight seal when the oven door is closed, trapping heat inside so your meals cook evenly. Over time, constant exposure to heat and repeated use of the door can cause the gasket to deteriorate. Cracks, stiffness, or flattening are common signs of wear. Once this happens, heat begins to escape, leading to longer cooking times, uneven results, and higher energy consumption. Replacing the gasket ensures the oven maintains proper temperature and restores its performance.
Signs That Indicate the Gasket Needs Replacement
A failing oven gasket is not always obvious at first glance. Some people only notice the problem when baking takes longer than usual, but there are several subtle signs that can reveal the need for replacement. If you see visible cracks, tears, or fraying along the gasket, that’s a clear warning. Another indication is a door that doesn’t close firmly or leaves gaps even when shut tightly. If you run your oven and feel heat escaping around the door or notice food taking longer to cook, the gasket is likely compromised. Paying attention to these early signs saves energy costs and prevents strain on the heating elements, which work harder to compensate for the heat loss.

Preparing for the Gasket Replacement Process
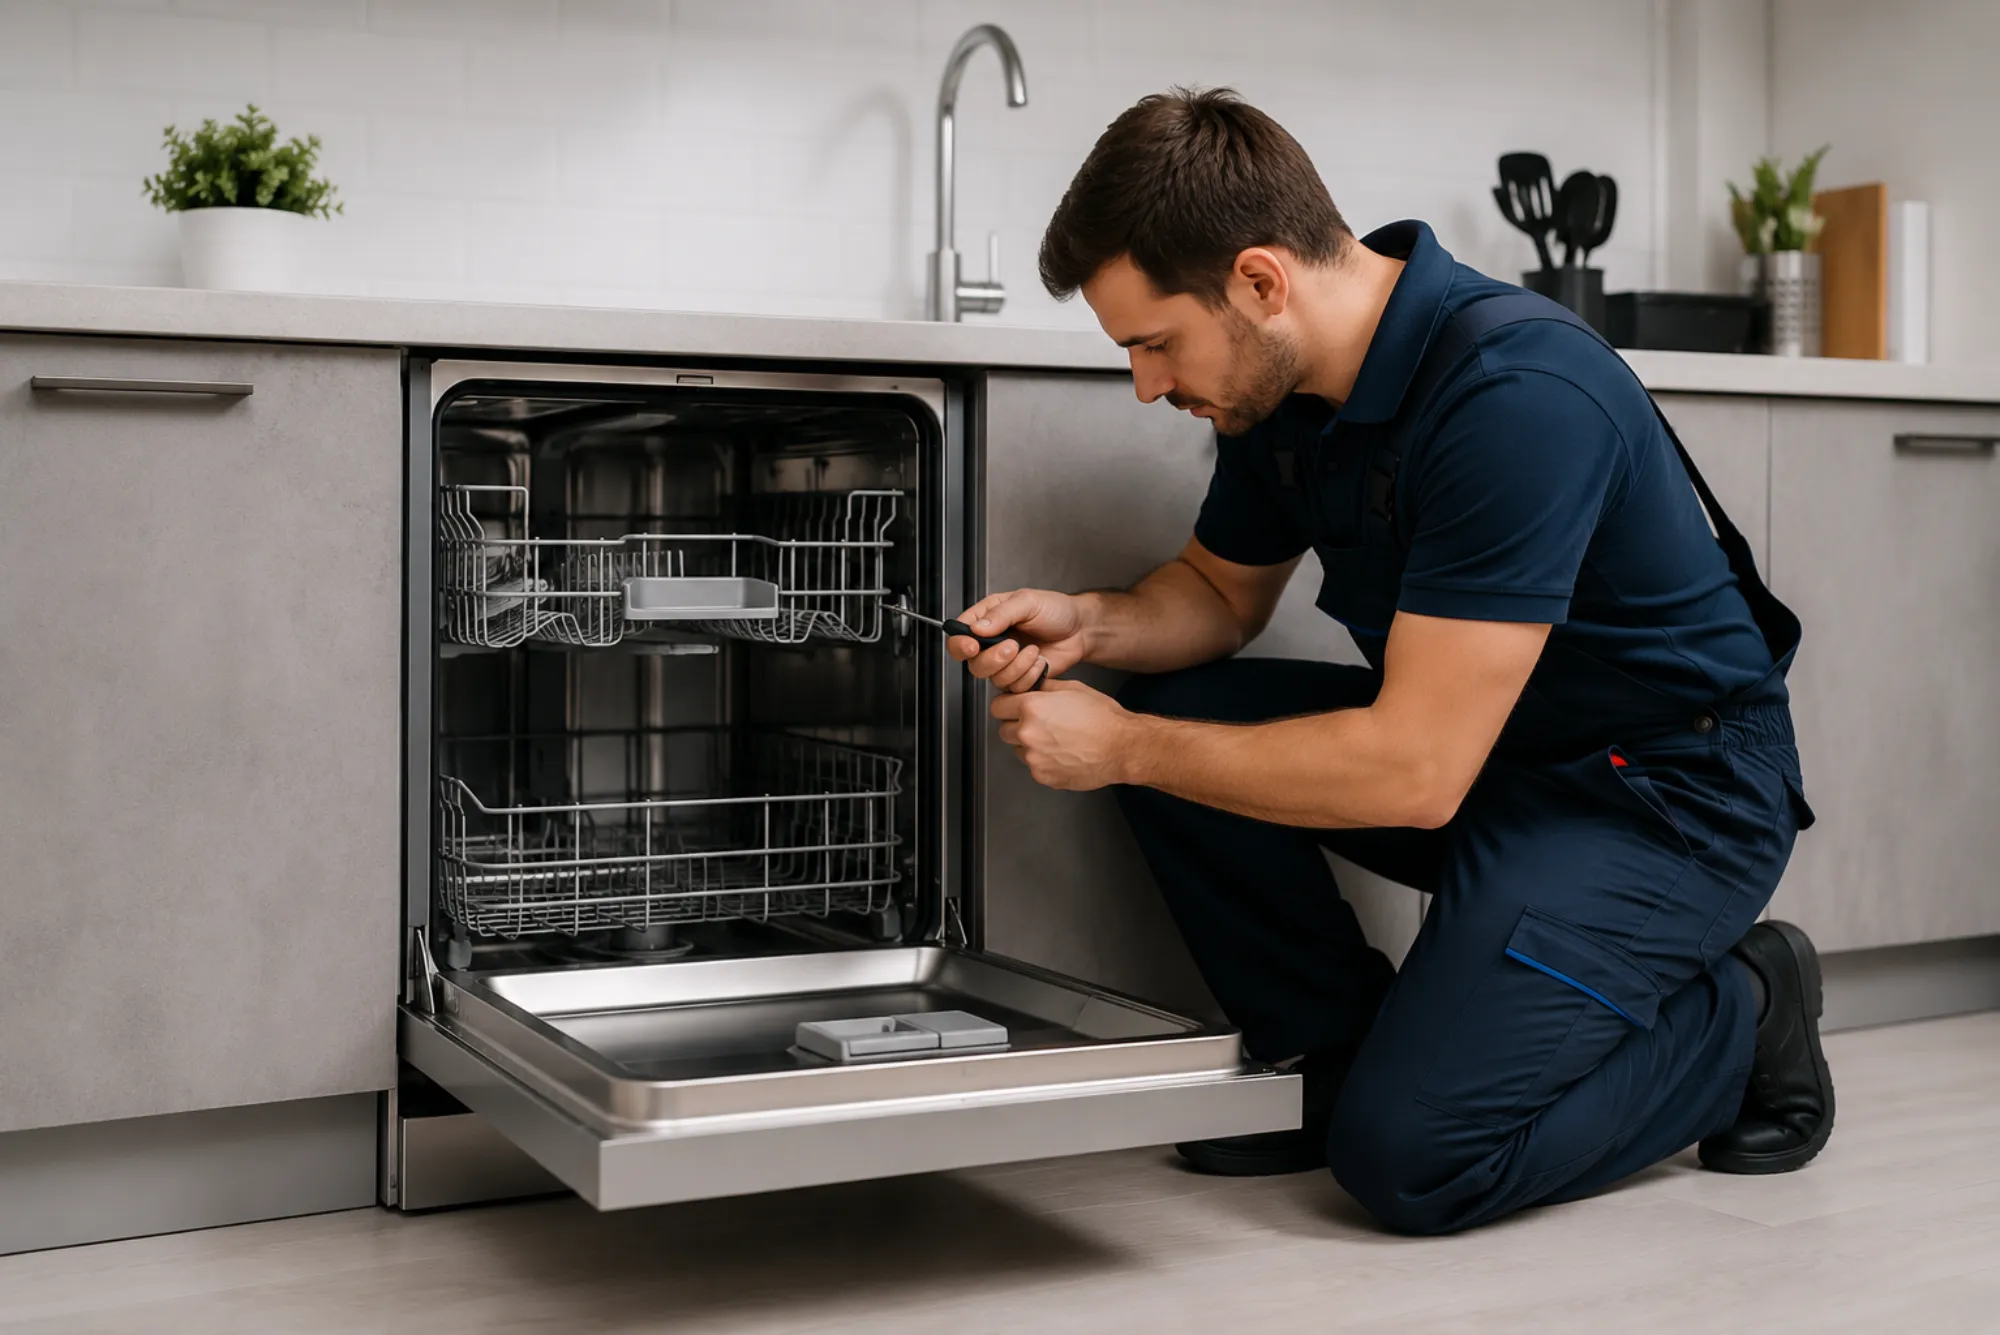
Before you start, it’s important to prepare both your workspace and your appliance. Safety comes first, so unplug the stove or switch off the breaker to eliminate any electrical risk. If your oven is gas-powered, make sure the gas supply is shut off before working. Allow the oven to cool completely, as working around hot surfaces can lead to burns. Gather necessary tools such as a flat-head screwdriver, pliers, and possibly a replacement retainer clip if the old one is worn. The new gasket should be ordered directly from the manufacturer or a reliable supplier to ensure proper fit. A well-prepared setup makes the replacement smooth and prevents unnecessary interruptions once you begin.
Removing the Worn or Damaged Oven Gasket
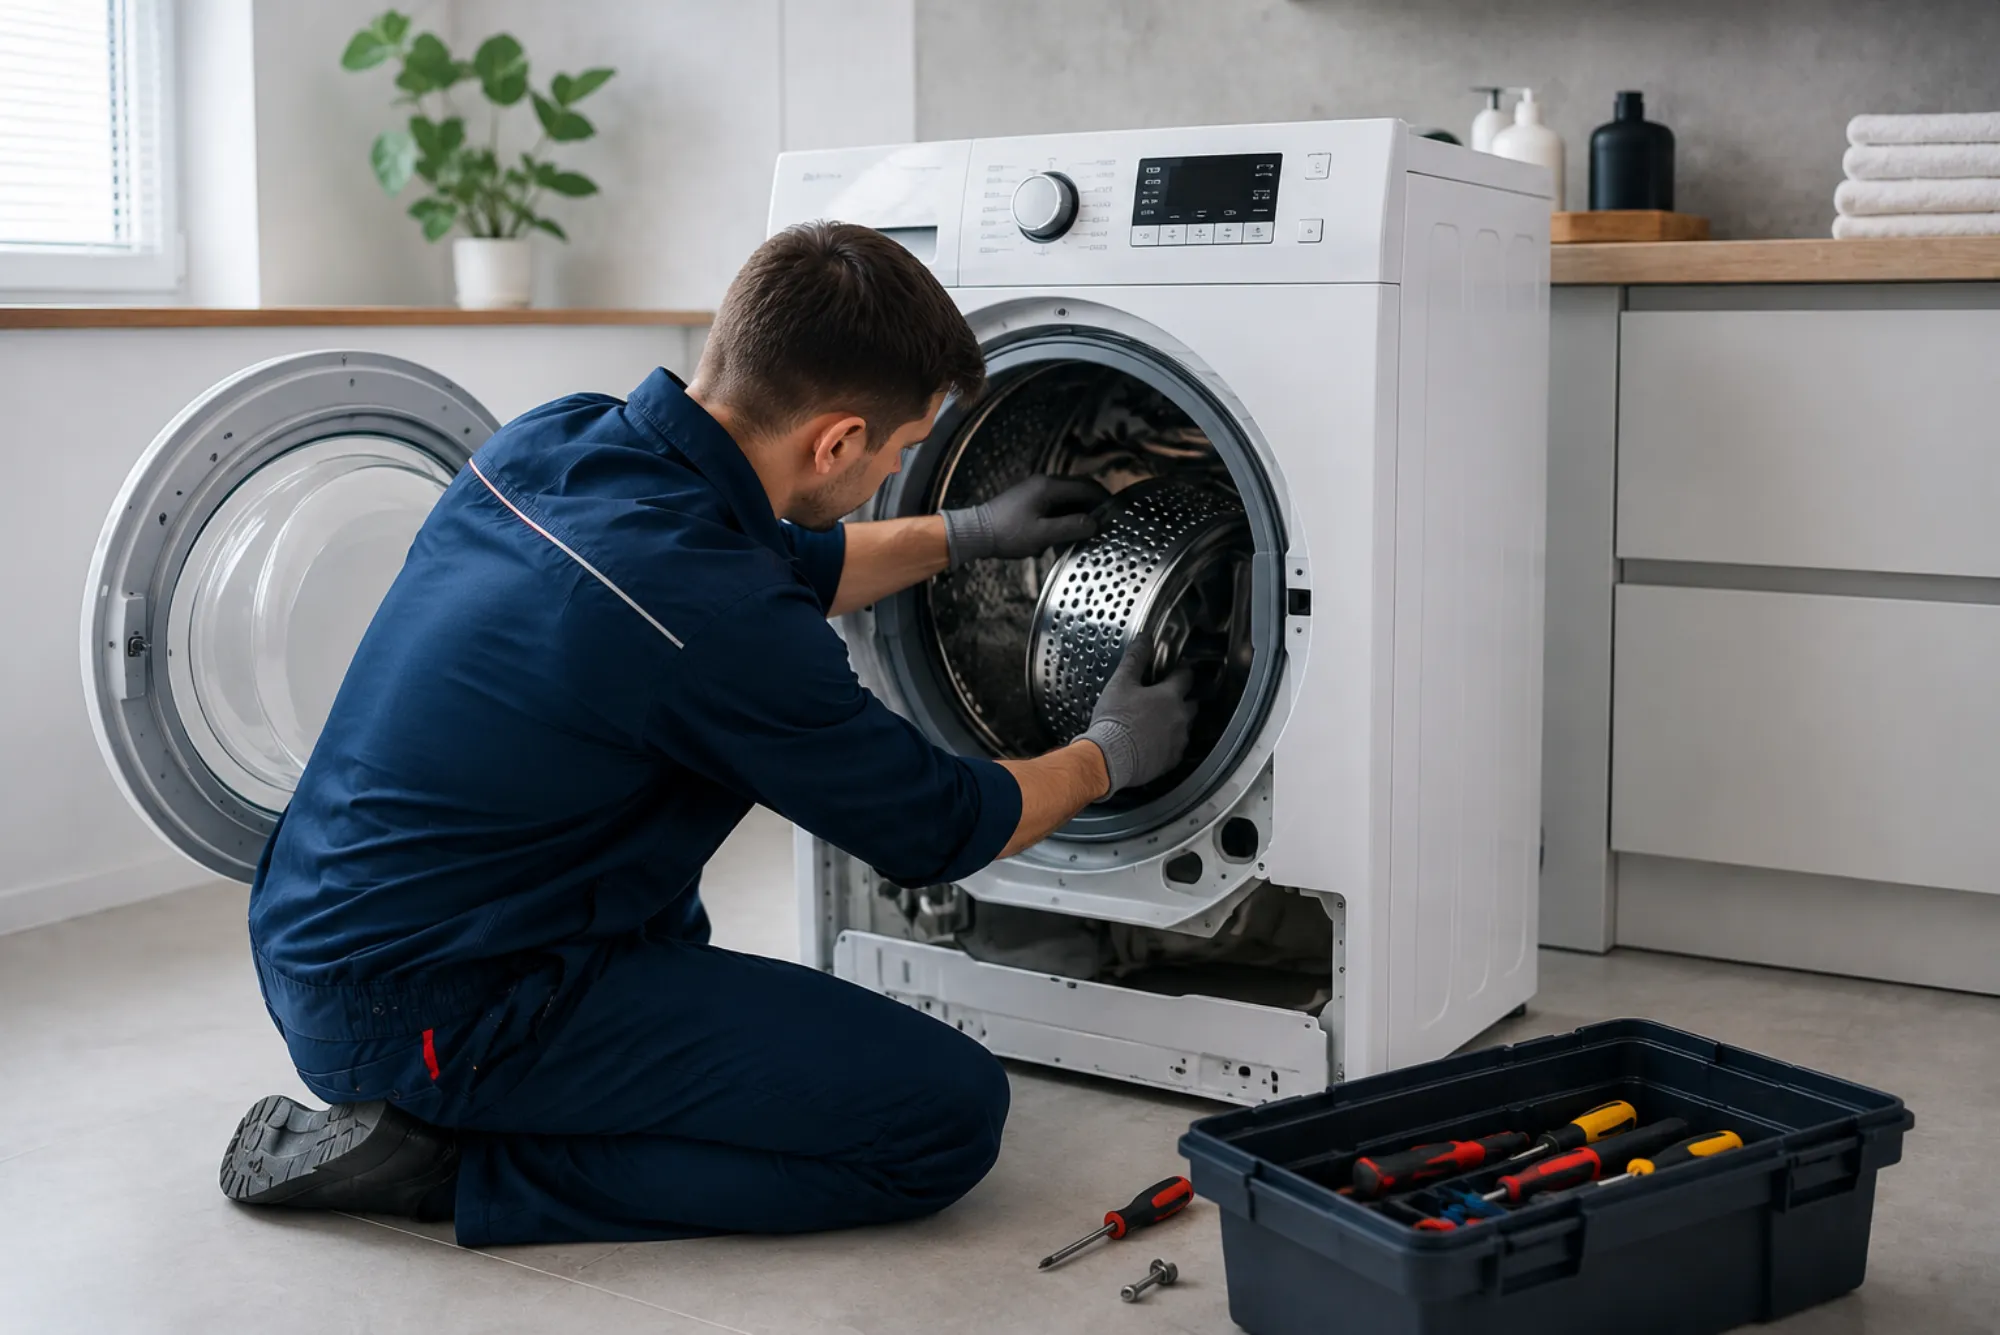
The removal process may vary slightly depending on the make and model of your oven, but most gaskets are designed to be user-replaceable. Typically, the gasket is attached to a groove that runs along the door frame or held in place with small clips. Begin by gently pulling one corner of the gasket to release it from the track. Use pliers if the gasket is tightly secured, but avoid bending the door frame. If clips are present, carefully remove them with a screwdriver and set them aside for reuse. Take your time removing the entire gasket, checking for pieces that may have broken off and ensuring the track is completely clear. A clean removal prevents alignment issues when installing the new gasket.
Cleaning and Inspecting the Oven Door Track
Once the old gasket has been removed, attention should turn to the door track. Years of use can leave behind grease, carbon buildup, or crumbs that interfere with the new gasket’s seal. Wipe the area thoroughly with a cloth dampened with mild soap and warm water. Avoid harsh abrasives that could scratch the metal or damage the finish. Pay close attention to corners where debris tends to accumulate. If the oven door track is bent or damaged, straighten it carefully before continuing. A clean and smooth surface ensures the new gasket sits properly and creates an effective seal, which is the foundation for restoring your oven’s performance.
Installing the New Oven Gasket Correctly
When installing the replacement gasket, align it carefully with the groove or channel along the oven door. Start at the top center and work your way evenly down both sides, pressing the gasket firmly into place. If clips are required, reattach them securely to hold the gasket in position. Make sure the gasket sits flush against the door without twists, gaps, or uneven sections. Some gaskets may feel slightly longer than the door perimeter; in this case, gently press the excess into the groove rather than stretching it. Once installed, close the oven door to check the fit. A properly seated gasket will compress slightly, creating a uniform seal all around the door frame.
Testing the Effectiveness of the Replacement
After the new gasket is installed, it’s important to verify that it works as intended. Close the oven door and run your hand around the edges to check for escaping air while the oven preheats. Another simple test is to place a piece of paper between the gasket and the door frame, then close the door. If you can easily pull the paper out without resistance, the seal may not be tight enough and adjustments are needed. On the other hand, a firm grip indicates the gasket is doing its job. Testing ensures you catch any installation errors before they lead to energy loss or poor cooking results.
Common Mistakes to Avoid During Replacement
Replacing an oven gasket is a manageable task, but certain mistakes can compromise the outcome. One common error is using a generic gasket that doesn’t match the model, which can result in poor sealing and wasted effort. Another mistake is skipping the cleaning step before installation, causing the new gasket to sit unevenly. Stretching the gasket during installation is also a problem, as it can lead to gaps and reduce lifespan. Finally, failing to check the seal after replacement may leave hidden leaks unaddressed. By avoiding these pitfalls, you maximize the effectiveness of the repair and ensure your oven functions like new.
Long-Term Care and Maintenance of Oven Gaskets
After replacing the gasket, adopting good maintenance habits extends its life. Always clean the oven door gently and avoid using sharp tools that could damage the seal. Inspect the gasket periodically for crumbs, grease, or residue, and wipe it down with a damp cloth when needed. Prevent slamming the oven door, as repeated impact shortens the lifespan of the gasket. If you notice minor wear developing, address it promptly rather than allowing the damage to spread. With proper care, a new gasket can last for years, ensuring efficient cooking and reducing unnecessary energy use.
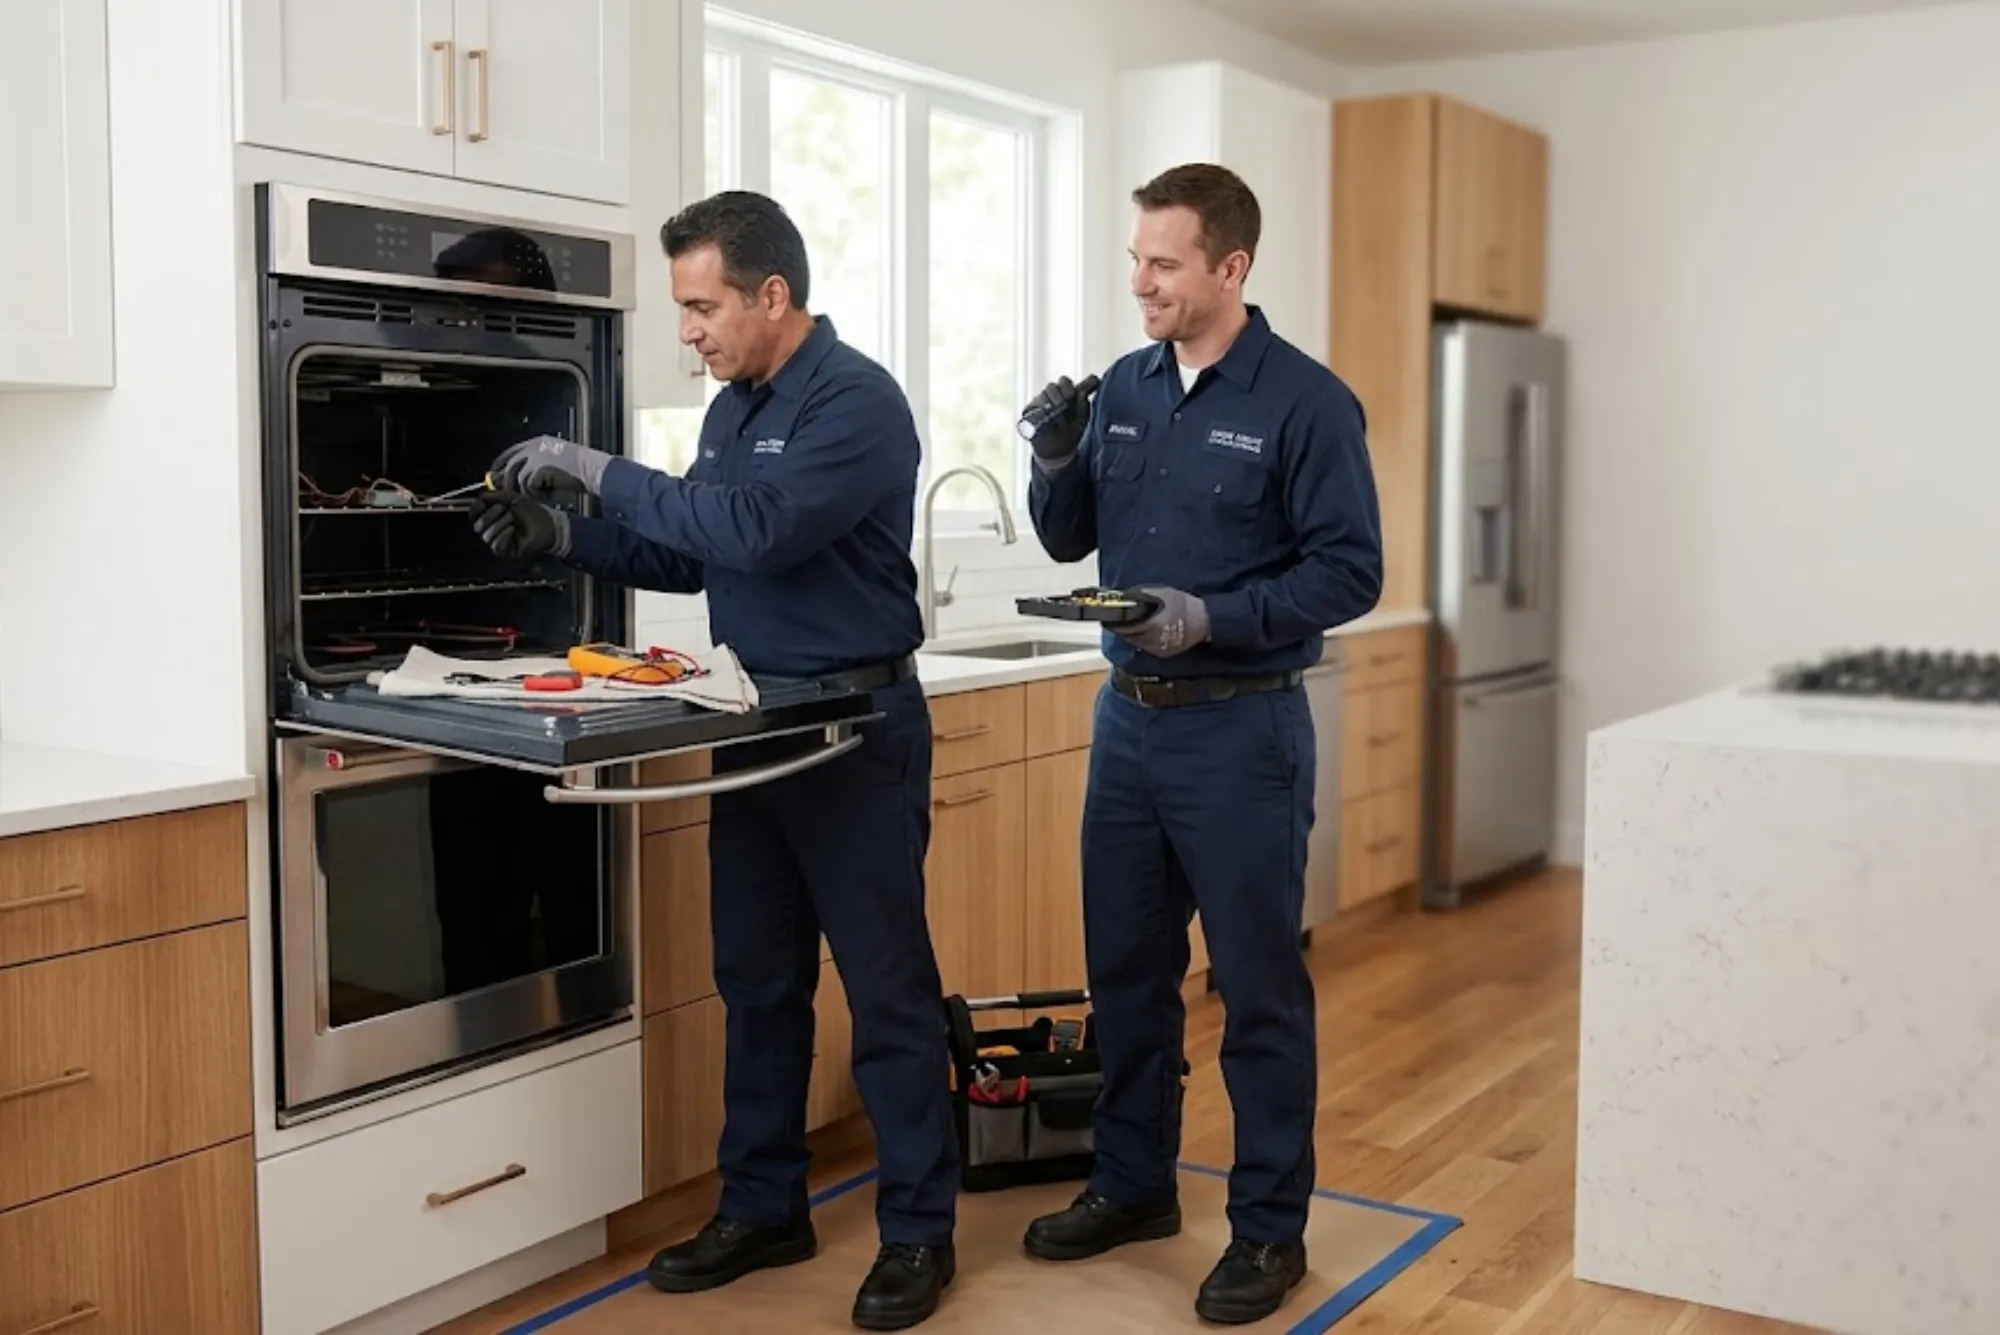
When to Seek Professional Help for Gasket Issues
While gasket replacement is usually a straightforward DIY task, certain situations may require professional assistance. If your oven model has a more complex attachment system or if the gasket is integrated with the oven frame, a technician may be better equipped to handle the job. Similarly, if you attempt replacement and still experience heat loss or poor sealing, there may be an underlying issue such as a warped door or misaligned hinges. In such cases, a professional can diagnose the root cause and prevent further damage. Knowing when to call an expert saves time, protects your appliance, and ensures reliable cooking results.
Restoring Oven Efficiency Through Proper Sealing
Replacing a worn-out oven gasket is one of the simplest yet most effective maintenance steps you can take for your kitchen appliance. The process not only restores the oven’s ability to maintain consistent temperatures but also improves energy efficiency and enhances cooking outcomes. By paying attention to early signs of gasket failure, preparing carefully, and following correct installation practices, you can extend the life of your oven and enjoy meals cooked to perfection. Whether you tackle the replacement yourself or call in a professional, maintaining a strong door seal is essential to keeping your stove oven in top working condition.