A stove is one of the most essential appliances in any kitchen, and its performance depends heavily on accurate temperature regulation. At the core of this regulation is the thermostat sensor. This small but vital component monitors the oven’s internal temperature and signals the control system to maintain the desired heat level. When a thermostat sensor malfunctions, the results can range from unevenly cooked meals to complete failure of the appliance. Understanding how to test stove thermostat sensors is crucial for homeowners, technicians, and anyone responsible for maintaining kitchen equipment.
Understanding the Function of a Stove Thermostat Sensor
The thermostat sensor inside a stove operates as the appliance’s internal thermometer. Most modern stoves use a temperature-sensitive probe, typically a thermistor, to detect heat levels. This sensor communicates with the control board or mechanical thermostat, sending feedback that allows the stove to increase or decrease heating elements accordingly.

When working properly, the thermostat sensor ensures consistent cooking temperatures and energy efficiency. A malfunctioning sensor can cause ovens to run too hot, too cold, or fail to heat altogether. Identifying whether the sensor is at fault requires systematic testing.
Common Symptoms of a Faulty Thermostat Sensor
A defective thermostat sensor does not always stop the stove from functioning completely. Instead, it often leads to subtle but noticeable problems. These may include undercooked food even when the oven is set to high heat, burnt meals at relatively low temperature settings, or significant fluctuations in heating cycles. In some cases, the oven light or control panel may indicate preheating completion even though the cavity is not yet at the required temperature. Recognizing these signs is the first step before moving into formal testing.
Importance of Safety Before Testing
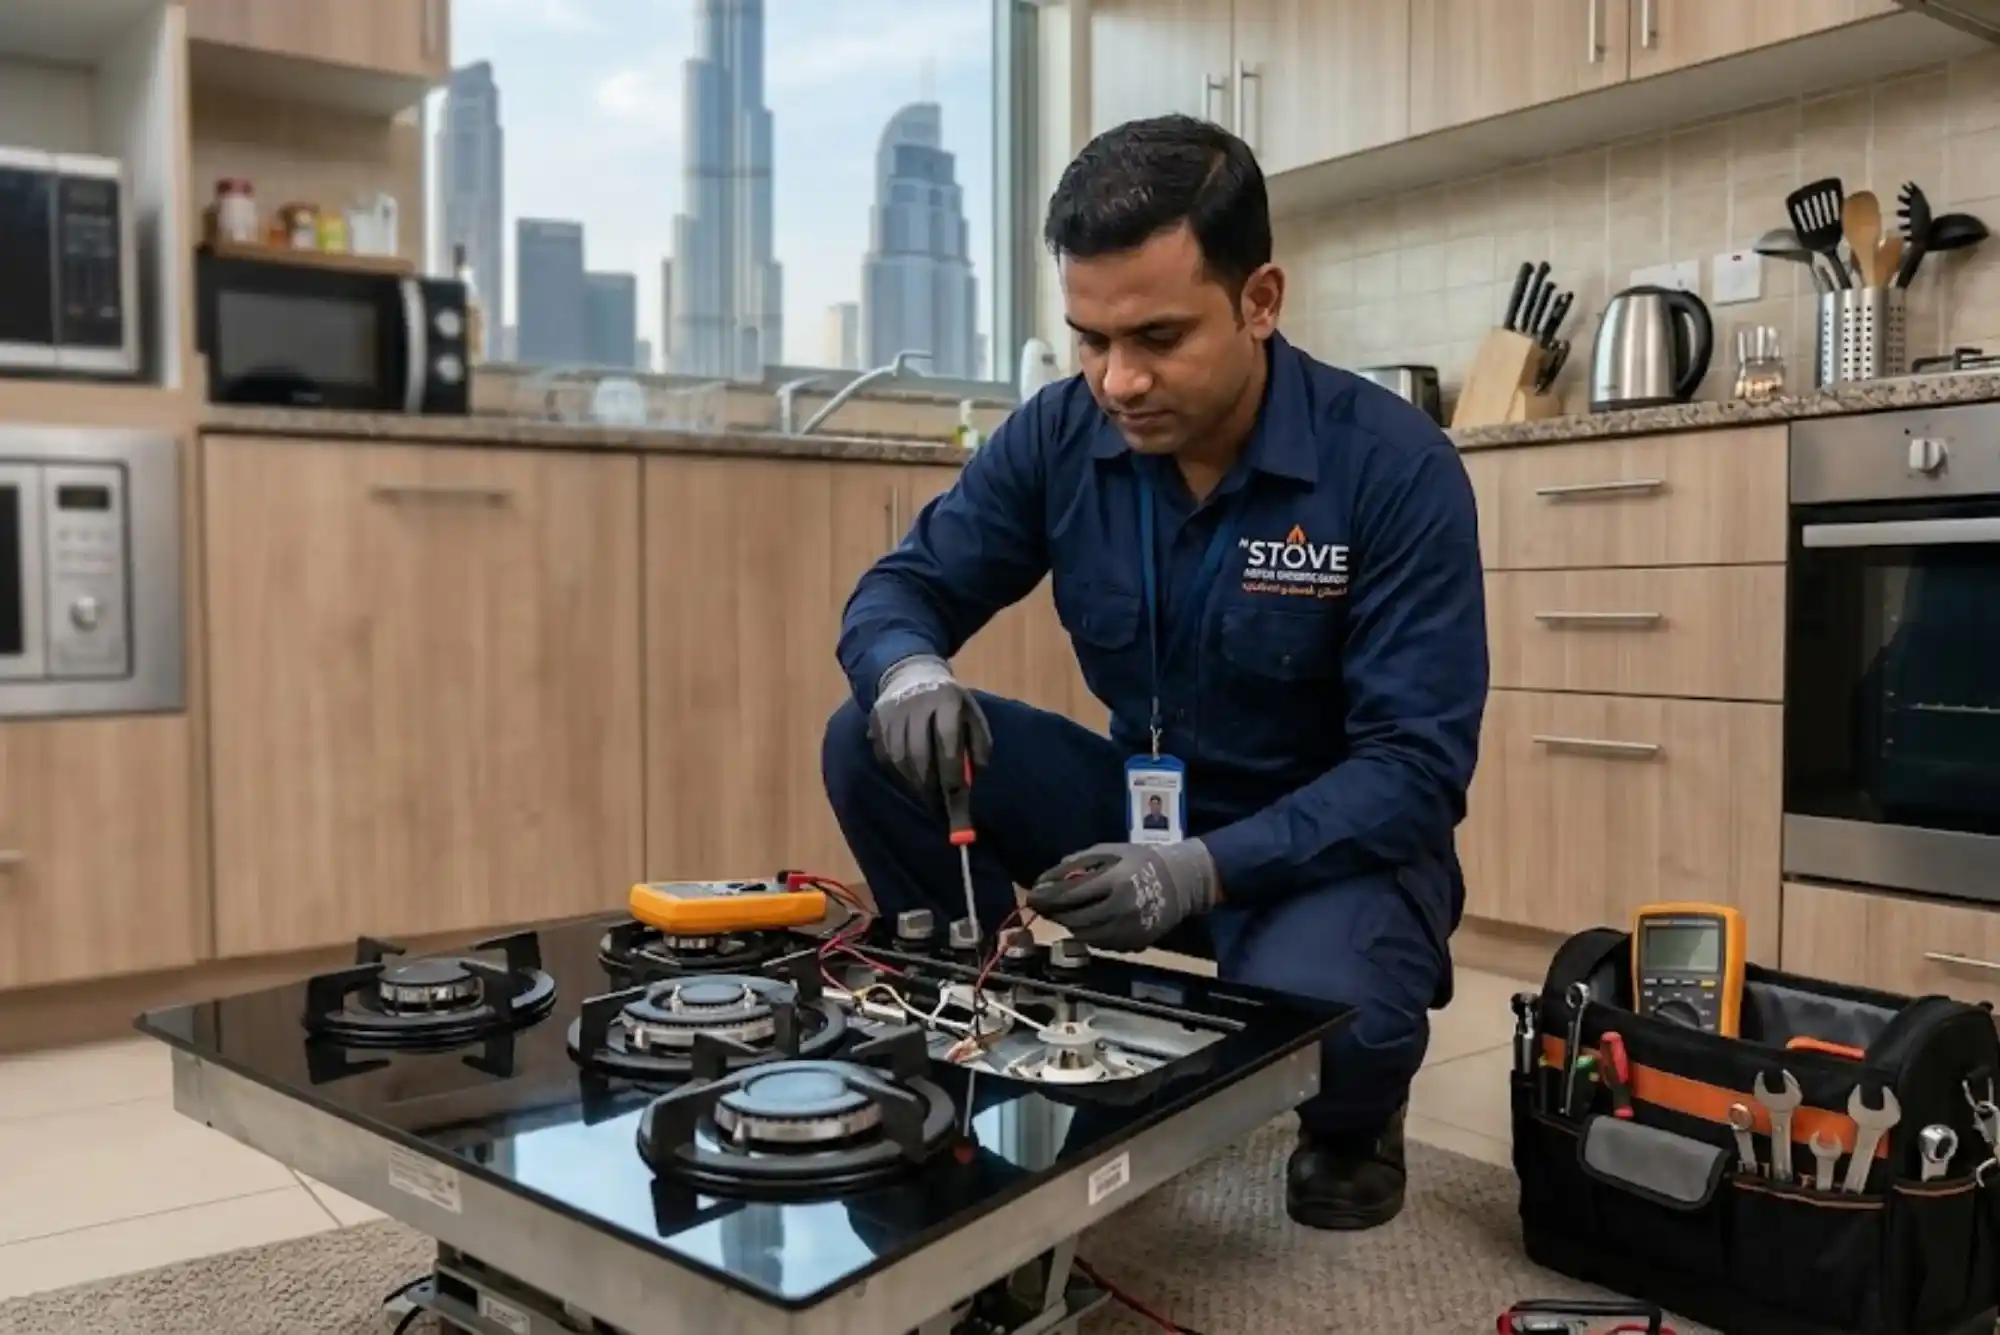
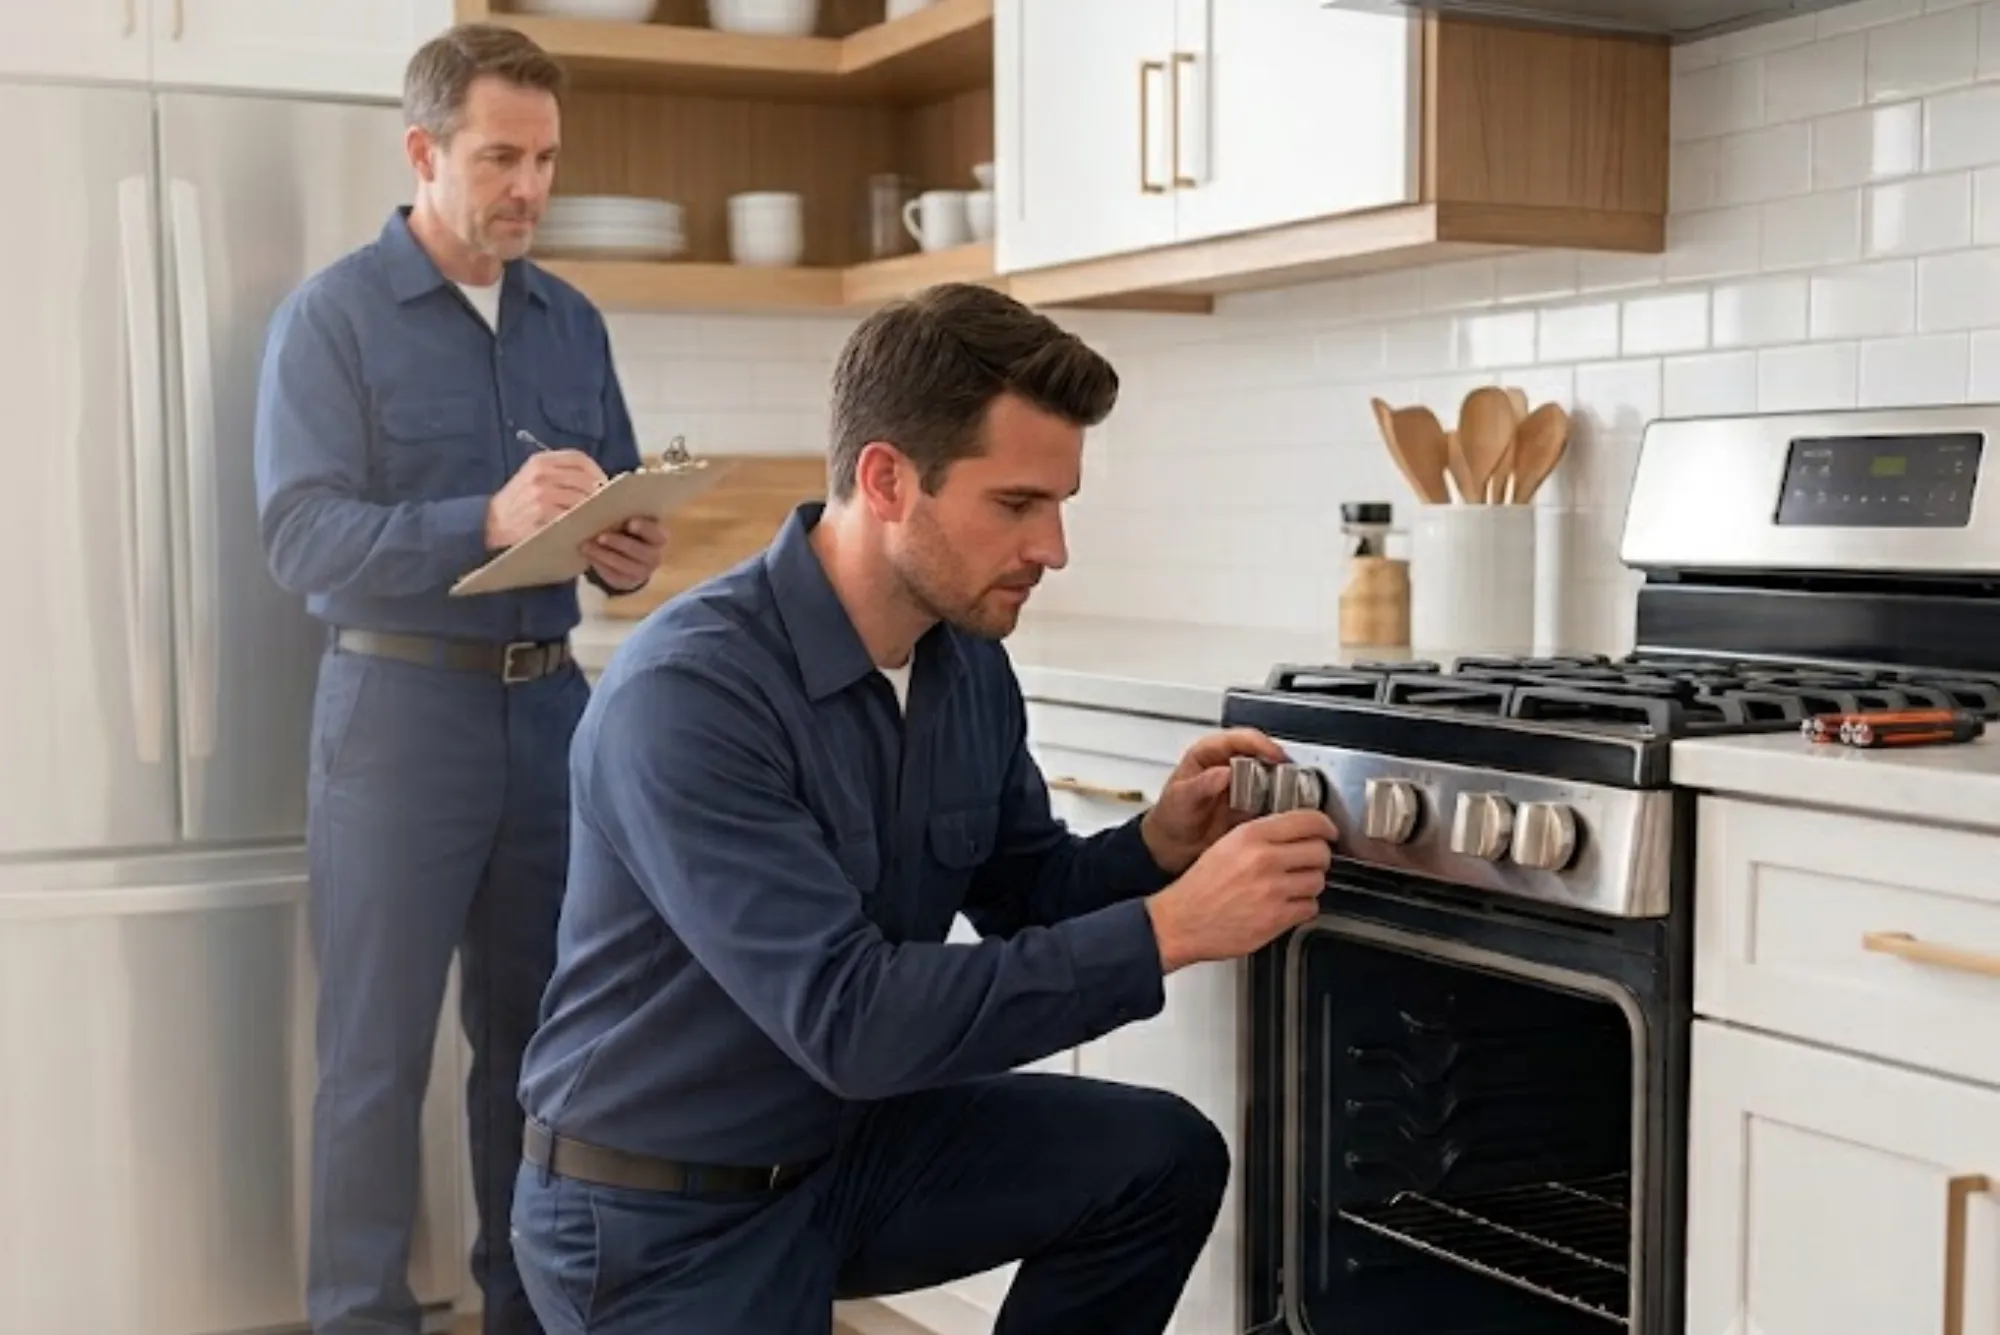
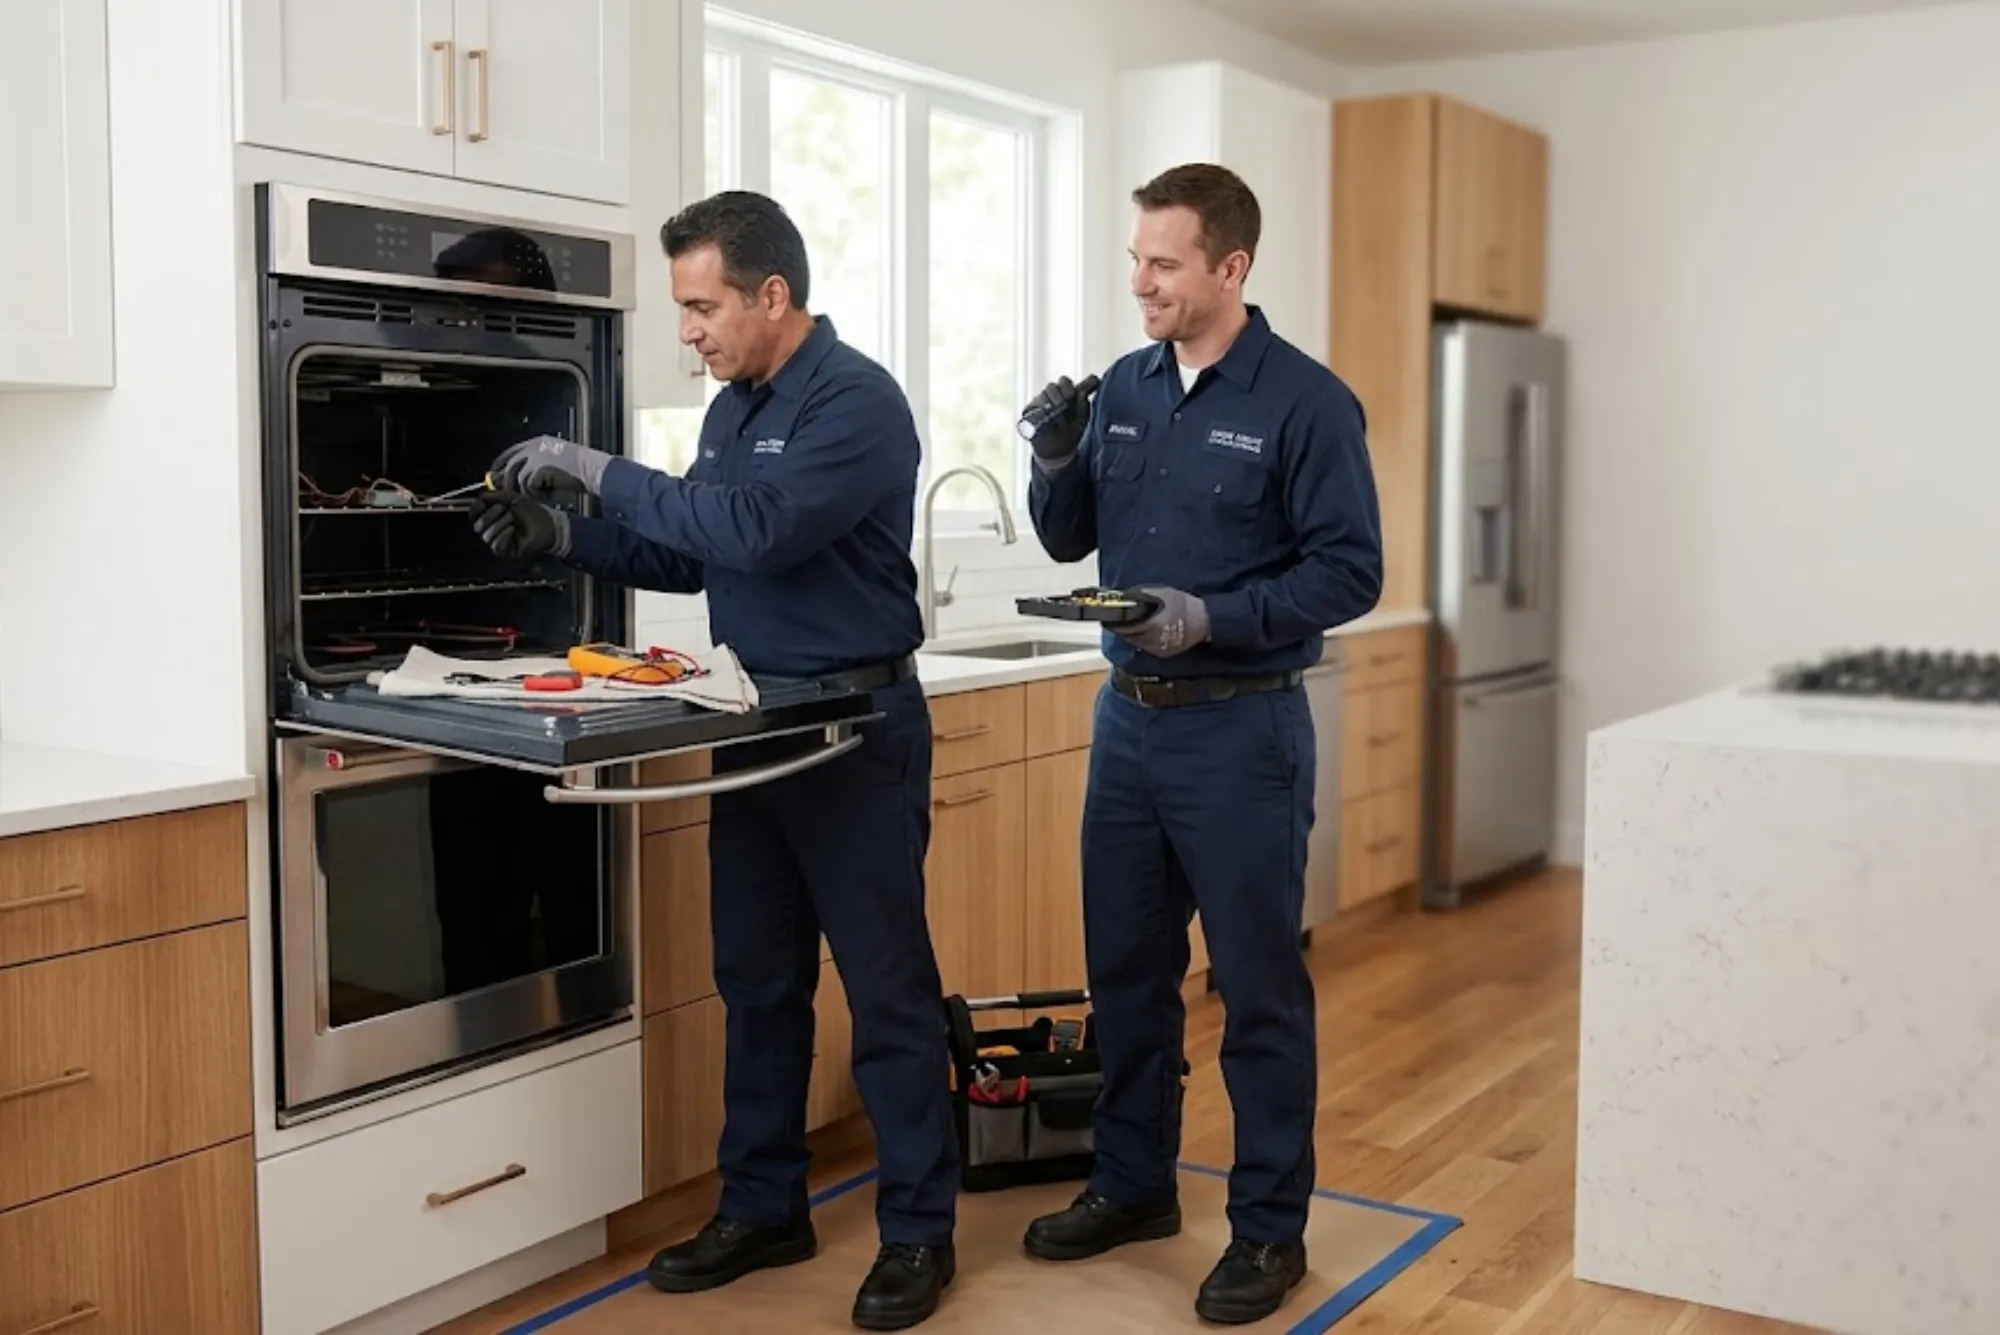
Testing a stove thermostat sensor involves working with electrical components and potentially high voltages. Before attempting any diagnostic procedure, it is critical to prioritize safety. Always disconnect the stove from its power source, whether it is plugged into a wall outlet or hardwired into the electrical system. Gas stoves with electric ovens should also be turned off at the gas valve to minimize risks. Proper safety equipment such as insulated gloves and tools designed for electrical testing can prevent injury.
Tools Required for Testing Thermostat Sensors
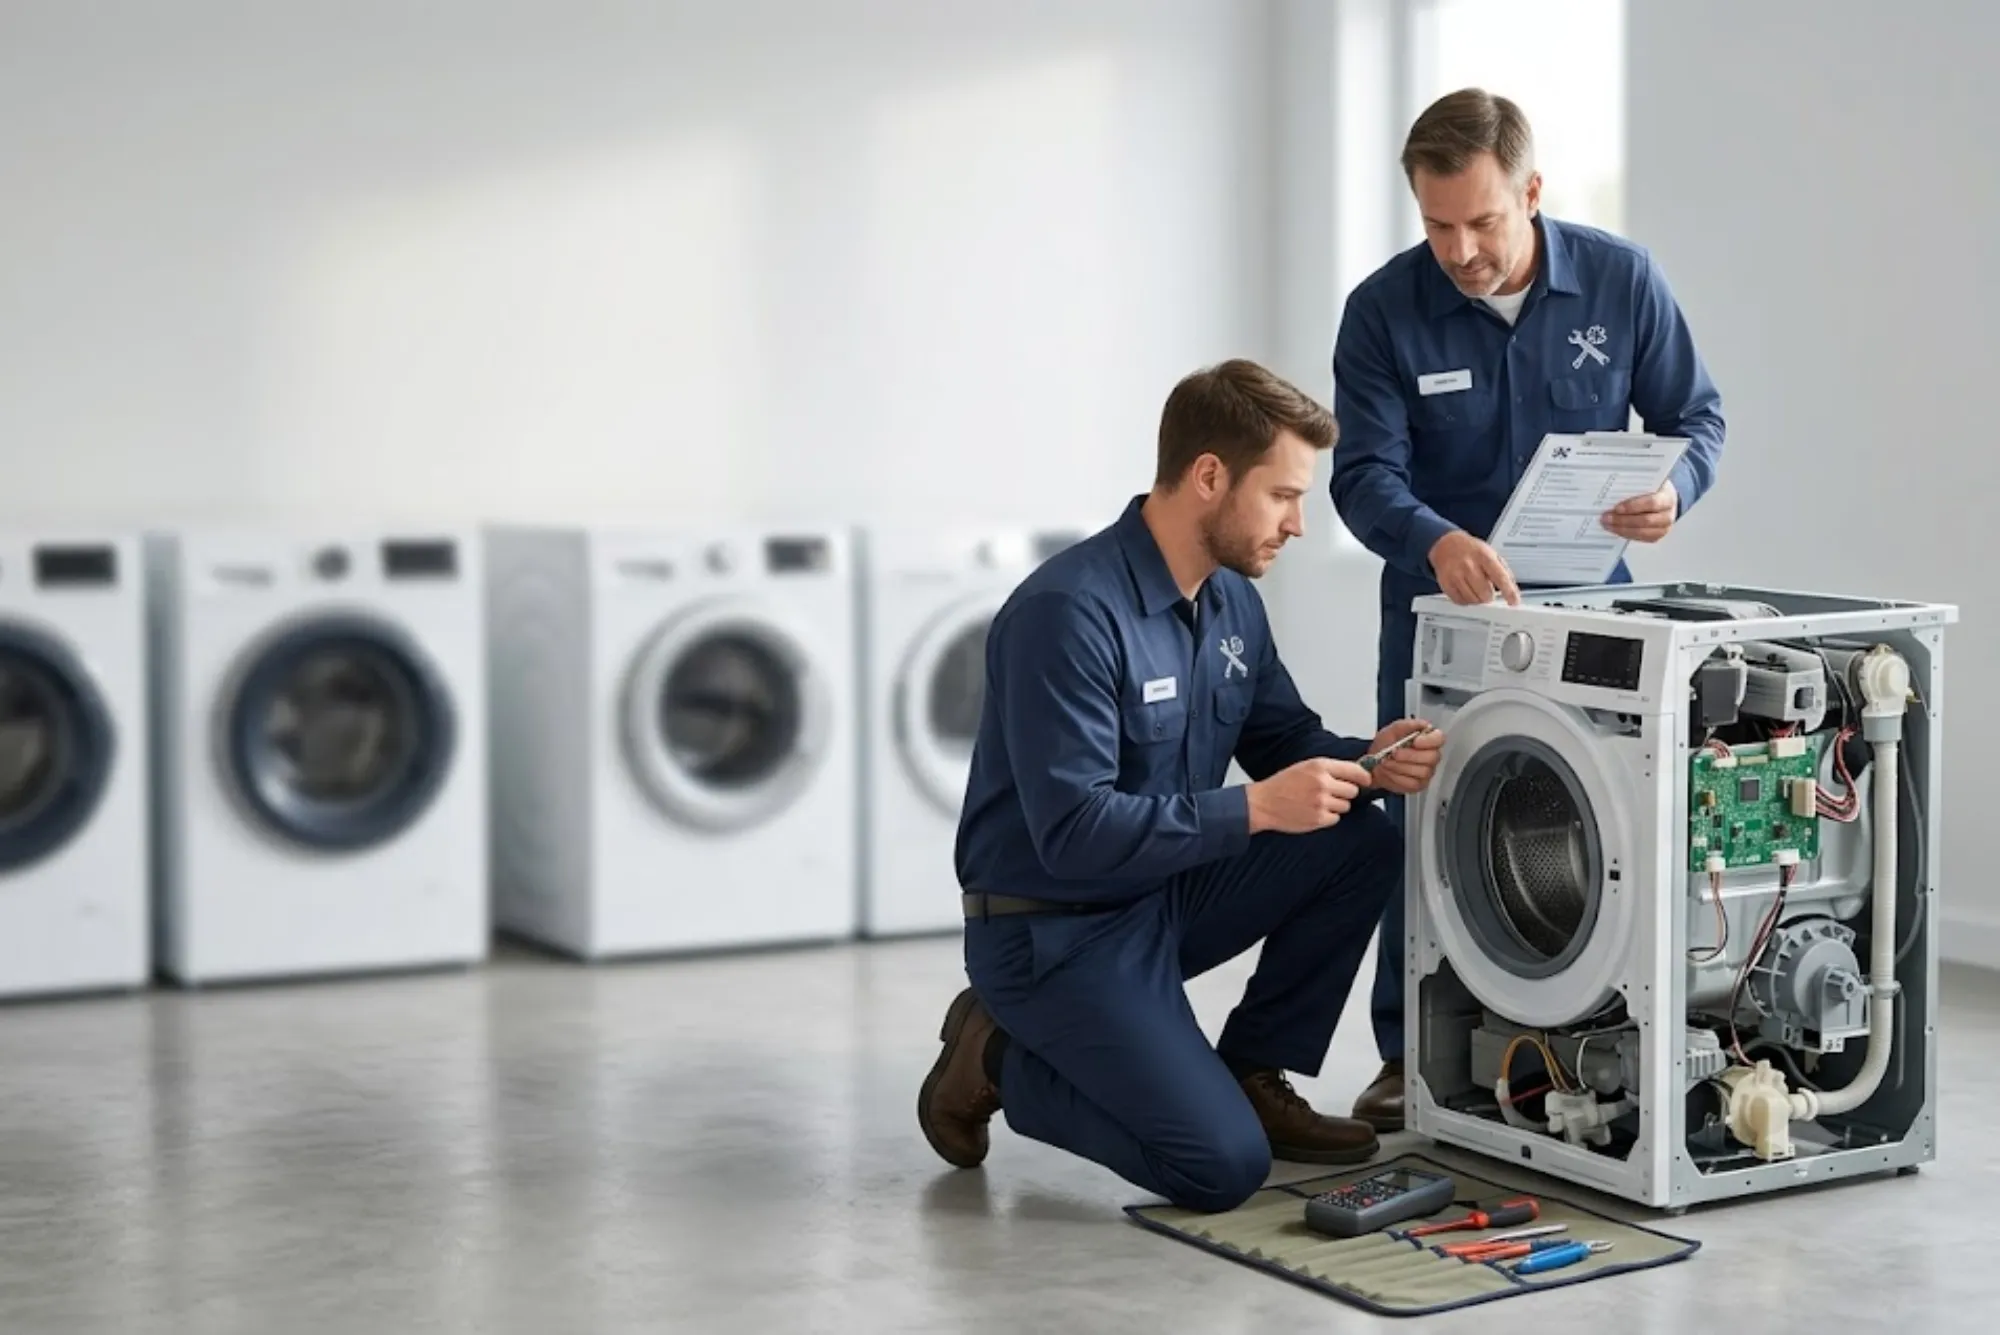
Accurate testing requires a few essential tools. A reliable digital multimeter is indispensable for measuring resistance and continuity. Thermometers capable of withstanding high temperatures can provide reference points during live testing. Depending on the stove model, screwdrivers, pliers, and manufacturer-specific tools may also be necessary to access the sensor. Having the stove’s service manual on hand can guide the testing process with model-specific resistance values and procedures.
Step-by-Step Process of Testing a Stove Thermostat Sensor
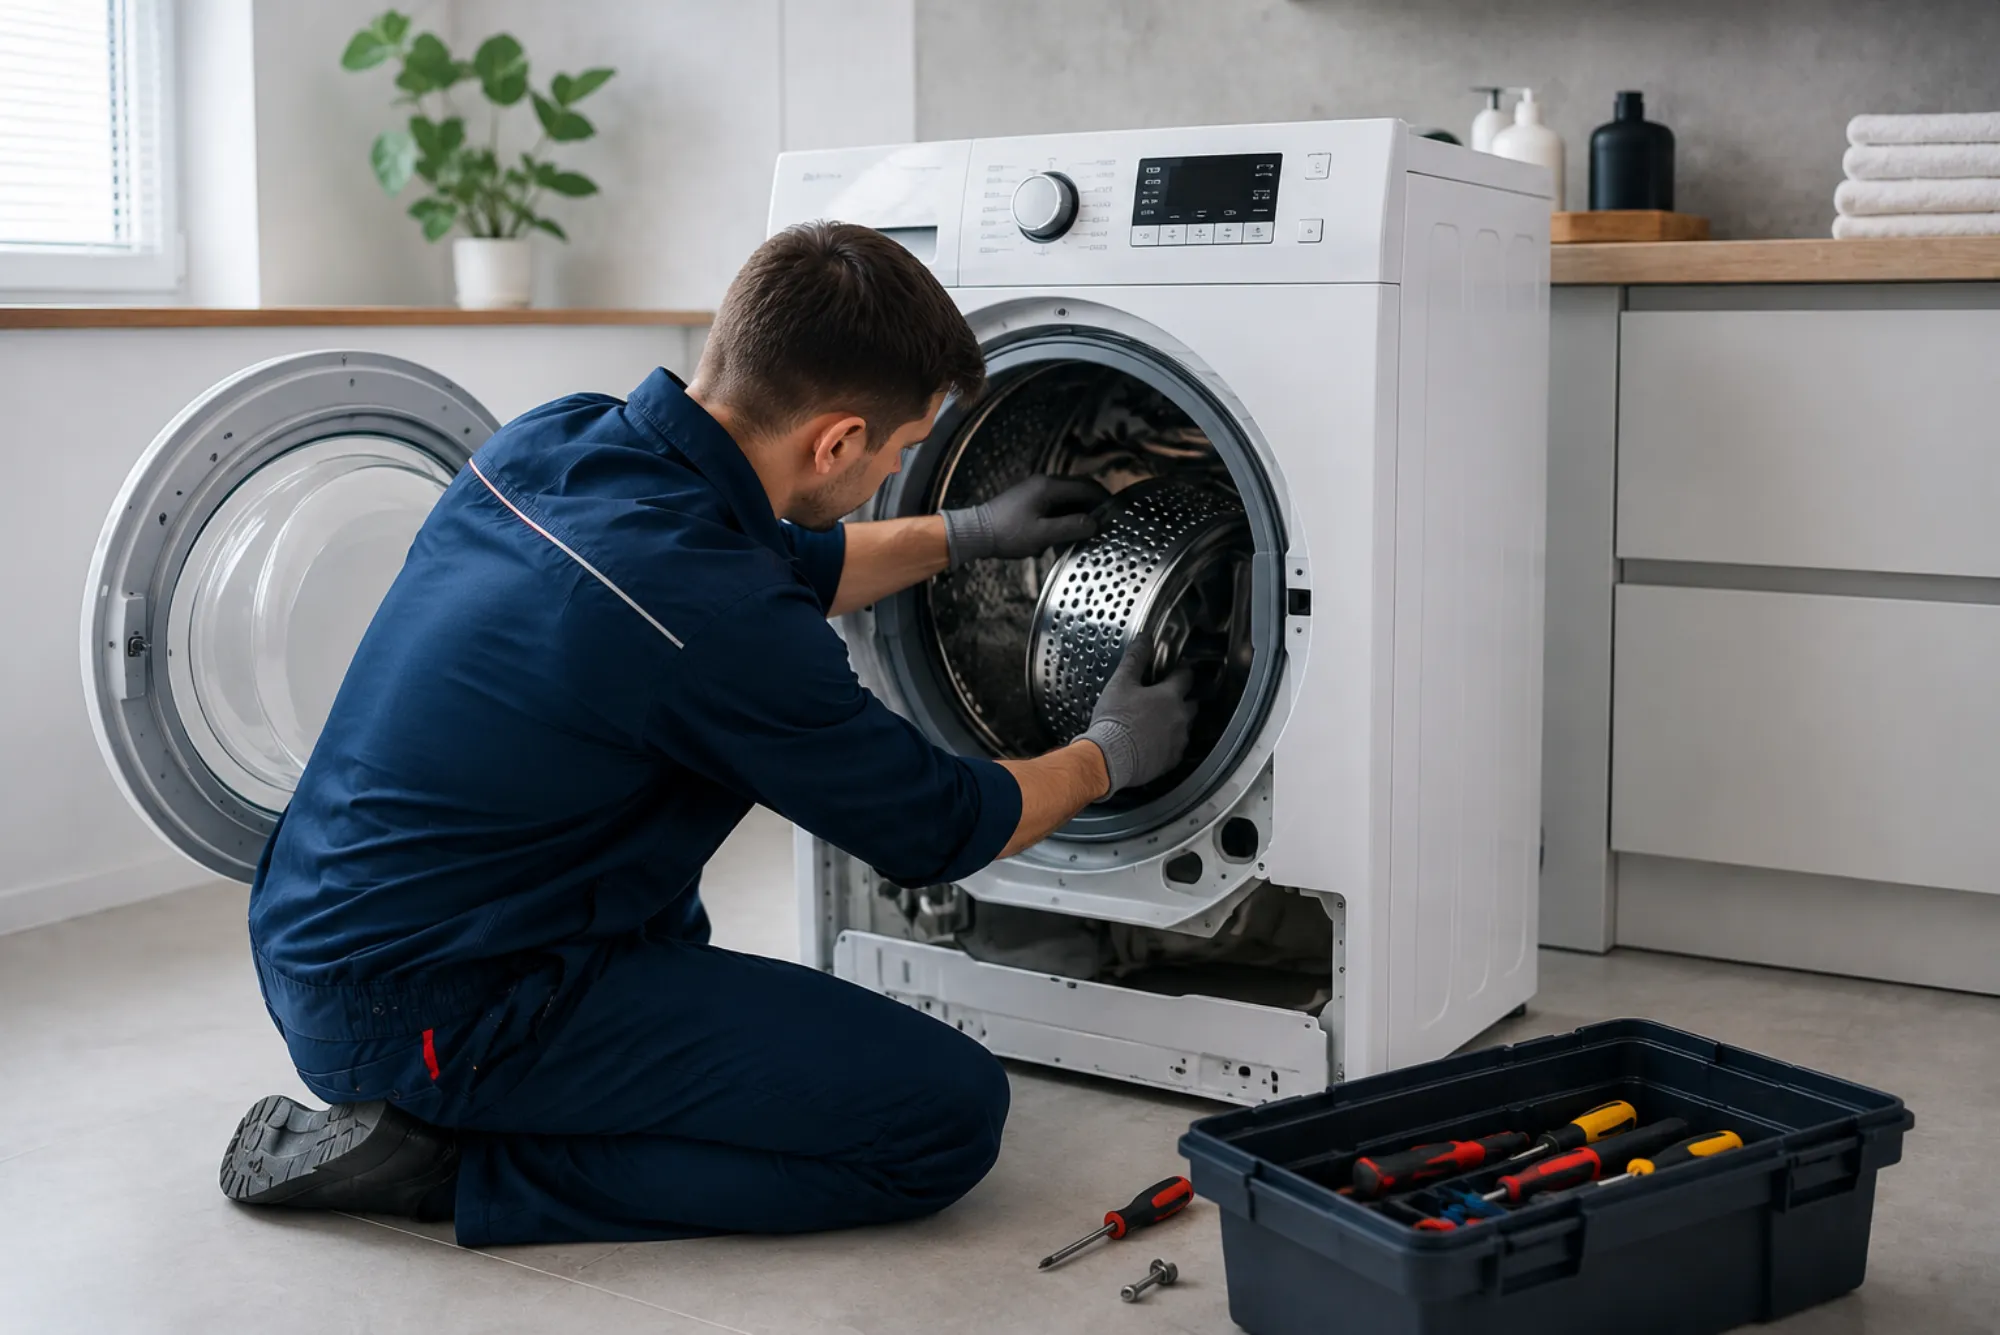
The testing process typically begins with locating the thermostat sensor, which is often found inside the oven cavity as a thin metal rod protruding from the back wall. Once accessed, the sensor can be disconnected from its wiring harness for testing.
The multimeter is then set to measure resistance (ohms). At room temperature, most thermostat sensors will read within a manufacturer-specified range, commonly around 1000 to 1100 ohms at 70°F (21°C). A reading significantly outside this range may indicate a defective sensor.
For further accuracy, the sensor can be subjected to controlled heating. For example, placing the probe in an environment of 350°F (177°C) should increase its resistance in a predictable manner. If the resistance fails to change proportionally, the sensor is malfunctioning. Comparing readings against manufacturer resistance-temperature charts provides confirmation.
Interpreting Test Results Correctly
Interpreting sensor test results requires understanding how resistance correlates with temperature. A properly functioning sensor will exhibit a smooth increase in resistance as temperature rises. Erratic readings, sudden drops, or a complete lack of response suggest internal failure. Continuity checks may also reveal whether the sensor’s circuit is intact. A sensor that fails continuity testing cannot provide accurate feedback to the control system.
Differentiating Sensor Problems from Other Issues
It is important to recognize that thermostat sensors are not the only components that can cause temperature irregularities. A faulty control board, defective heating element, or even a damaged wiring harness can produce symptoms similar to a bad sensor. This makes thorough testing essential before replacing parts. In many cases, technicians use sensor tests in combination with visual inspections and additional diagnostics to ensure an accurate conclusion.
Practical Scenarios of Stove Thermostat Sensor Testing
Consider a situation where an oven consistently overheats, burning baked goods despite being set at moderate temperatures. Testing the thermostat sensor might reveal a resistance value much lower than expected, confirming that the sensor is inaccurately reporting a cooler temperature. In another case, an oven may never reach preheating temperature, and testing could show an open circuit in the sensor. These real-world examples highlight how systematic testing can prevent unnecessary part replacements and restore proper stove function quickly.
When to Repair and When to Replace
Once testing confirms a defective sensor, the decision becomes whether to attempt repair or replacement. In most cases, thermostat sensors are sealed units and cannot be repaired effectively. Replacement is generally the most reliable solution. Fortunately, replacement sensors are relatively affordable and widely available. Installing a new sensor usually involves unscrewing the old one, disconnecting it from the wiring harness, and fitting the new sensor in place. Careful handling ensures that the sensor is not bent or damaged during installation.
The Role of Professional Technicians
While testing a stove thermostat sensor can be accomplished by knowledgeable homeowners, some situations demand professional expertise. Complex electronic control systems, inaccessible components, or ambiguous test results may require the skill of a qualified technician. Professionals not only test the sensor but also assess the entire stove system to rule out related issues. Seeking professional help ensures safety and accuracy, particularly with high-end or commercial kitchen appliances.
Preventive Maintenance for Longer Sensor Life
Regular maintenance can extend the lifespan of thermostat sensors. Cleaning the oven interior prevents grease and food particles from coating the sensor probe, which can interfere with accurate readings. Avoiding sudden impacts or bending the sensor during cleaning also helps preserve its integrity. Scheduling routine checks as part of general stove maintenance ensures that issues are caught early, reducing the likelihood of cooking disruptions.
Modern Advancements in Thermostat Sensor Technology
Recent years have seen advancements in sensor technology, particularly in high-efficiency ovens. Some models now feature dual sensors for more precise heat regulation, while smart stoves integrate sensors with digital interfaces that allow users to monitor real-time temperatures via apps. These innovations underscore the growing importance of sensors in achieving consistent, energy-efficient cooking. Testing procedures remain similar, but the presence of advanced electronics may require more sophisticated diagnostic tools.
The Value of Proper Testing
A stove thermostat sensor may appear to be a small, overlooked component, but its role in kitchen functionality cannot be underestimated. Faulty sensors disrupt daily cooking routines and compromise food quality. Learning how to test stove thermostat sensors empowers homeowners and technicians to identify problems accurately, prevent unnecessary repairs, and maintain safe, reliable appliances. Whether through simple multimeter checks or advanced professional diagnostics, proper testing ensures that the heart of every kitchen—the stove—continues to perform at its best.