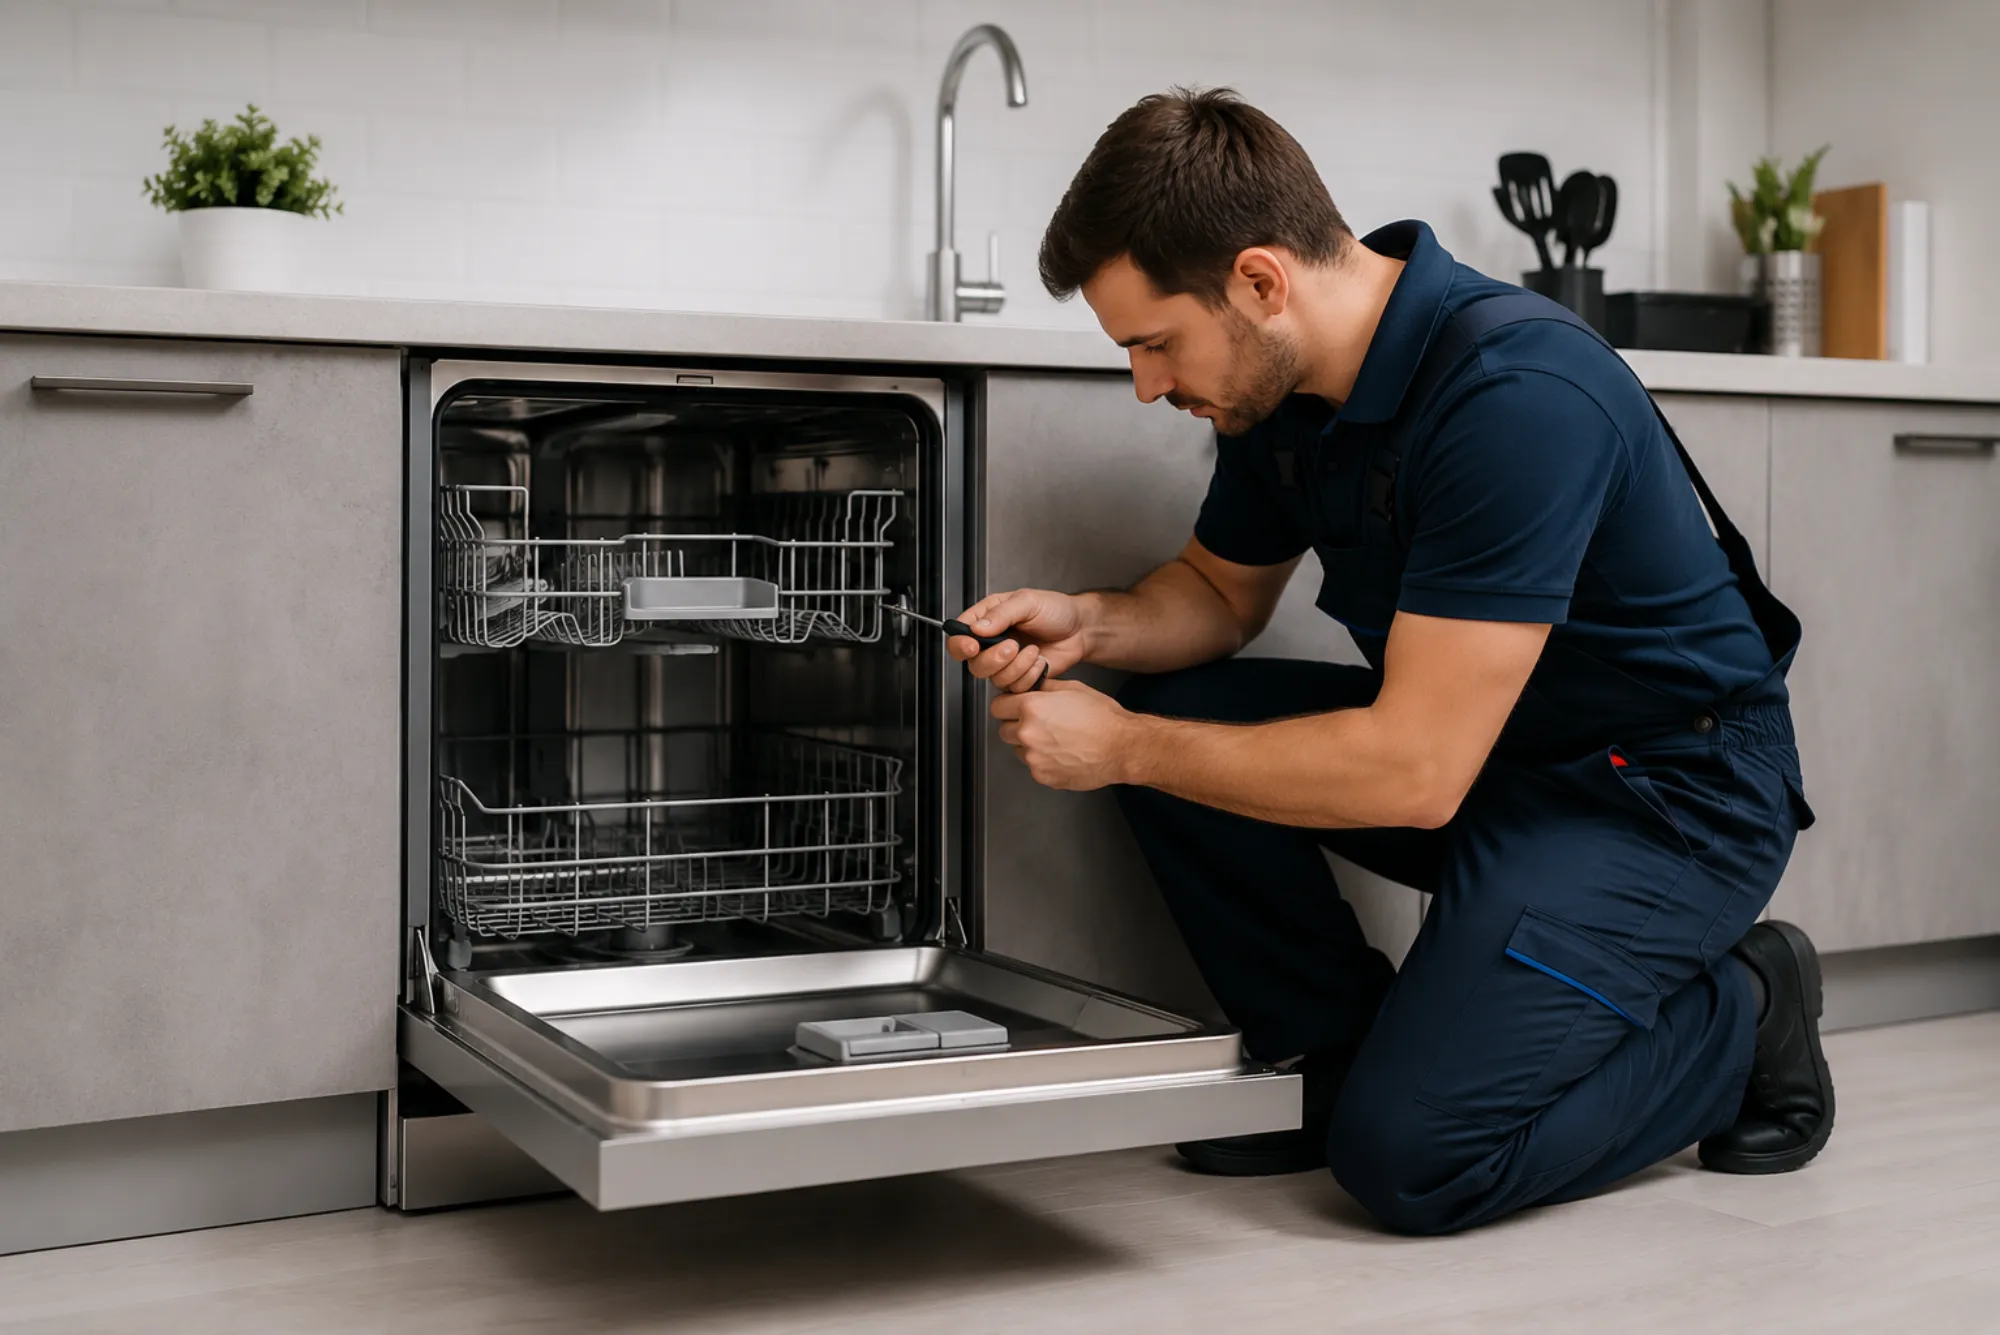
A stove is a cornerstone of every kitchen, and its safe operation depends on several built-in protective mechanisms. Among the most critical of these is the safety thermostat. This component monitors temperature, prevents overheating, and ensures that the appliance functions within its design limits. When the thermostat malfunctions, not only does it compromise cooking performance, but it can also pose a significant safety risk. Replacing a stove safety thermostat requires care, patience, and a structured approach, but it is entirely manageable for a careful homeowner or technician. This article provides a detailed guide to understanding, diagnosing, and replacing stove safety thermostats effectively.
Understanding the Role of a Stove Safety Thermostat
A stove’s safety thermostat is different from the cooking thermostat used to control oven temperature. While the cooking thermostat regulates how hot the oven becomes to achieve desired cooking results, the safety thermostat is a protective device. Its purpose is to sense dangerously high internal temperatures and cut power to the heating elements when necessary. Without this safeguard, electrical faults, blocked ventilation, or a runaway heating element could cause excessive heat build-up, creating the risk of damage or fire.

The safety thermostat is generally located at the rear of the oven cavity or near the control section of the stove. It is designed as a failsafe that rarely activates during normal operation. However, once triggered by excessive heat, it may not reset, or it may indicate that the thermostat itself has become faulty. When this happens, replacement is usually the only reliable solution.
Signs That a Safety Thermostat Needs Replacement
Recognizing the symptoms of a failing safety thermostat is essential before committing to replacement. Common indicators include an oven that will not heat up at all, even when other functions appear normal. This happens because the thermostat cuts power as a protective measure. Another sign is inconsistent or premature shut-off of the heating elements, leading to undercooked food or erratic oven behavior.
In some cases, the oven may trip the circuit repeatedly when switched on, pointing to a thermostat that is shorting internally. A physical inspection may reveal scorch marks, discoloration, or a visibly damaged thermostat body. In modern stoves, error codes on the digital display may also indicate thermostat failure. Whatever the sign, it is important to first rule out other issues, such as a faulty element or damaged wiring, before concluding that the thermostat itself requires replacement.
Preparing for the Replacement Process
Replacing a safety thermostat is not simply a matter of swapping parts. Preparation ensures both safety and efficiency. The first and most important step is disconnecting the stove from its power source. Since stoves operate at high voltage, attempting any work while connected presents a severe shock hazard. If the stove is hardwired into the mains, turning off the appropriate circuit breaker is necessary.
The next step is assembling the right tools and materials. A screwdriver set, insulated pliers, and a voltage tester are typically required. Having the replacement thermostat ready is equally important. Because thermostats are model-specific, the replacement part must match the stove’s make and model precisely. Consulting the appliance’s manual or checking the serial plate will help identify the correct part number.
Preparing the work area also contributes to a smoother process. Ensure there is adequate lighting, clear counter space to place removed parts, and a safe surface to rest the stove if it needs to be moved away from the wall for rear access.
Accessing the Safety Thermostat in the Stove
The exact location of the safety thermostat varies by manufacturer and model, but it is typically located behind the back panel or within the control panel at the top of the stove. Accessing it requires careful disassembly. After confirming that the stove is completely powered down, the back panel screws can be removed. The panel should be handled carefully, as sharp edges can cause injury.
In some models, the thermostat may be positioned inside the oven cavity, behind an internal protective plate. Accessing this requires removing the oven racks and carefully unscrewing the internal panel. Whether approached from the back or inside, patience during disassembly is critical to avoid damaging wires, insulation, or surrounding components.
Removing the Faulty Thermostat
Once located, the faulty thermostat must be removed with attention to detail. It is connected to the stove’s wiring through spade terminals. Before disconnecting anything, it is wise to take a clear photo of the wiring layout. This photographic reference ensures accurate reconnection during reassembly.
Using insulated pliers, the wires should be gently disconnected from the thermostat terminals. If they are tight, slight rocking motions can help loosen them, but excessive force should be avoided. Once the wires are free, the mounting screws or clips securing the thermostat can be undone. The thermostat can then be removed completely from its position.
During this stage, it is advisable to check the condition of the wires and connectors. If any show signs of burning, brittleness, or corrosion, they should be repaired or replaced before the new thermostat is installed.
Installing the Replacement Thermostat
Installing the new thermostat is essentially the reverse of removal, but precision is important. The new component should be positioned correctly, ensuring that any sensors or probes align with the designed area for accurate temperature detection. It must be secured with the appropriate screws or clips, with no movement or looseness.
The wires should be reattached to the thermostat terminals exactly as before. The reference photo taken earlier becomes invaluable here. Each connection must be firm, with no risk of slipping off during operation. Loose connections can generate heat, leading to premature failure or even fire hazards. Once reconnected, a gentle tug on each wire can confirm that it is secure.
Before reassembling the stove panels, it is prudent to double-check the installation, ensuring no wires are trapped or pinched and that the thermostat is mounted firmly in place.
Reassembling the Stove and Restoring Power
With the new thermostat installed, the stove panels can be carefully replaced. Each screw should be tightened securely but not over-torqued, which could strip the threads or warp the panel. Once the stove is structurally back together, it can be reconnected to the power source. If hardwired, the circuit breaker can be turned back on. If the stove has a plug, it can be reinserted into the outlet.
At this stage, the stove should be powered on to verify successful installation. The oven should heat normally without tripping the power or shutting down prematurely. If the stove was previously displaying error codes related to overheating or thermostat failure, these should clear once the new component is functioning.
Testing the New Thermostat
Testing is the final and most important step in the replacement process. The oven should be set to a moderate temperature and allowed to preheat. It should heat evenly and maintain the set temperature without interruption. Observing the stove over the course of at least one cooking cycle ensures the safety thermostat is not falsely tripping.
In professional settings, technicians may use a multimeter or thermocouple probe to verify the exact cut-off point of the thermostat. For home users, ensuring that the oven reaches and maintains the selected cooking temperatures without sudden shut-off is a practical confirmation that the repair was successful.
Preventing Future Thermostat Issues
Replacing a safety thermostat provides an opportunity to review overall stove maintenance. Many thermostat failures stem from poor ventilation, grease buildup, or damaged insulation inside the oven cavity. Regularly cleaning the oven and ensuring that vents are not blocked helps maintain safe operating temperatures.
Additionally, avoiding the use of oversized or foil-covered trays that block airflow ensures that the thermostat does not need to work harder than designed. If the stove is used heavily, scheduling periodic inspections can also help catch potential problems early.
When to Call a Professional
While many homeowners are capable of replacing a stove safety thermostat, there are situations where calling a professional technician is the safer option. If the stove is built into cabinetry with complex electrical connections, or if multiple faults are suspected, professional expertise reduces the risk of error. Similarly, if the replacement involves unfamiliar wiring or advanced electronic controls, an expert ensures that the repair is completed to safety standards.
The stove safety thermostat is a small but vital component that plays a critical role in preventing overheating and ensuring safe operation. When it fails, cooking performance suffers and safety risks increase. Fortunately, replacing it is a straightforward process when approached methodically. From recognizing failure signs and preparing properly to installing the new component and testing it, every step contributes to a safe and reliable outcome. With patience and attention to detail, homeowners and technicians alike can restore a stove to its proper working condition, extending its lifespan and ensuring confidence in its daily use.