A fully functional stove is one of the most important appliances in any kitchen. It’s central to everyday cooking and food preparation, yet many homeowners overlook the small but crucial parts that keep it running smoothly. One such component is the stove knob insert, a piece often hidden behind the knob itself. Over time, these inserts can crack, wear down, or loosen, making it difficult to control the burners accurately. Replacing them is not only a cost-effective repair but also a way to ensure safety, precision, and convenience while cooking.
This comprehensive guide explores everything you need to know about stove knob inserts, from understanding their purpose and common issues to detailed replacement methods, safety precautions, and post-repair maintenance. Whether you are a homeowner attempting your first repair or a seasoned DIY enthusiast, this article provides the depth and clarity you need.

Understanding the Purpose of Stove Knob Inserts
Stove knob inserts are small but integral plastic or metal fittings located at the back of a stove’s control knob. Their role is to connect the external knob to the control stem of the appliance, allowing you to adjust the burner flame or heating element. Without these inserts, the knobs would not grip the control shaft, leaving you unable to control the stove effectively.
Over time, repeated use, exposure to heat, and the natural wear of materials can cause inserts to loosen, crack, or strip. Once this happens, you may notice knobs spinning freely, slipping, or failing to engage with the stove’s control mechanisms. At this stage, replacement is not just recommended—it becomes essential to restore functionality.
Signs That Stove Knob Inserts Need Replacement
Recognizing when inserts need replacing is critical to avoid further damage or unsafe conditions. One of the most common symptoms is when the knob turns without adjusting the flame or heat level. This often means the insert has lost its grip on the control stem. Another clear sign is visible wear or cracking in the insert when the knob is removed.
Other indications include knobs falling off easily, uneven resistance when turning, or inconsistent flame levels. These small changes can quickly escalate to larger problems, such as burners stuck at high settings, which can be hazardous. Acting early ensures that you maintain both safety and control in the kitchen.
Preparing for the Replacement Process
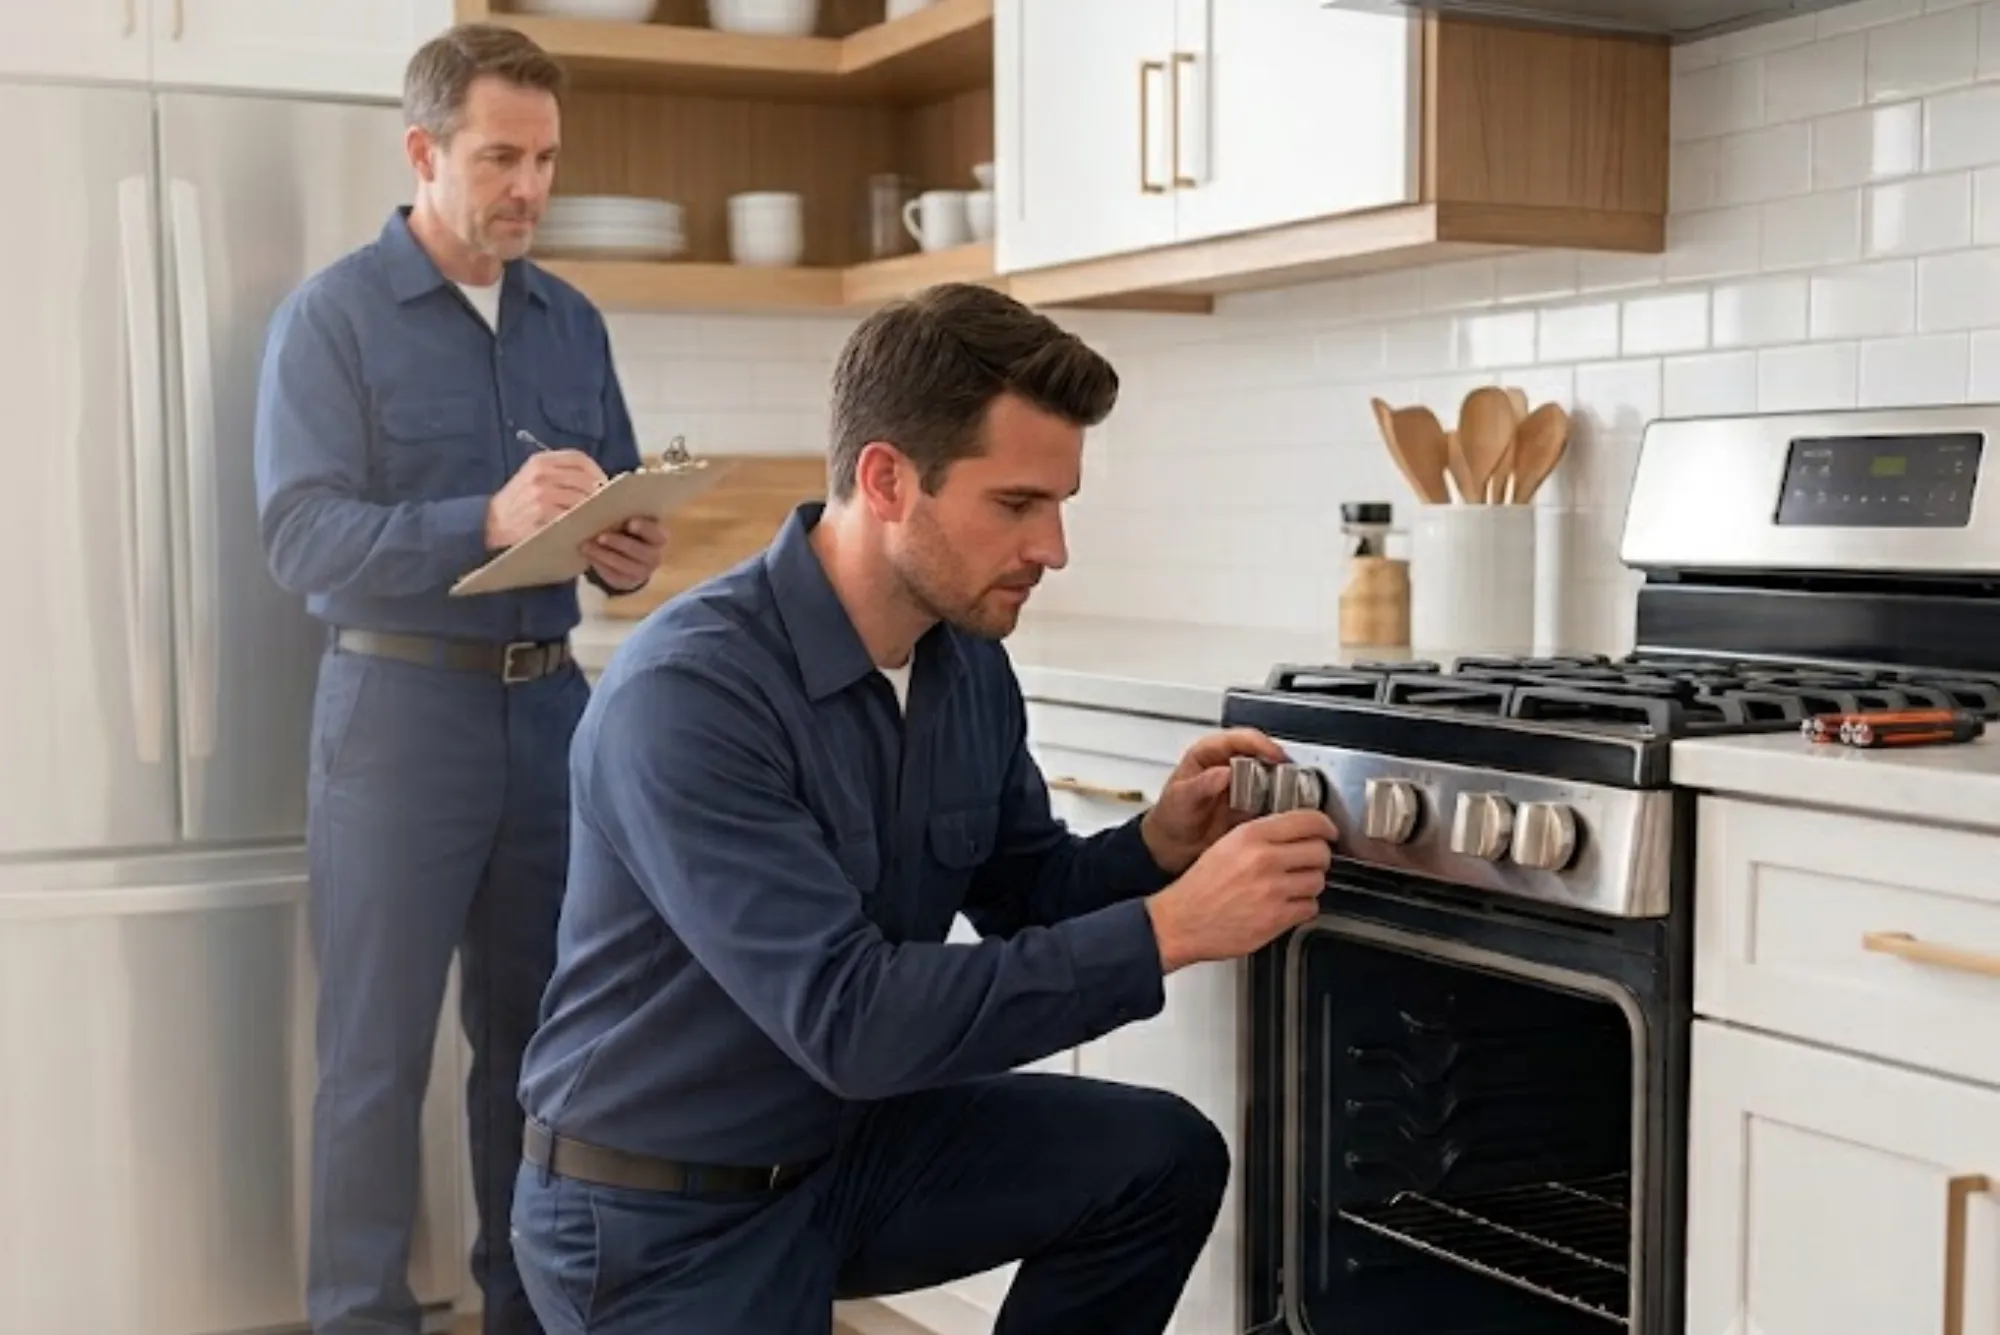
Before attempting any repair, preparation is vital. Safety should always come first, particularly when working with gas or electric appliances. The stove must be completely turned off, and for gas units, the fuel supply should be shut off as an added precaution. For electric stoves, unplugging the appliance from the power source prevents electrical risks.
Once safety is secured, you will need a few basic tools. Typically, these include a screwdriver, a replacement insert set, and possibly a pair of pliers to assist with stubborn components. Having the correct replacement part is equally important. Since stove designs vary widely across brands and models, identifying the correct insert through your stove’s model number or manufacturer is the best way to ensure compatibility.
Removing the Old Stove Knob Inserts
The removal process begins with gently pulling the knob away from the stove’s control stem. In most cases, knobs are simply press-fitted and should come off with steady, even pressure. Once removed, the insert is usually visible inside the back of the knob. Depending on the design, the insert may snap out with a small flathead screwdriver or require slight twisting to release.
Care should be taken not to damage the knob itself during this step, especially if you plan to reuse the original knob with the new insert. If the insert has cracked into pieces, it may need to be carefully pried or shaken out. Ensuring that the knob cavity is clean and free of debris before installing the new insert will improve the longevity of the replacement.
Installing the New Inserts Properly
Installing a replacement insert requires aligning it correctly with the knob cavity and pressing it firmly into place. Most inserts are designed with grooves or notches to match the control stem’s shape, ensuring a snug fit. Once positioned, it should sit flush without wobbling.
The knob with the newly installed insert can then be slid back onto the control stem. A secure fit will be noticeable immediately—the knob will no longer slip, and turning it will engage the burner or heating element properly. If the knob does not fit securely, rechecking the insert orientation or confirming compatibility with your stove model is recommended.
Testing and Safety Checks After Replacement
After installation, it is essential to test the repaired knob in a safe manner. Turn the control slowly to ensure smooth operation, listening for clicks in gas models or feeling for gradual temperature adjustments in electric versions. Each setting should respond as expected.
It is also worth checking all knobs if one insert has failed. Often, wear occurs at similar rates, meaning that if one has worn out, others may not be far behind. Replacing multiple inserts at once can prevent future inconvenience and maintain consistency across all stove controls.
Benefits of Replacing Stove Knob Inserts
Replacing stove knob inserts offers both practical and financial advantages. Functionality is restored, allowing precise control of cooking temperatures. This not only improves meal preparation but also reduces safety risks associated with stuck or unresponsive knobs.
From a financial perspective, replacing inserts is far more cost-effective than replacing the entire knob set or control assembly. It also extends the life of the stove by preventing further damage to the control stems. For many homeowners, this small repair contributes to maintaining appliance efficiency and avoiding costly service calls.
Common Mistakes to Avoid During Replacement
While the process seems straightforward, there are mistakes that can hinder the effectiveness of the repair. Using an incompatible insert is one of the most common errors, often leading to loose fits or further wear. Another mistake is forcing the knob back onto the control stem, which can cause cracking or misalignment.
Neglecting safety precautions is also a risk. Forgetting to turn off the stove or disconnect the power source increases the chances of accidents. Additionally, attempting to repair without the proper tools can result in damage to the knob or control shaft. Taking a methodical, careful approach ensures that the repair is successful and safe.
Long-Term Maintenance for Stove Knobs and Inserts
Once inserts are replaced, ongoing maintenance can help extend their lifespan. Regularly cleaning knobs with mild soap and water prevents buildup of grease and residue, which can contribute to wear. Avoiding excessive force when turning knobs also reduces stress on the inserts.
Inspecting knobs periodically for looseness or cracking can help you identify issues before they become severe. If replacements are needed again, having spare inserts on hand ensures that the repair can be completed quickly without prolonged disruption to your kitchen routine.
When to Seek Professional Help
Although replacing stove knob inserts is a manageable DIY repair, there are times when professional assistance may be necessary. If you encounter stripped control stems, gas leaks, or electrical faults, these issues extend beyond simple insert replacement. Attempting to handle them without expertise may create hazards.
In such cases, contacting a certified appliance technician is the safest approach. They can not only replace faulty parts but also inspect the overall condition of the stove, ensuring that it remains safe and functional.
A Small Repair With Big Impact
Replacing stove knob inserts is a relatively simple task that delivers significant benefits. It restores full control over cooking temperatures, enhances safety, and prevents premature wear of other stove components. By understanding the process, preparing properly, and avoiding common mistakes, homeowners can complete this repair confidently.
This small effort translates into smoother kitchen routines and extends the life of a vital household appliance. In many ways, it’s a reminder that the longevity of our tools often depends on attention to the smallest details. With proper care and timely replacements, a stove can remain reliable for many years, keeping your kitchen running efficiently and safely.