Dishwashers have become an essential appliance in every modern home. They save time, ensure cleanliness, and make kitchen work significantly easier. However, like any other home appliance, dishwashers are subject to wear and tear over time. One of the most common problems homeowners encounter is water leakage caused by faulty internal hoses. The internal hoses of a dishwasher play a crucial role in directing water flow throughout the washing cycles, connecting vital components like the pump, spray arms, and drain system. When these hoses become damaged, cracked, or clogged, the performance of the entire dishwasher is affected. Understanding how to replace dishwasher internal hoses can save you money, extend the life of your appliance, and ensure efficient cleaning results.
Understanding the Role of Internal Hoses
A dishwasher relies on multiple hoses inside the unit to perform its tasks effectively. These hoses connect the water inlet, circulation pump, spray arms, and the drain pump. Each one serves a unique purpose in the process of filling, cleaning, rinsing, and draining. For instance, the inlet hose supplies fresh water to the machine, while circulation hoses carry that water to different spray arms to clean dishes. The drain hose, on the other hand, removes dirty water at the end of the cycle. Without these hoses functioning properly, water cannot move through the appliance as intended, leading to leaks, low water pressure, or failure to drain.

When hoses degrade, small cracks or loose fittings often appear. Over time, high water pressure and detergent exposure can accelerate wear, leaving the machine vulnerable to leaks. Replacing faulty hoses not only restores functionality but also prevents potential water damage to floors and cabinets.
Common Signs of Hose Problems
Homeowners often notice early warning signs when internal hoses are failing. The most obvious symptom is water pooling around or under the dishwasher, which suggests a leak inside the unit. In other cases, the dishwasher might not fill properly, leaving dishes dirty after the cycle. A clogged or cracked hose can also make unusual sounds during operation, such as gurgling or hissing. If the machine fails to drain, the drain hose may be blocked or disconnected. Recognizing these signs early can prevent major repairs and unnecessary damage to your kitchen space.
Safety Measures Before Starting Replacement
Before attempting to replace dishwasher internal hoses, safety should always come first. Disconnect the appliance from its power source to eliminate the risk of electric shock. Unplugging the dishwasher or switching off the breaker is essential. Next, turn off the water supply connected to the appliance. Any remaining water in the hoses should be carefully drained or collected to prevent spills. Finally, ensure the dishwasher is pulled out from under the counter with enough space to access the back and sides. These preparations provide a safe environment to work on the internal components.
Steps to Access the Internal Hoses
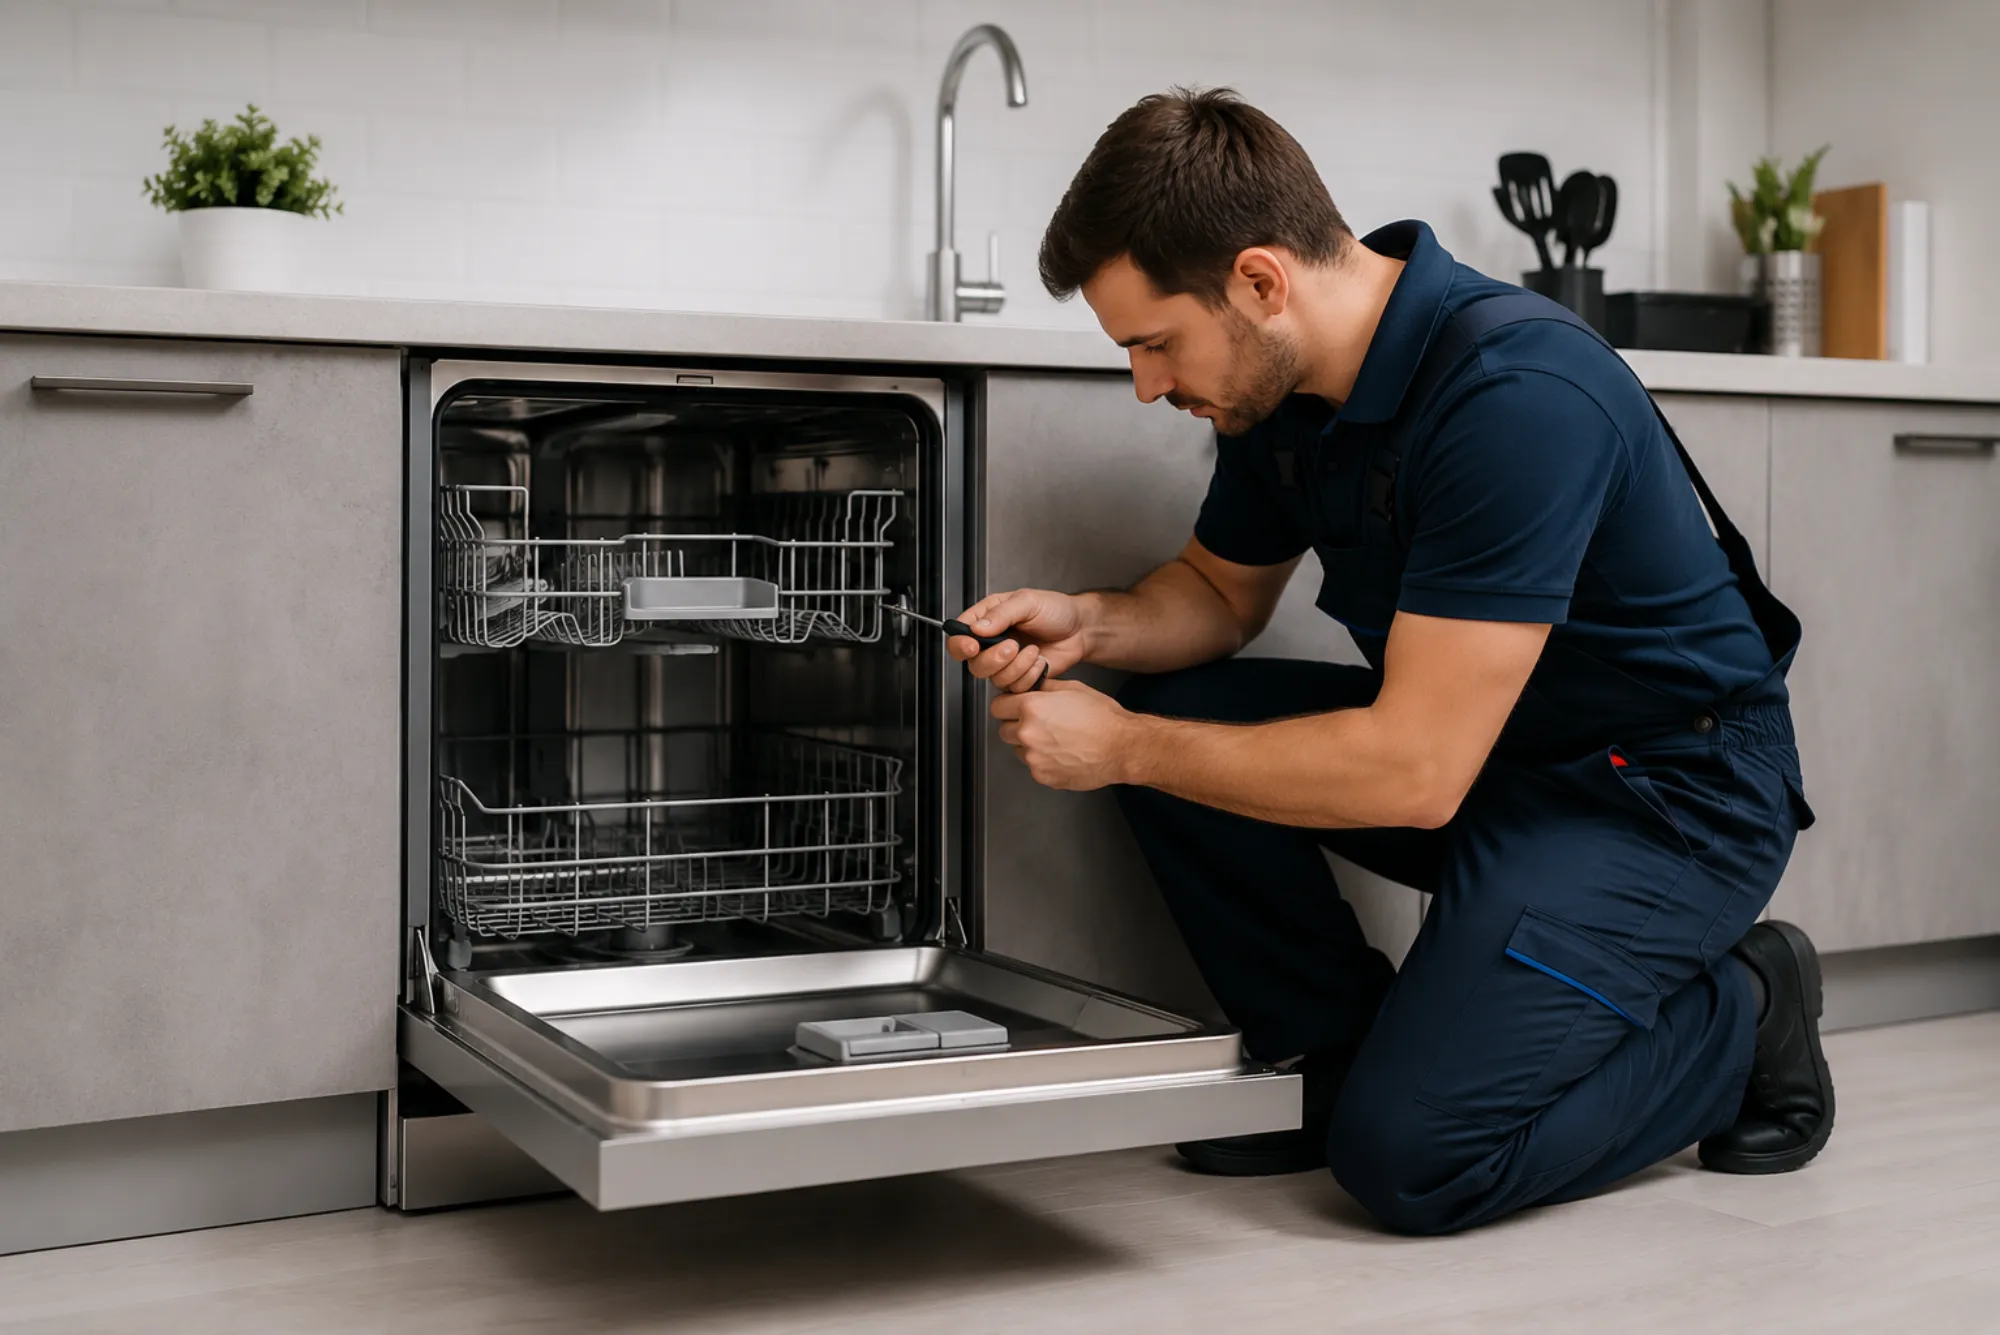
Gaining access to internal hoses requires opening up the dishwasher cabinet. Begin by removing the bottom kick plate, usually secured with screws. This allows you to view the internal components and locate the hoses connected to the circulation pump, drain pump, and spray arms. Depending on the dishwasher model, you may need to lay the appliance on its back or side for better visibility. Carefully examine the position of each hose, noting the clamps or connectors that secure them. Taking a few pictures during disassembly can help you remember where each hose belongs when reassembling the unit.
Removing the Faulty Hose
Once you have identified the damaged hose, use pliers or a screwdriver to loosen the clamps holding it in place. Gently pull the hose away from the connection points, being cautious not to damage other nearby parts. If the hose is stuck, a little twisting motion can loosen it. Be prepared for water to escape when disconnecting the hose, so keeping a towel or shallow container nearby is recommended. Once removed, inspect the hose carefully. Cracks, brittleness, or blockages confirm that replacement is necessary.
Installing the New Hose
Installing a new hose is essentially the reverse of removal. Align the replacement hose with the connection points and secure it tightly with clamps. Make sure the hose is not kinked or twisted, as this can restrict water flow. Clamps should be tightened enough to prevent leaks but not so much that they cut into the hose material. After connecting the new hose, double-check all attachments to ensure a firm seal. Proper installation ensures that water can move smoothly through the system without escaping.
Testing the Dishwasher After Replacement
Once the new hose is in place, it is essential to test the dishwasher before pushing it back under the counter. Reconnect the power supply and water line, then run a short cycle while observing the machine closely. Check for leaks around the replaced hose and listen for any unusual sounds. If no leaks are detected and the machine fills, washes, and drains properly, the installation has been successful. In case of minor drips, clamps may need further tightening. Once satisfied with the results, reinstall the kick plate and return the dishwasher to its original position.
Professional vs. DIY Replacement
While replacing dishwasher hoses can be done as a DIY project, some homeowners may prefer professional assistance. A professional technician brings expertise, proper tools, and experience in handling different dishwasher models. This can be especially helpful when hoses are difficult to reach or when other issues, such as pump failure or electrical faults, are discovered during inspection. On the other hand, a DIY approach can save on labor costs and provide a sense of accomplishment if done correctly. Ultimately, the decision depends on the complexity of the repair and the homeowner’s comfort level with appliance maintenance.
Preventing Future Hose Problems
Regular maintenance helps extend the life of dishwasher hoses. Running occasional cleaning cycles with dishwasher-safe cleaners reduces buildup that can clog hoses. Inspecting hoses during routine cleaning can reveal early wear before leaks develop. Ensuring that dishes are scraped free of large food particles also prevents blockages in circulation and drain hoses. Additionally, using the correct detergent and avoiding overloading the dishwasher reduces pressure on hoses and related components. With proper care, internal hoses can last many years before needing replacement.
When Replacement Is Not Enough
In some cases, replacing a single hose may not fully resolve dishwasher issues. For older machines, multiple hoses may degrade at the same time, or pumps may show signs of wear. If leaks persist after replacement, a technician should check the circulation pump, seals, or gaskets. At times, replacing the entire dishwasher may be a more cost-effective solution, especially when the machine is over a decade old and requires frequent repairs.
Knowing how to replace dishwasher internal hoses is a valuable skill that can save time and money while ensuring your appliance continues to perform effectively. From understanding the function of hoses to recognizing signs of wear, safely removing damaged parts, and installing new ones, the process can be managed with patience and the right tools. However, safety precautions and proper testing are critical to success. For those uncertain about tackling the repair, professional help remains a reliable option. Whether approached as a DIY project or with expert assistance, keeping dishwasher hoses in good condition ensures that your appliance continues to deliver the convenience and reliability your household depends on.