A dishwasher is one of the most useful home appliances because it saves time, energy, and effort in the kitchen. However, like any frequently used appliance, it can sometimes face wear and tear that affects performance. One of the most common issues homeowners experience is poor cleaning results, which often traces back to a faulty or damaged lower spray arm.
The spray arm plays a vital role in distributing water evenly during a wash cycle, ensuring that dishes come out sparkling clean. If the lower spray arm is cracked, clogged, or no longer rotating correctly, replacing it becomes essential. This article will guide you step by step on how to replace a dishwasher lower spray arm, while also offering useful insights into maintenance, troubleshooting, and care.

Understanding the Role of the Dishwasher Lower Spray Arm
The spray arms in a dishwasher are responsible for spraying high-pressure water mixed with detergent onto dishes. A standard dishwasher usually comes with an upper spray arm, a middle spray arm, and a lower spray arm. Among these, the lower spray arm is particularly important because it directs water upward to reach plates, pots, pans, and utensils on the lower rack.
It works by spinning when water pressure builds up, distributing water evenly. Over time, food debris, soap residue, or hard water deposits can clog the small holes in the spray arm, reducing its ability to clean. Cracks or physical damage may also stop it from spinning smoothly. When this happens, replacing it is often the most effective solution.
Signs That Your Dishwasher Lower Spray Arm Needs Replacement
Before attempting to replace the spray arm, it is important to confirm whether it is indeed the root cause of poor performance. Some of the most common signs include dishes coming out dirty even after a full wash cycle, noticeable cracks in the arm, or reduced water pressure from the spray holes. If the spray arm wobbles excessively or no longer spins when the dishwasher is running, that is another clear sign of damage. In many cases, cleaning the spray arm can temporarily restore functionality, but if the problem continues, replacement is the best option.
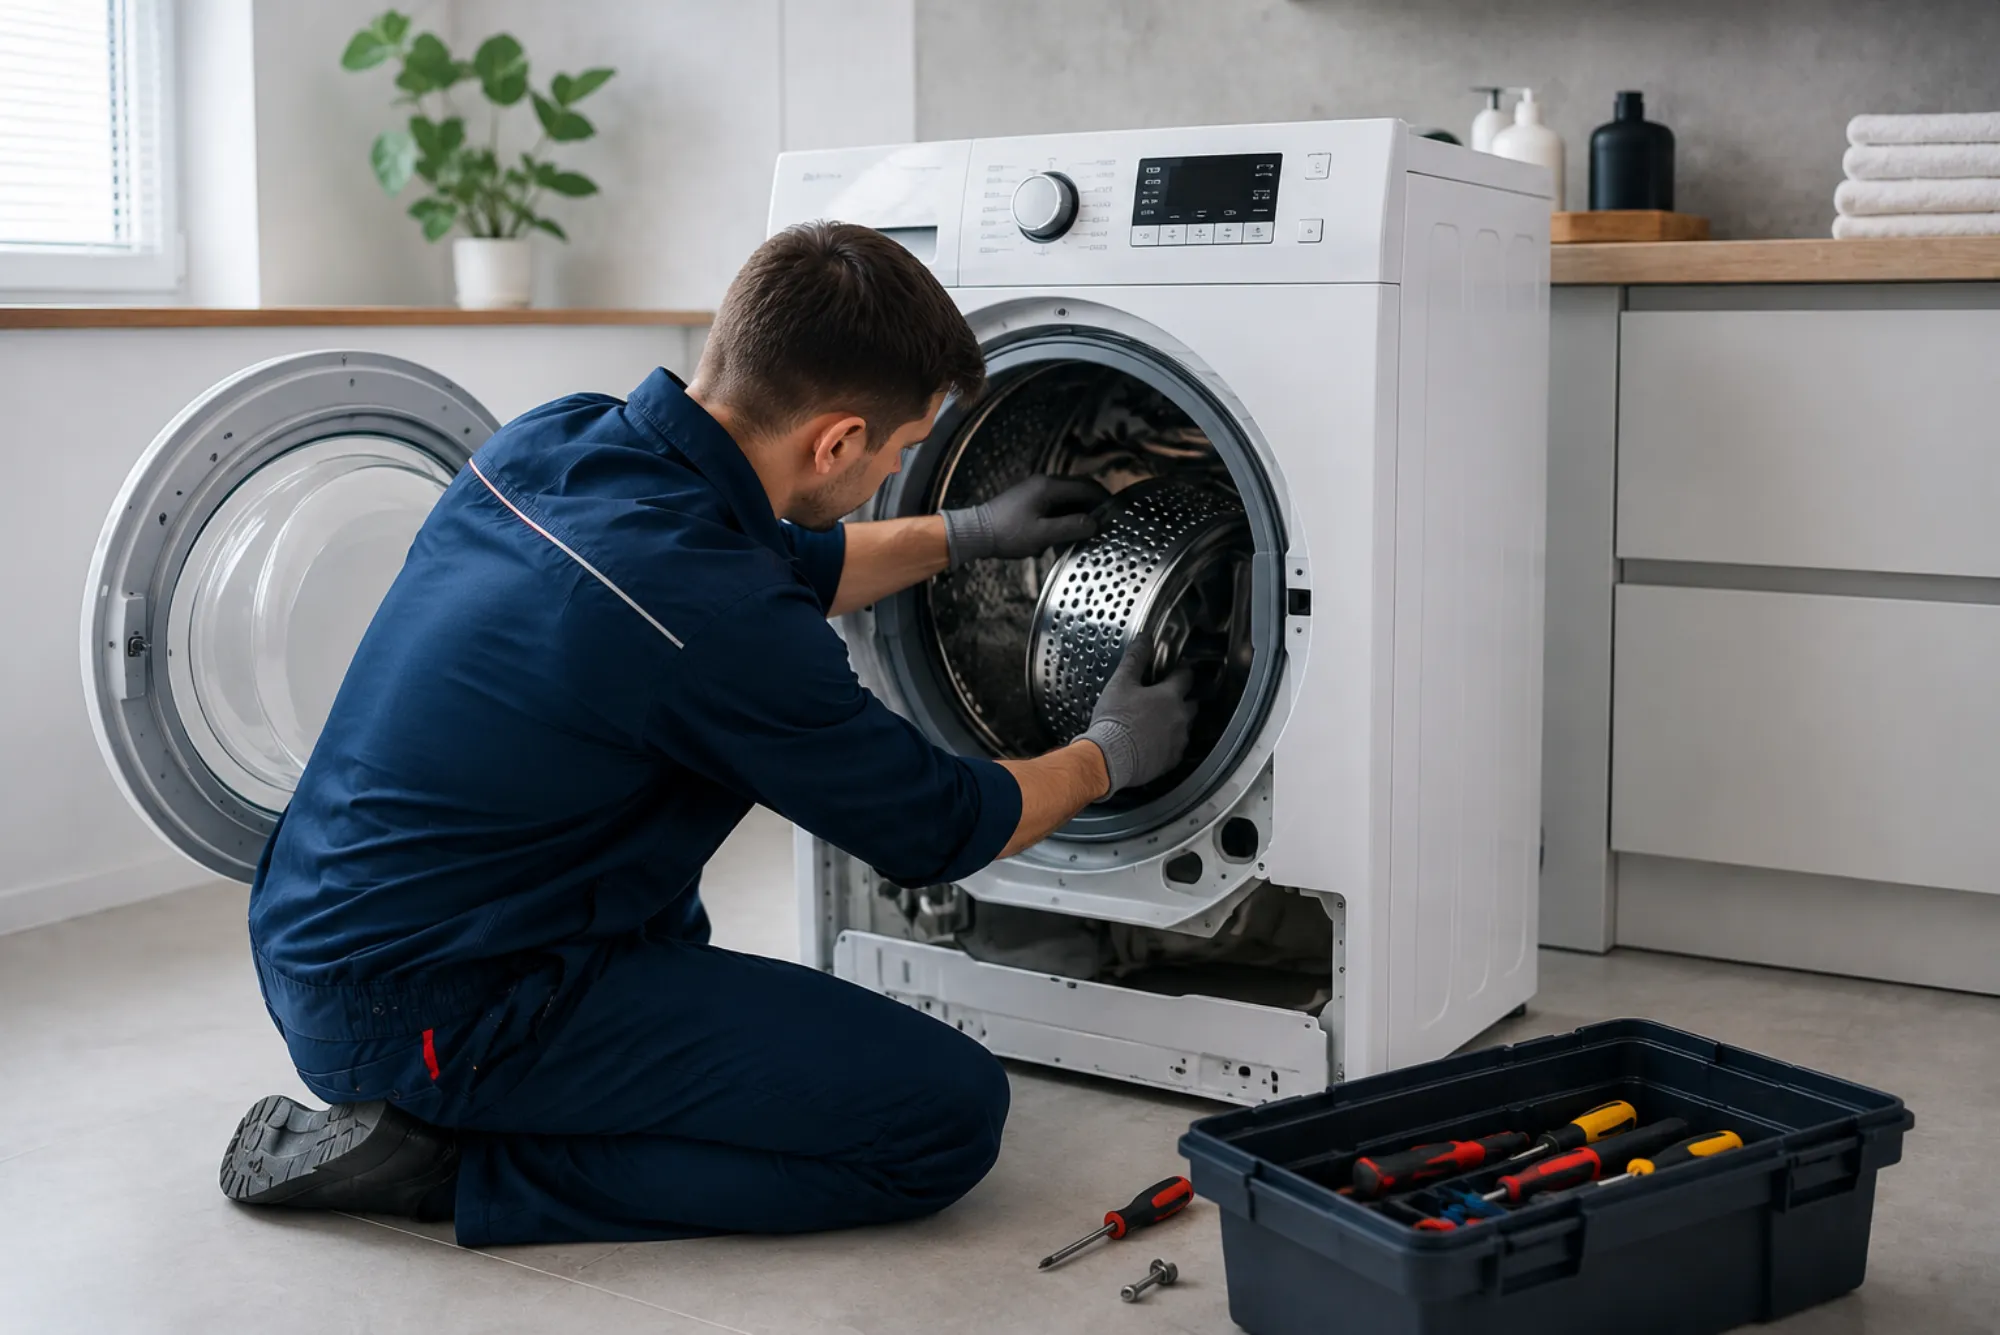
Preparing for the Replacement Process
Replacing a dishwasher lower spray arm is not a highly complex task, but it does require careful attention to detail. First, it is important to gather the right replacement part. The spray arm must be compatible with your specific dishwasher brand and model. Using the wrong part may prevent proper fitting or reduce efficiency.
You will also need some basic tools such as a screwdriver, pliers, or a wrench depending on your dishwasher’s design. Safety should always come first, so make sure to unplug the appliance or turn off the power supply before beginning the replacement process. This prevents electrical hazards and makes it safer to work inside the machine.
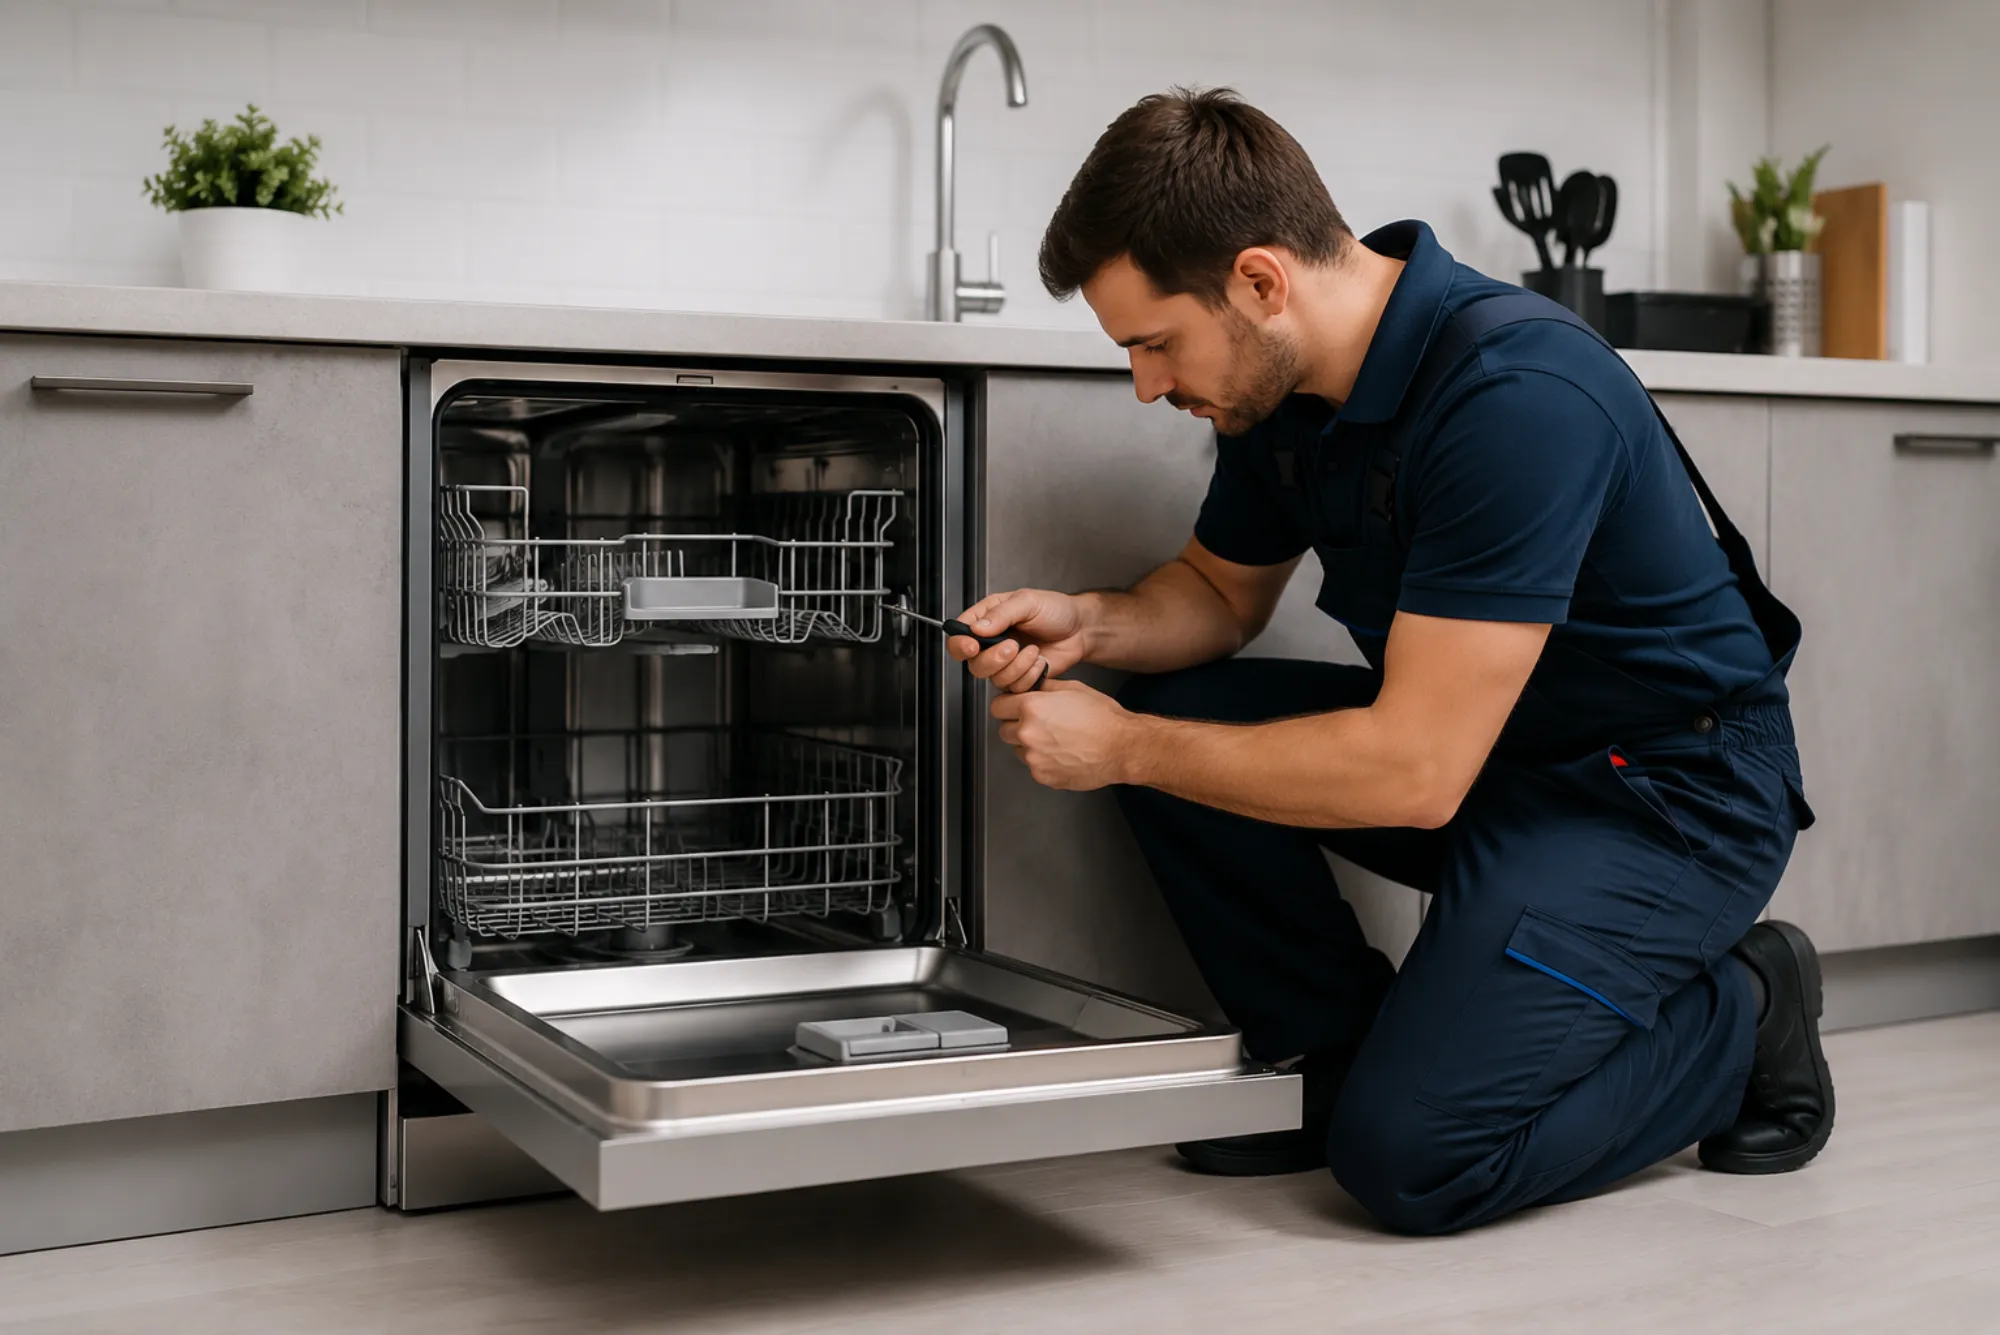
Removing the Damaged Spray Arm
The lower spray arm is usually located at the bottom of the dishwasher tub, directly under the lower dish rack. Begin by sliding out the lower rack to give yourself clear access. The spray arm is generally attached to a central hub or mount, and depending on the design, it may simply snap into place or be secured with a retaining nut.
If it is a snap-on design, gently pull upward to release the arm. If it uses a locking nut, use a screwdriver or wrench to loosen it. Once detached, lift the spray arm out carefully to avoid damaging surrounding components. At this stage, inspect the area for any food particles, mineral buildup, or debris that may have contributed to the malfunction. Cleaning the hub before installing the new arm ensures smooth performance.
Installing the New Spray Arm
Take the replacement spray arm and position it correctly on the mounting hub. If it is a snap-on model, press down firmly until you hear a click, ensuring it is securely in place. For models that require a retaining nut, align the spray arm with the central connector and tighten the nut carefully. It is important not to overtighten, as this can restrict the spray arm’s rotation. Once installed, give the spray arm a gentle spin by hand to confirm that it moves freely. The rotation should be smooth and unobstructed. Place the lower dish rack back into position and close the dishwasher door.
Testing the Dishwasher After Replacement
After installing the new spray arm, run a short cycle to test its functionality. Observe whether the arm spins properly and distributes water evenly. You should notice an immediate improvement in cleaning performance if the replacement was successful. Check the dishes after the cycle to ensure there are no spots or leftover food particles. If issues persist, double-check the installation or inspect other components such as the pump, filter, or water inlet valve. Sometimes, multiple parts can contribute to poor cleaning performance.
Maintenance Tips to Extend the Life of a Spray Arm
Replacing the lower spray arm restores dishwasher performance, but maintenance is key to preventing future issues. Regularly clean the spray arm holes to remove any clogs caused by food debris or mineral buildup. Running a dishwasher cleaner once a month can help reduce scale and grease accumulation.
Always scrape off large food particles before loading dishes, as this prevents blockages in the spray arm and filters. If you live in an area with hard water, consider using a water softener or adding rinse aid to minimize calcium buildup. By practicing proper maintenance, you can extend the lifespan of your spray arm and reduce the frequency of replacements.
When to Seek Professional Help
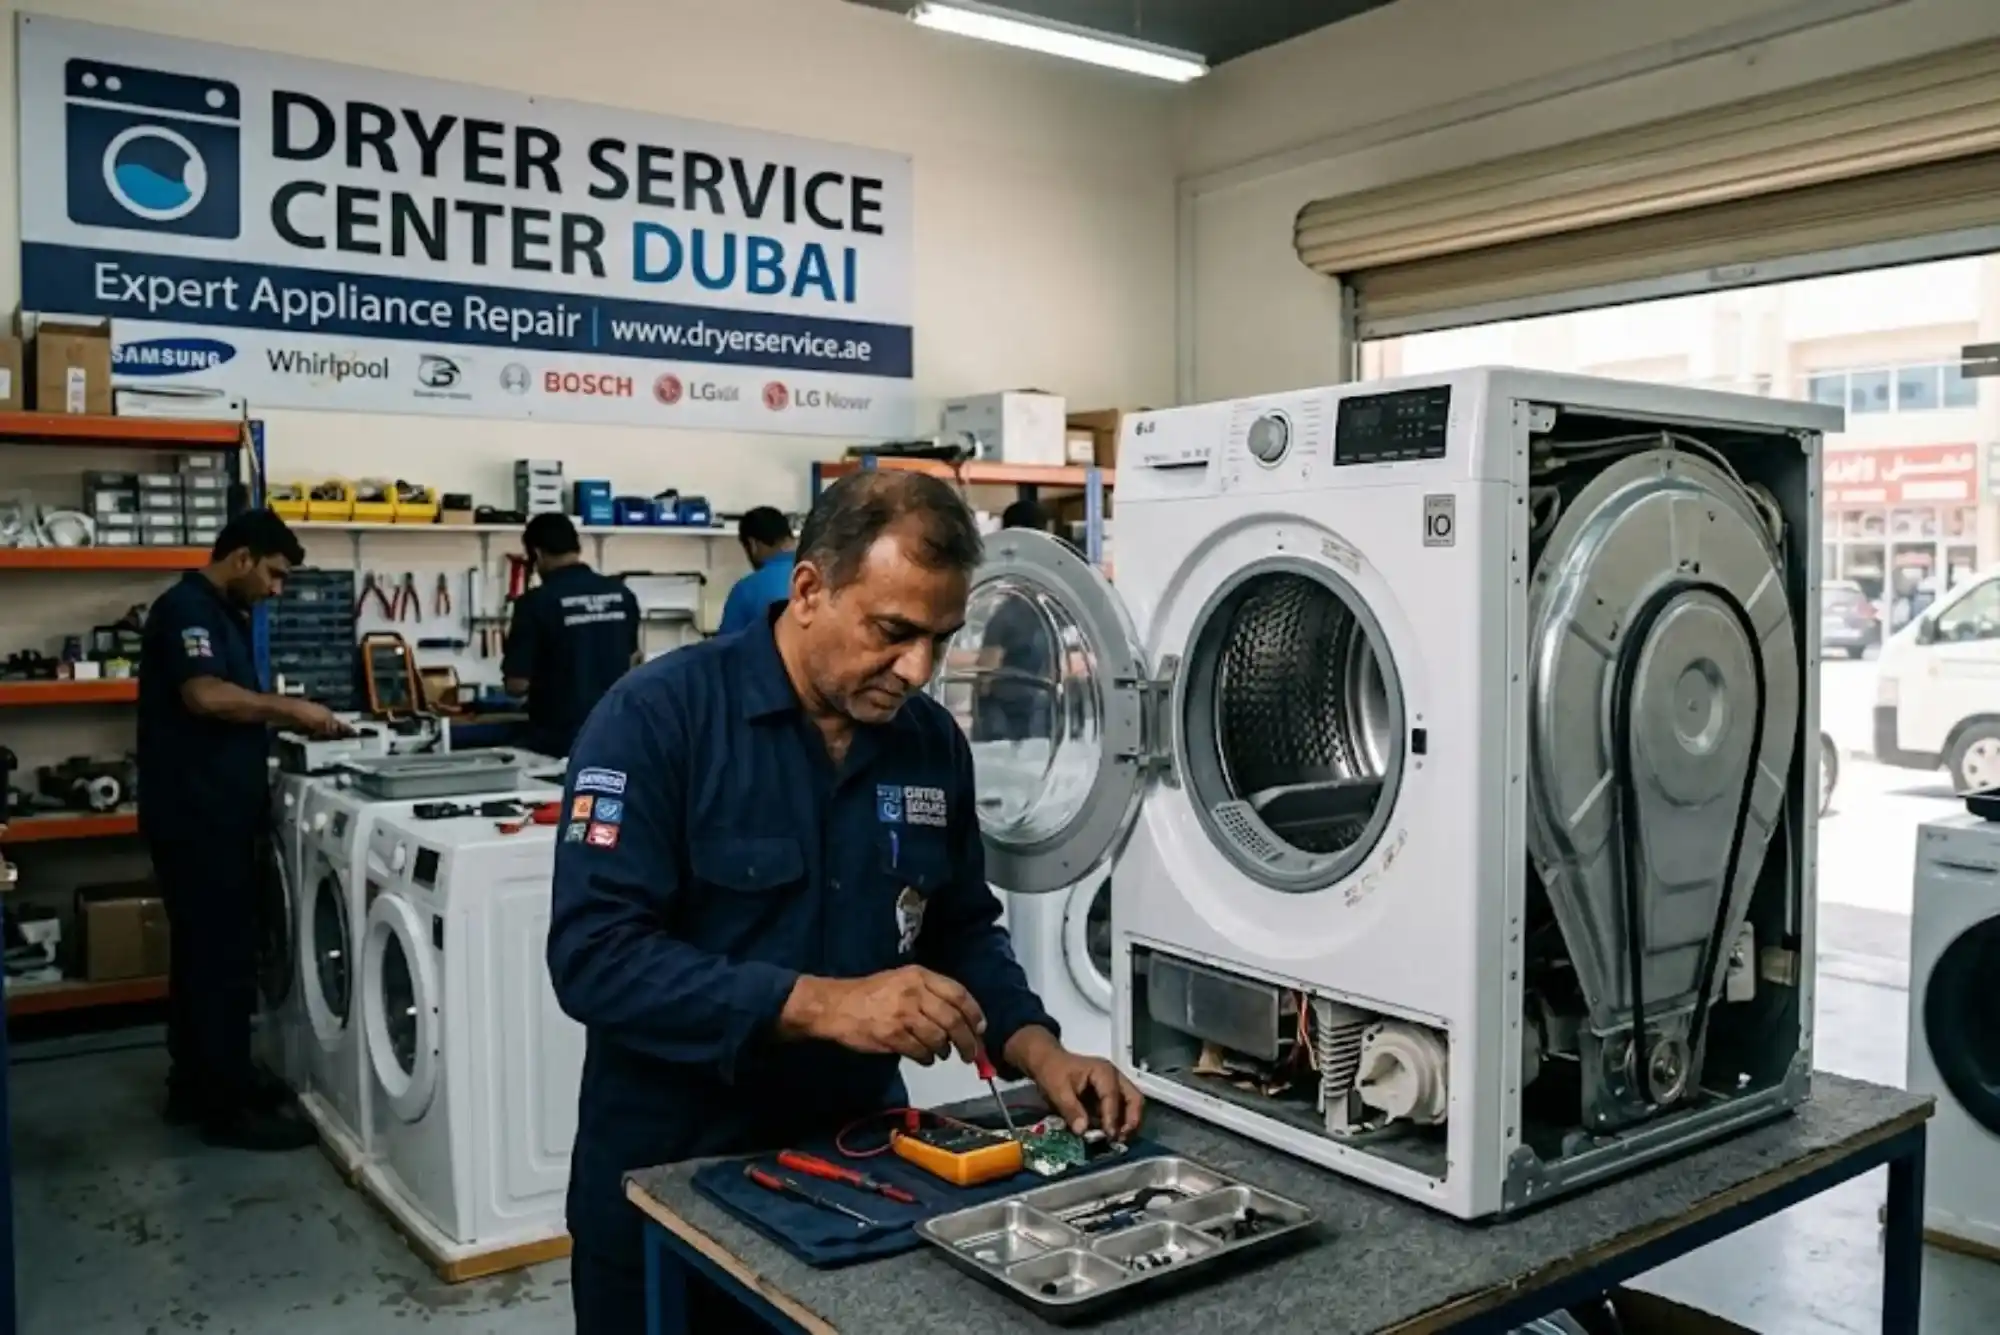
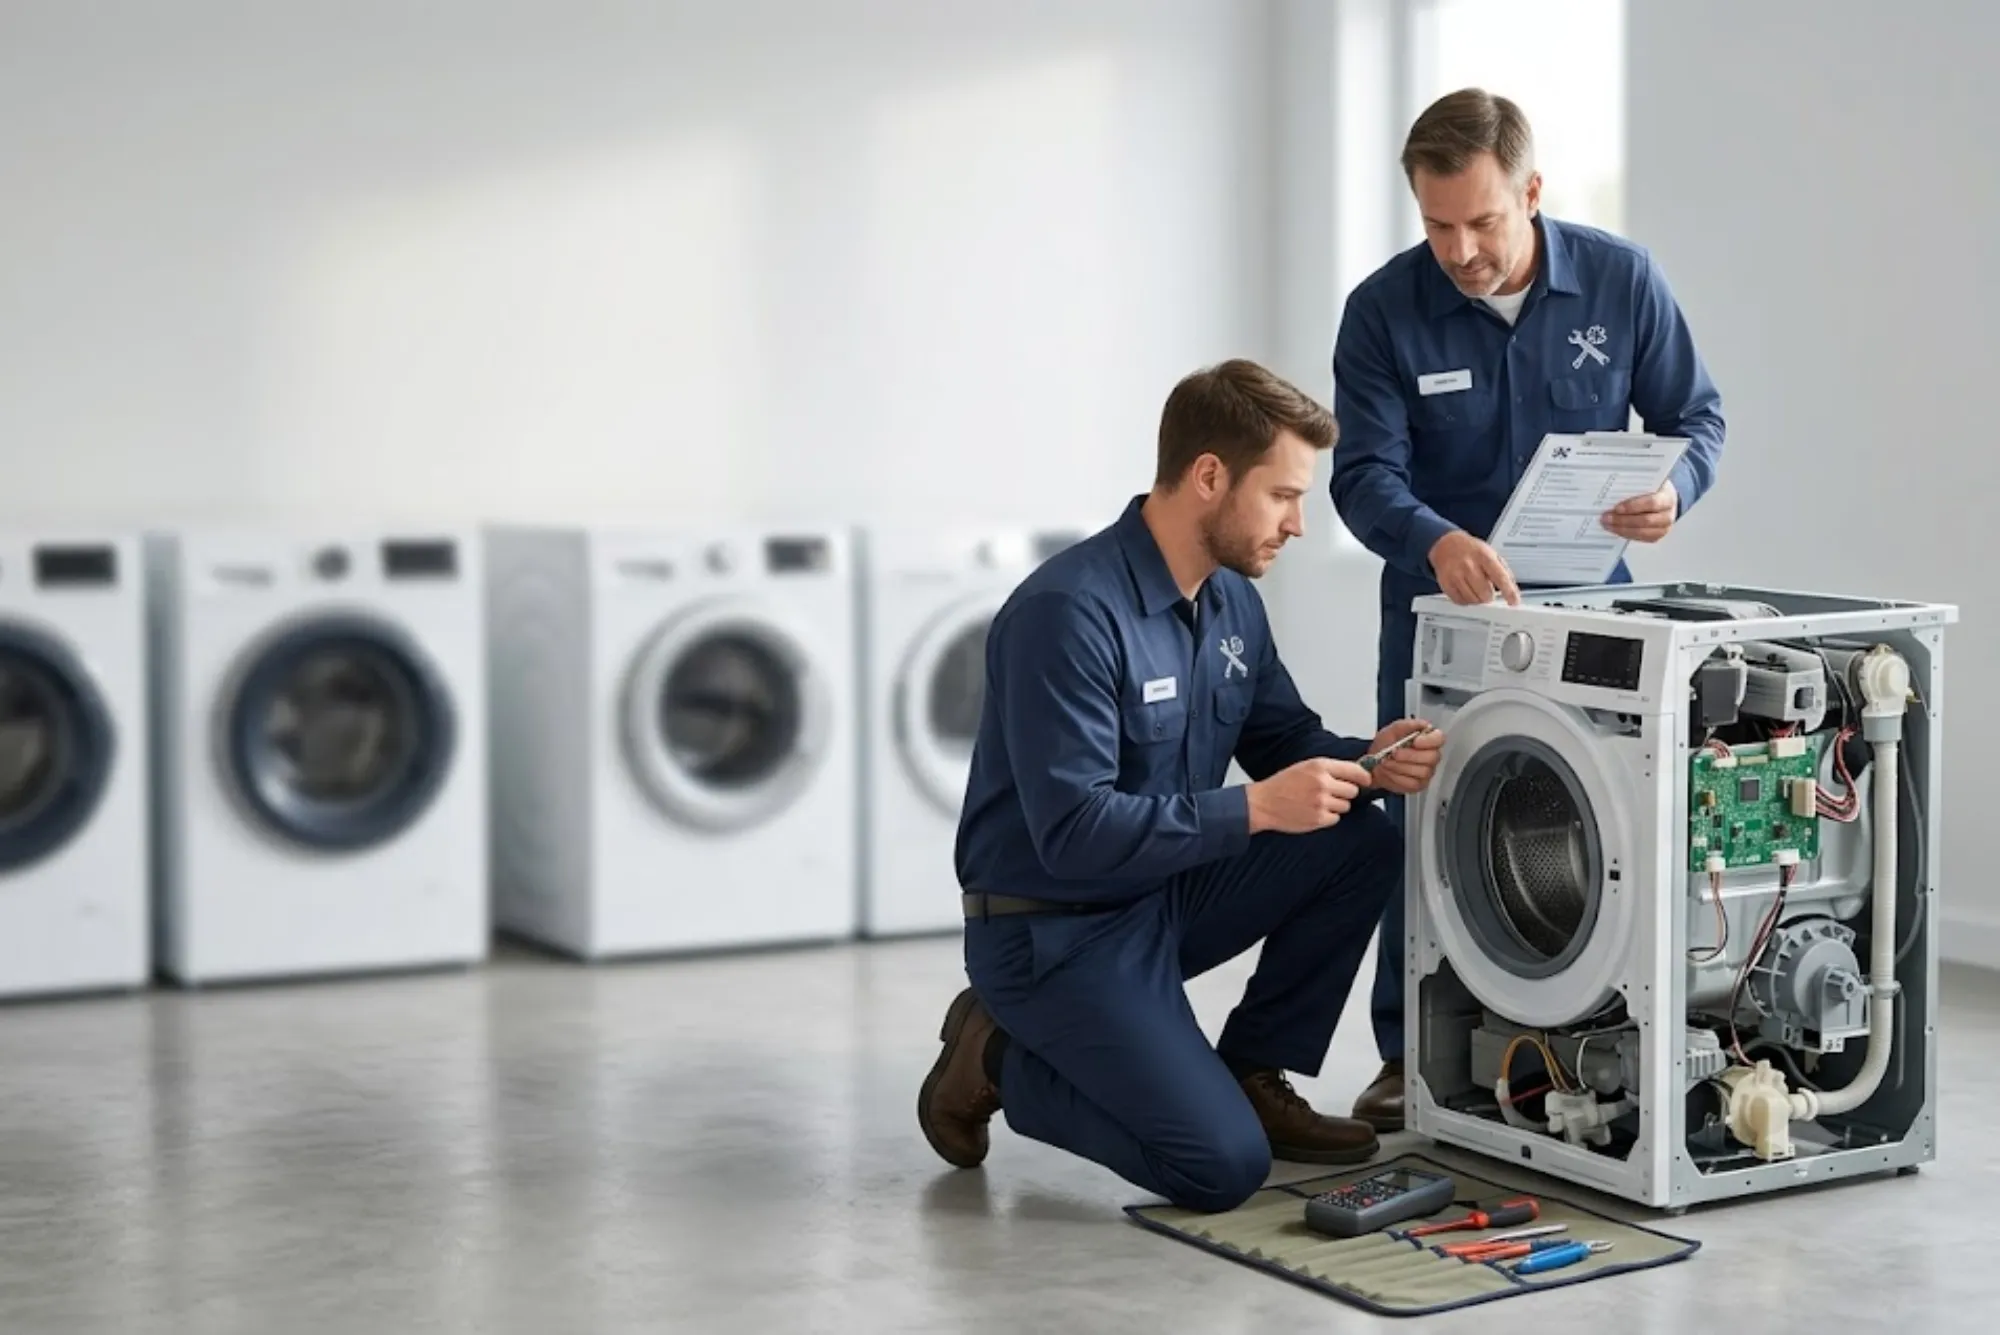
Although replacing a dishwasher lower spray arm is usually manageable for homeowners, there are situations where professional help is recommended. If the spray arm is repeatedly getting damaged, there may be an underlying issue with water pressure, pump performance, or installation alignment. A technician can perform a full diagnostic check to identify deeper problems. Similarly, if you are uncomfortable handling appliance repairs or if the replacement involves more complex disassembly, calling a professional is the safest option.
The Importance of Quality Replacement Parts
Another key factor in successful dishwasher repair is the quality of the replacement part. Always purchase genuine or manufacturer-approved spray arms instead of generic versions. While cheaper alternatives may seem appealing, they often fail to provide the same durability and performance.
Genuine parts are designed to fit perfectly and last longer, ensuring your dishwasher continues working efficiently. Many appliance repair services and online retailers offer original parts that match your dishwasher model. Investing in the right part not only improves results but also prevents recurring issues.
A properly functioning dishwasher depends heavily on its spray arms, and the lower spray arm in particular plays a crucial role in ensuring thorough cleaning. When this component becomes damaged or clogged, dishes may come out dirty and the appliance will lose its efficiency. Fortunately, replacing a dishwasher lower spray arm is a straightforward task that most homeowners can handle with minimal tools.
By carefully following the steps of removal, installation, and testing, you can restore your dishwasher’s performance and enjoy spotless dishes once again. Regular maintenance, cleaning, and the use of genuine replacement parts will further extend the life of your appliance. Whether you decide to replace the spray arm yourself or call in a professional, addressing the problem quickly will save time, improve efficiency, and ensure your dishwasher continues serving you well for years to come.