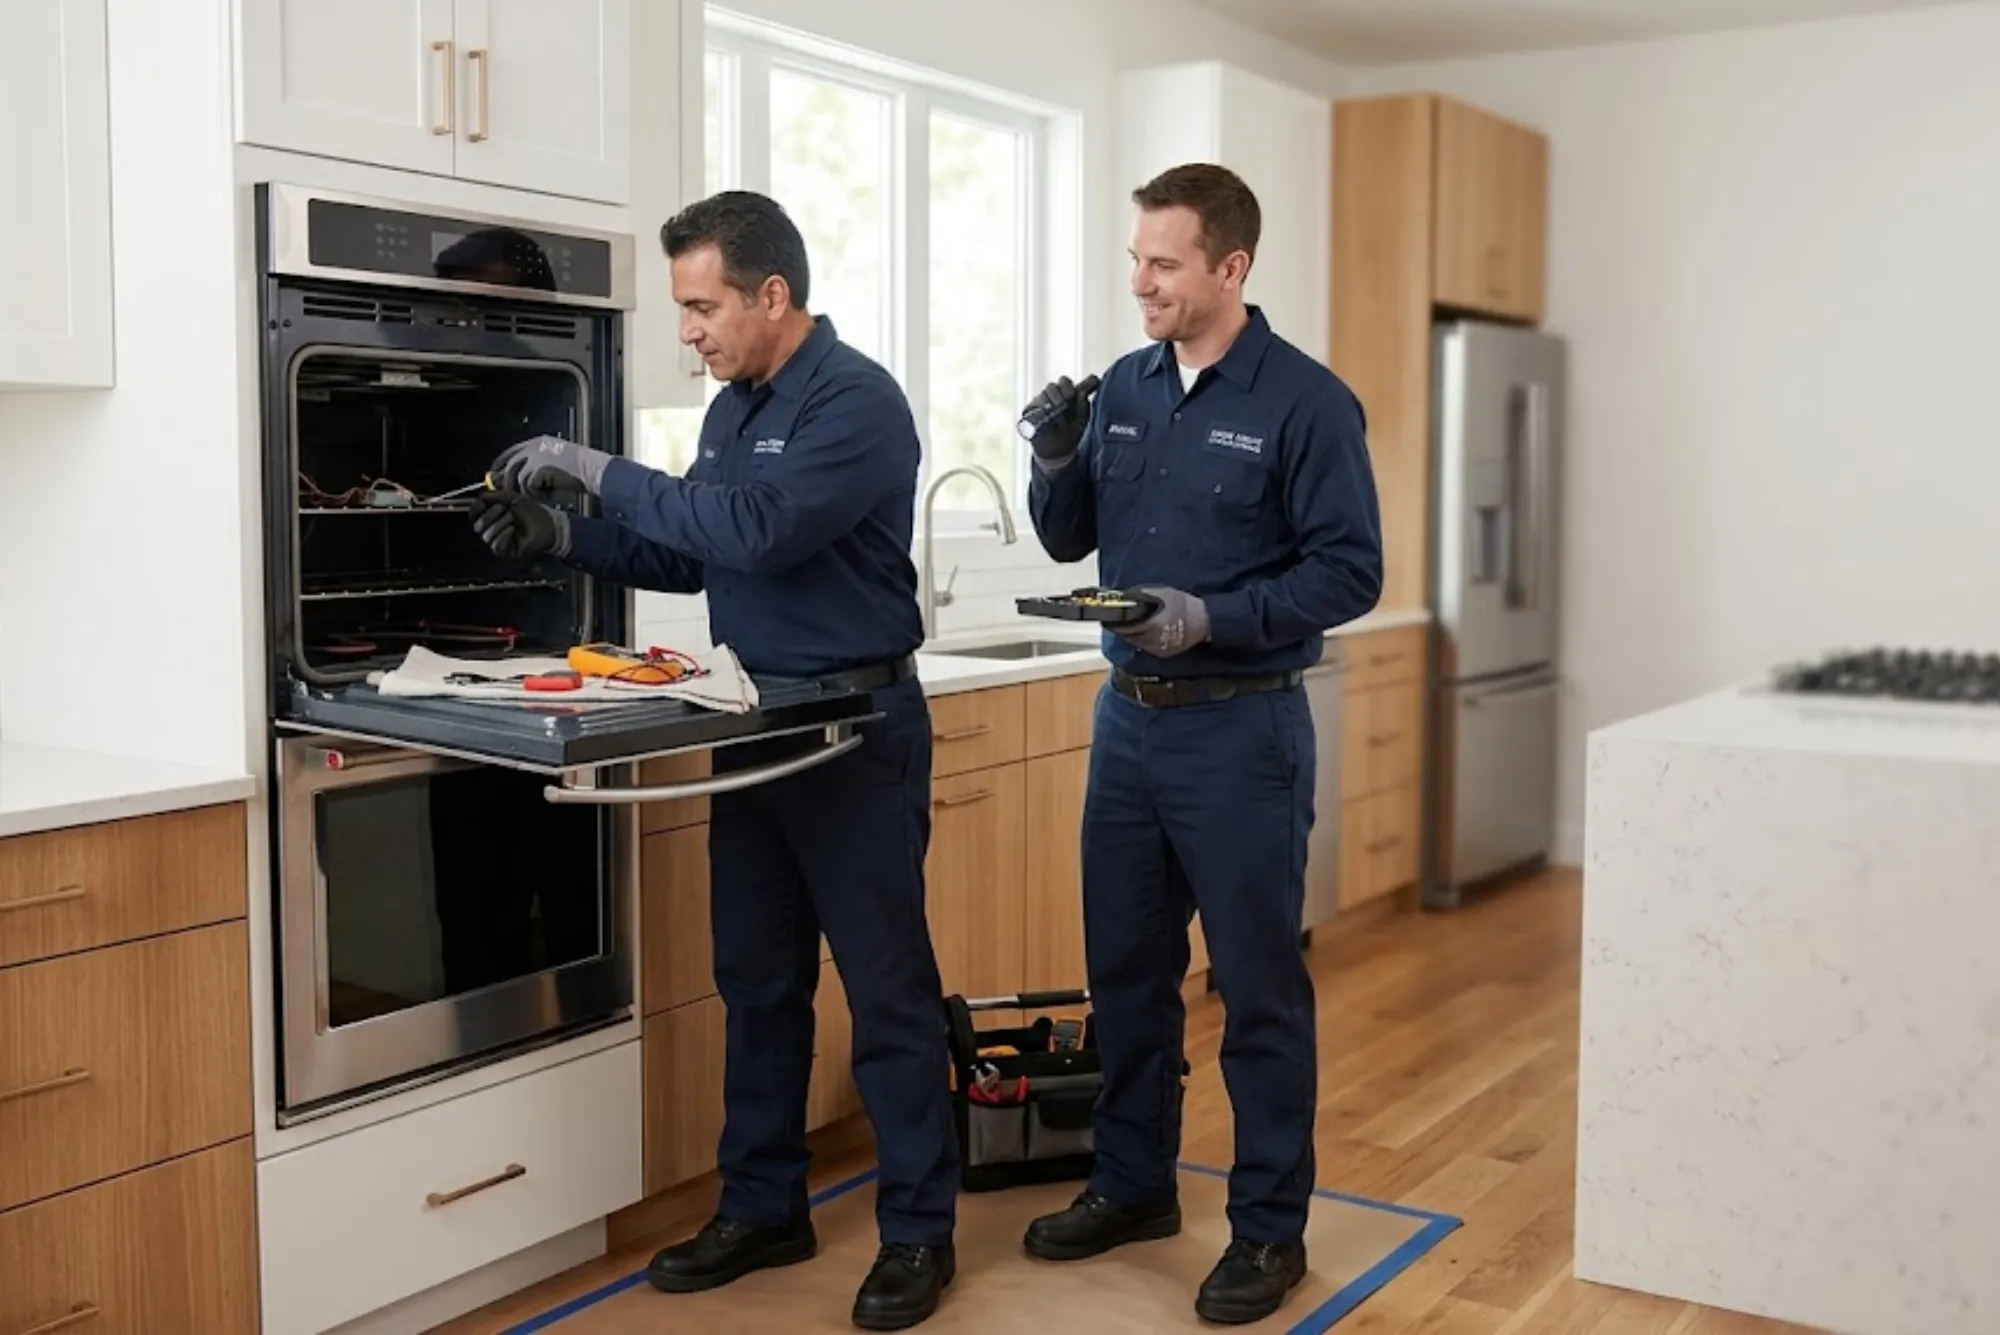
An oven is one of the most essential appliances in any home, making meal preparation convenient and efficient. When everything is working as it should, the oven provides consistent heat and reliable cooking performance. However, if your oven begins failing to ignite or struggles to maintain proper heating, one common culprit is the ignition module. The ignition module is the component responsible for sparking and igniting the gas in your oven. Over time, it can wear out, leading to ignition failures or intermittent performance. Knowing how to replace an oven ignition module is a valuable skill for homeowners who want to extend the life of their appliance and restore its full functionality.
Replacing an oven ignition module may sound like a technical process, but with careful preparation and the right approach, it is possible to carry out the repair effectively and safely. This article explains in detail what an ignition module does, the signs that it needs replacement, the precautions you must take before starting the process, and a step-by-step guide on replacing it. It also covers professional insights on when to attempt a do-it-yourself replacement and when to call a technician for help.

Understanding the Role of the Ignition Module
The ignition module is essentially the control center for the oven’s ignition system. In gas ovens, this module generates the spark or signal needed to ignite the burners. Without a properly functioning ignition module, the gas released into the oven chamber may fail to light, creating a safety hazard and leaving you with an oven that does not work. Modern ovens rely heavily on this component to ensure consistent performance, and even a minor malfunction can disrupt cooking routines.
When the ignition module fails, you may notice clicking sounds without ignition, prolonged heating times, or the oven simply failing to start. Since this part directly controls the combustion process, it is critical to ensure that it is always in good working condition.
Common Signs of a Faulty Ignition Module
Recognizing the symptoms of a defective ignition module helps you decide when a replacement is necessary. Some of the most common indicators include:
- The oven fails to ignite even though you hear the gas flowing.
- The igniter produces no spark or a very weak one.
- There is a delay in ignition, causing the oven to take longer to heat up.
- The burners fail to stay lit or shut off unexpectedly during cooking.
- A faint smell of gas may linger because the oven fails to ignite properly.
These symptoms usually point toward a deteriorating ignition module. If left unresolved, the issue can cause further stress on other oven components and increase the risk of gas leaks or incomplete combustion.
Safety Considerations Before Replacing an Ignition Module
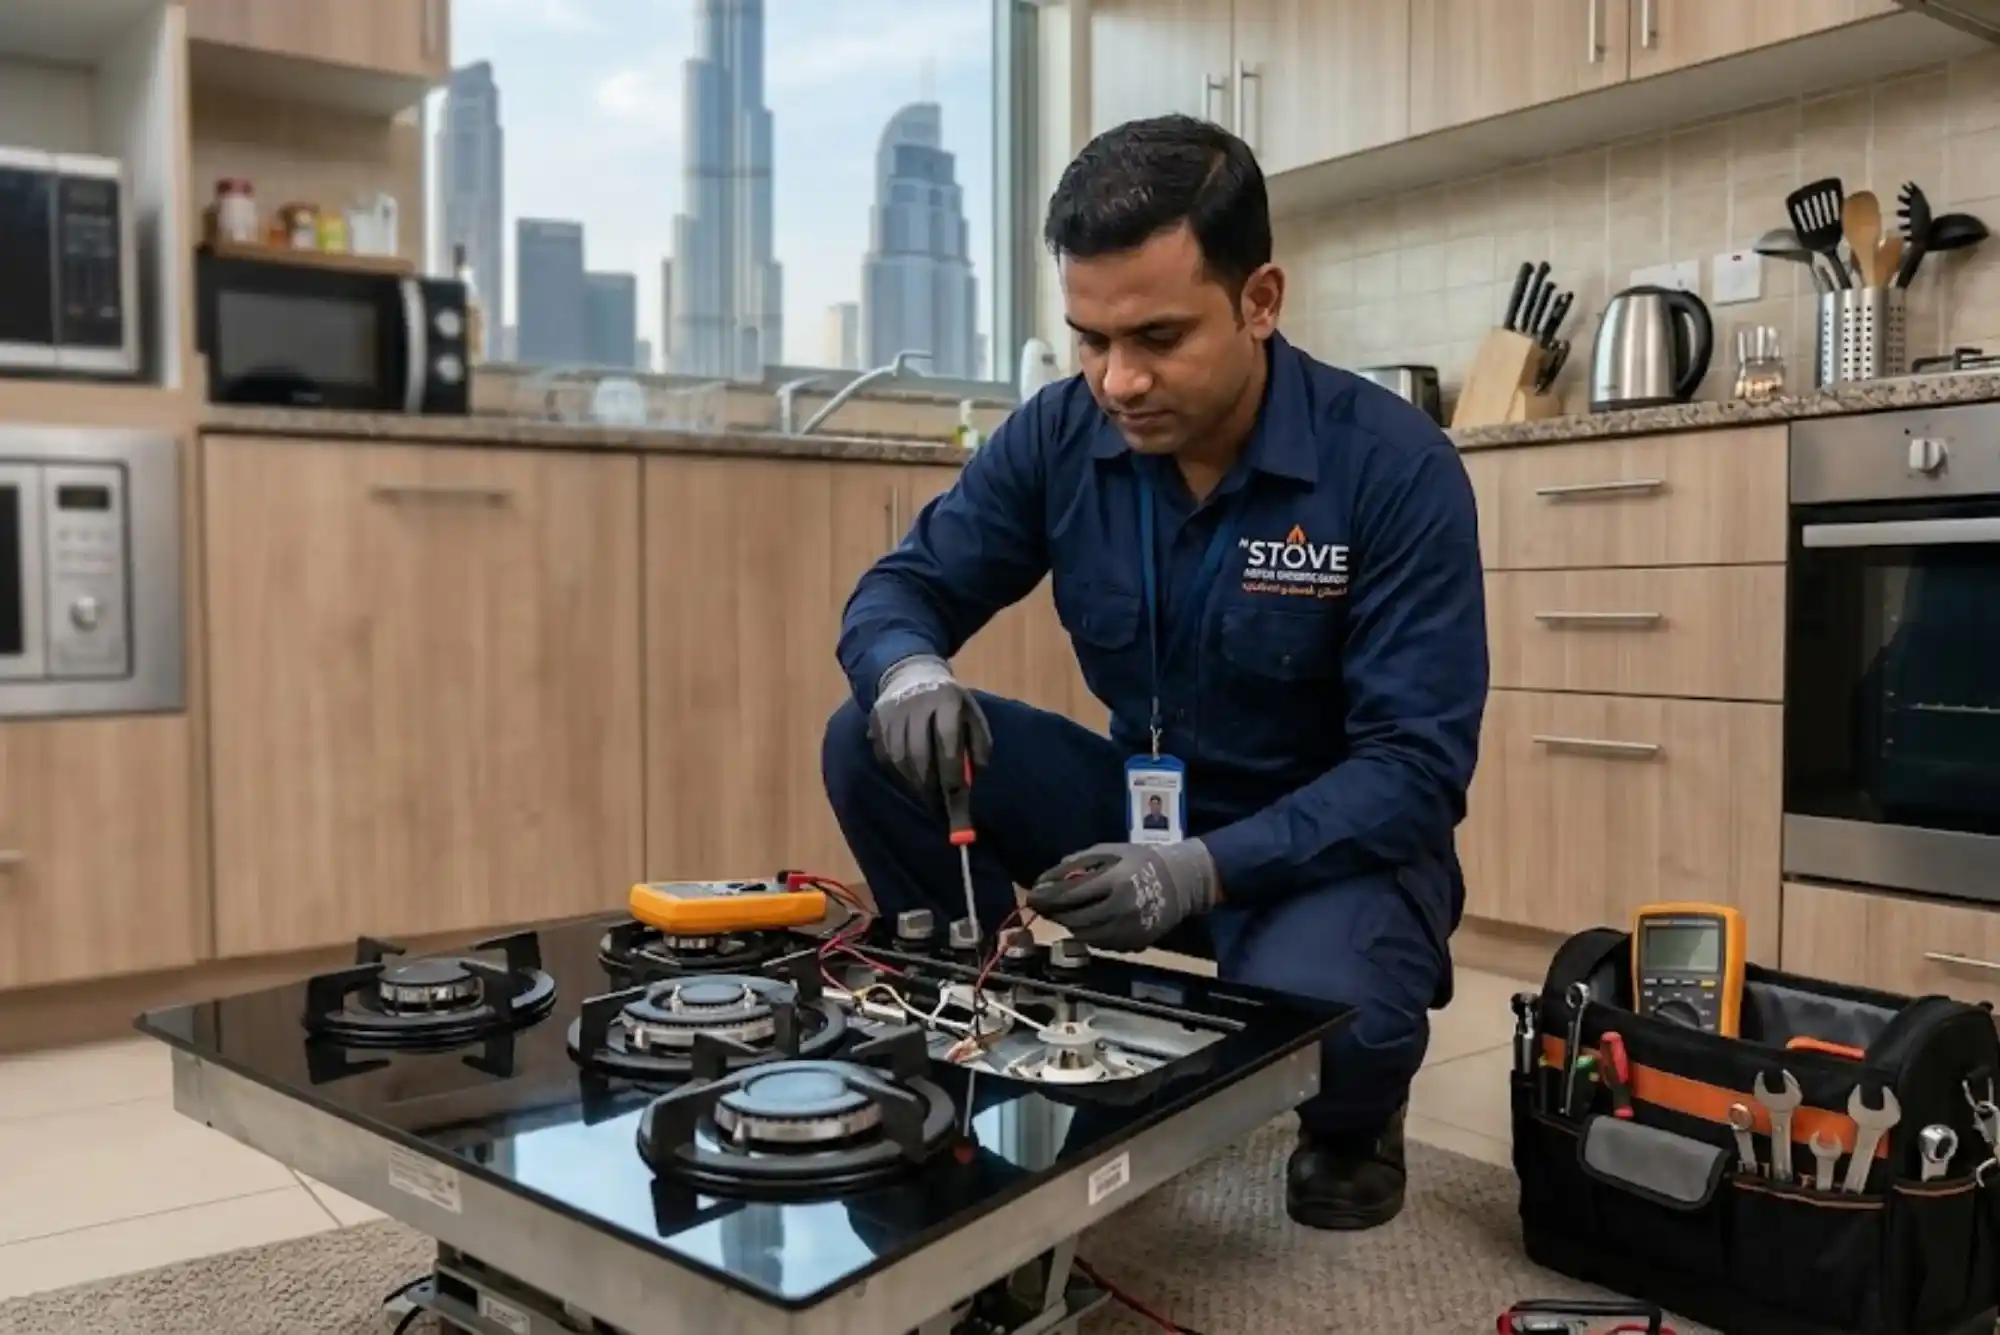
Working with gas appliances requires the highest level of safety. Before you attempt to replace an oven ignition module, make sure to follow strict safety precautions. First, disconnect the oven from the power supply by unplugging it or switching off the breaker. This eliminates the risk of electrical shock while handling internal components. If your oven is connected to a gas line, shut off the gas valve completely to prevent leaks during the repair process.
It is also important to work in a well-ventilated area. Avoid using open flames or smoking near the oven during the repair. Wearing protective gloves can safeguard your hands from sharp edges inside the appliance, while safety glasses will protect your eyes from accidental sparks or dust. Preparing the workspace with adequate lighting and keeping your tools organized will also make the replacement process smoother and safer.
Tools and Materials Required
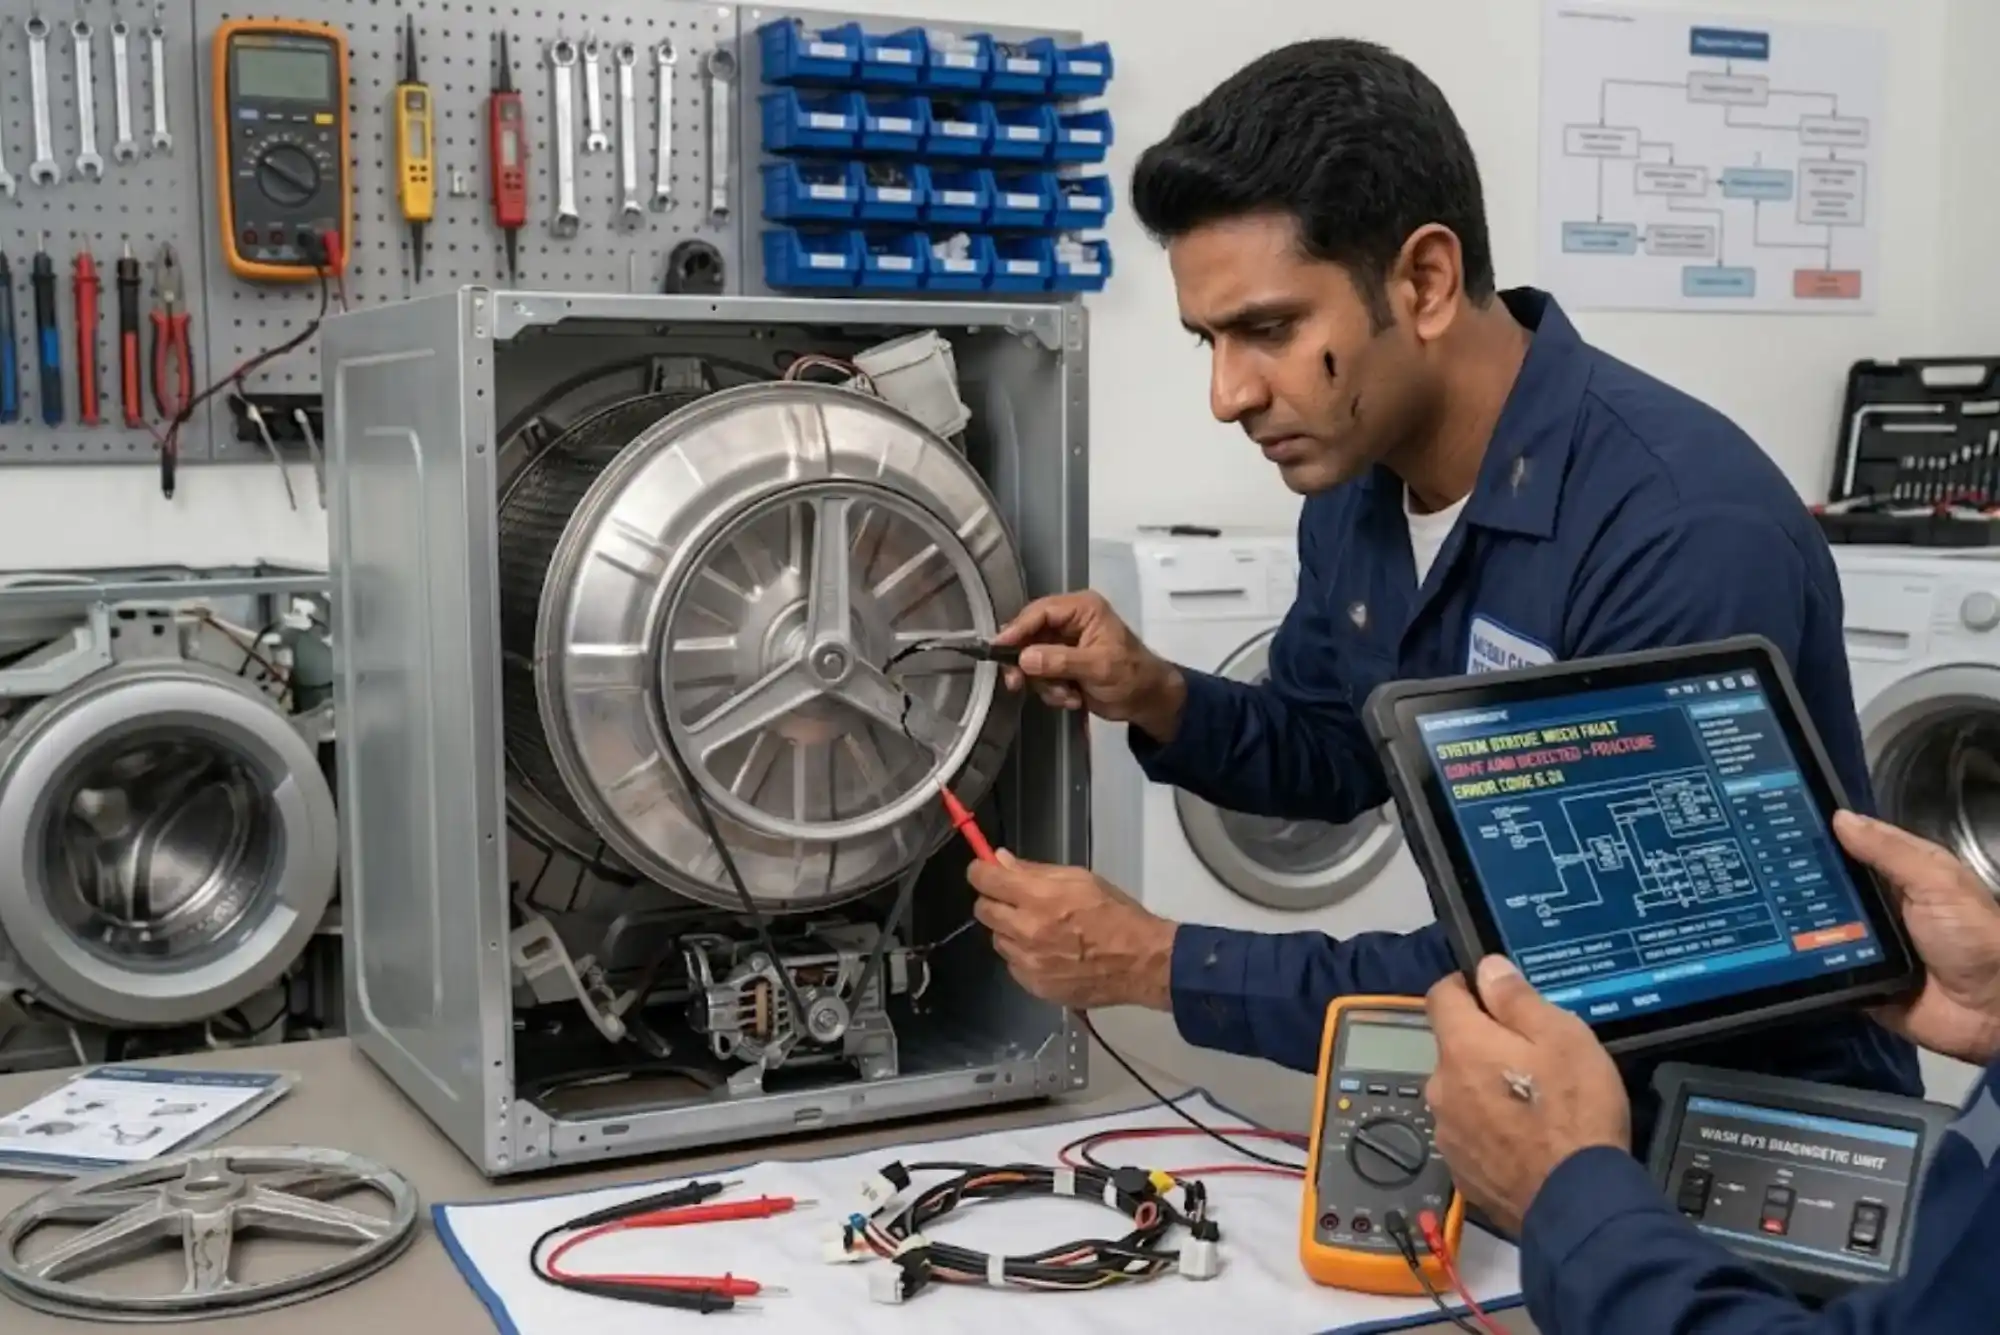
To successfully replace an oven ignition module, you need a few basic tools and replacement parts. Typically, the tools include a screwdriver set, a nut driver, and pliers. Some ovens may require a socket set, depending on how the ignition module is mounted. You will also need the correct replacement ignition module, which should be compatible with your oven’s make and model. Using the wrong part can lead to improper functioning or further damage.
It is a good practice to have a multimeter on hand for testing electrical connections. This allows you to verify whether the old ignition module is defective before replacing it. Having electrical tape or wire connectors may also be helpful in case you need to secure new wiring during the installation process.
Step-by-Step Guide to Replacing an Oven Ignition Module
Replacing the ignition module involves several detailed steps. Once you have taken safety measures and gathered your tools, you can proceed with the repair.
The first step is to access the ignition module. Most ovens require you to remove the back panel or lower compartment to reach it. Once located, observe how the module is mounted and connected. Carefully take note of the wiring configuration or take a picture before disconnecting any wires. This will help you connect the new module correctly.
Next, disconnect the wiring harness or individual wires from the faulty module. Use pliers if necessary to loosen any tight connections. After disconnecting the wires, remove the screws or bolts securing the ignition module in place. Take out the old module gently to avoid damaging nearby components.
Now, position the new ignition module in the same location and secure it with screws or bolts. Reconnect the wires according to the original configuration, ensuring each connection is tight and properly seated. Double-check the alignment and make sure the wiring is not pinched or exposed.
Once the installation is complete, reassemble the oven panels and restore power. Turn on the gas valve and plug the oven back in. Test the oven by turning it on to confirm that the ignition process is functioning correctly. The burners should ignite quickly and remain stable throughout operation.
Troubleshooting After Replacement
Sometimes, even after replacing the ignition module, the oven may still fail to function properly. If this happens, double-check the wiring connections and ensure the module is securely mounted. Use a multimeter to confirm electrical continuity. If the module is correctly installed but the oven still does not ignite, the issue could lie in other components such as the igniter, gas valve, or safety switch. In such cases, contacting a professional technician is the best course of action to avoid further complications.
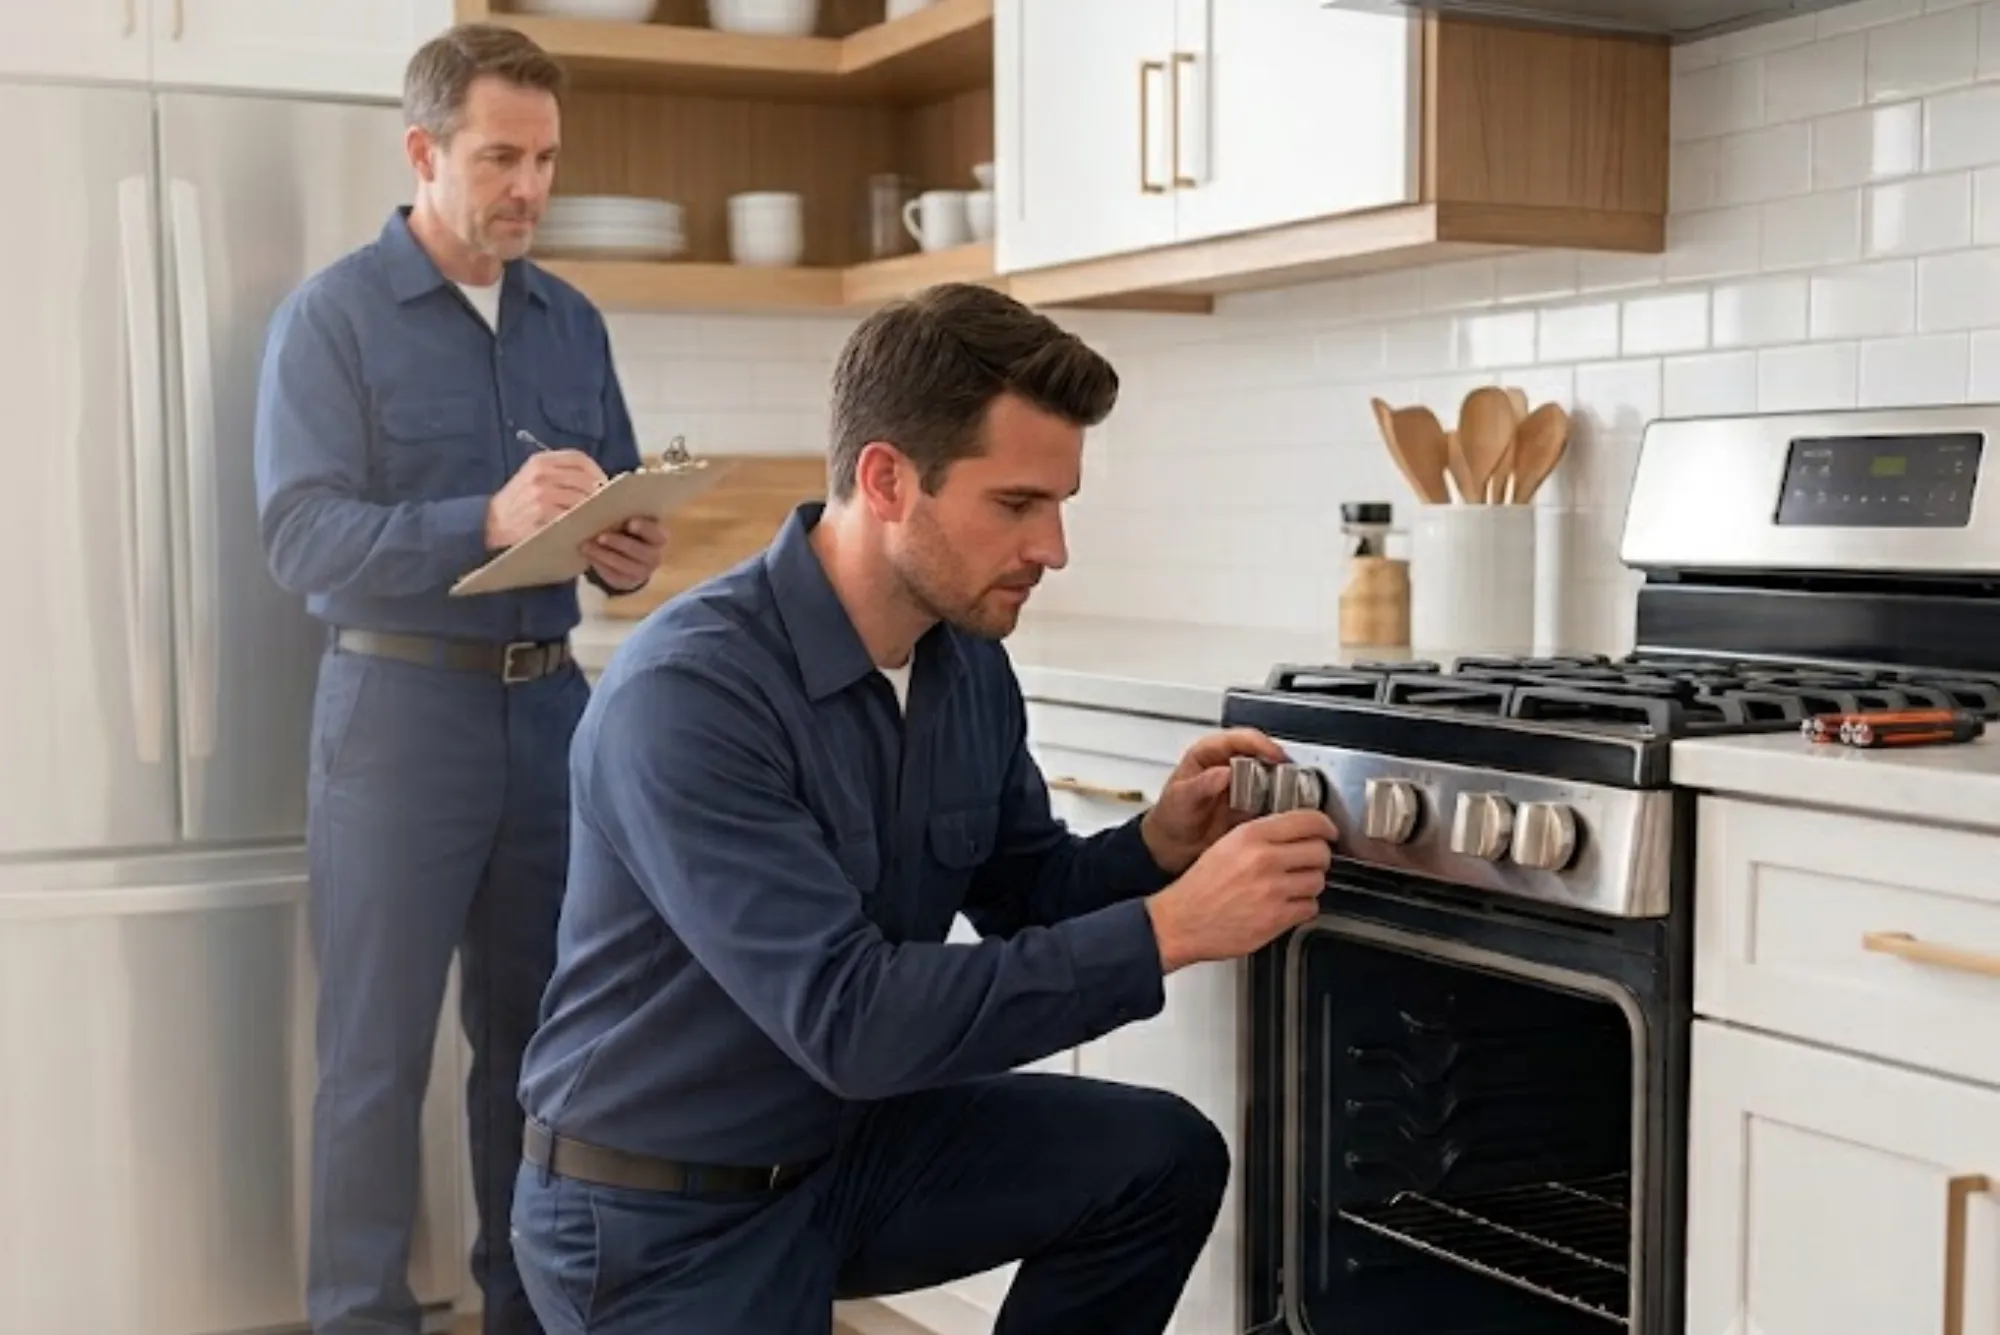
When to Call a Professional
While replacing an ignition module is manageable for individuals with some technical knowledge, not everyone is comfortable handling gas appliances. If you are unsure about any part of the process, it is wise to call a professional repair technician. Certified technicians have the experience, tools, and training to diagnose and repair ovens safely and effectively. They can also identify if the ignition module is the root cause of the issue or if other components require attention.
Attempting a repair without the proper knowledge can lead to further damage or safety hazards. A professional service ensures peace of mind, especially when dealing with gas-powered appliances.
Extending the Life of Your Oven
Once your ignition module has been successfully replaced, you can take proactive steps to extend the life of your oven. Regular maintenance such as cleaning the burners, checking for gas leaks, and keeping the oven interior free from grease buildup helps maintain optimal performance. Avoid slamming the oven door, as vibrations can affect internal wiring and connections. Scheduling periodic professional inspections also ensures that minor issues are identified before they become major repairs.
The ignition module plays a vital role in the safe and efficient functioning of your oven. When it fails, it can disrupt your cooking routine and pose safety risks. Learning how to replace an oven ignition module equips you with the ability to restore your oven’s performance and avoid costly replacements. By following proper safety procedures, preparing with the right tools, and carefully installing the new module, you can successfully carry out the repair. However, when in doubt, relying on a professional technician ensures the job is done correctly and safely.