The washing machine is one of the most essential appliances in any home, quietly handling the daily chore of keeping clothes fresh and clean. Among its many components, the agitator plays a vital role in ensuring thorough cleaning. Located in the center of top-loading machines, the agitator moves clothes through water and detergent, removing dirt effectively. However, when the agitator cogs—also known as agitator dogs or ratchets—wear out, the machine begins to lose its cleaning efficiency. Replacing these cogs is often necessary to restore full performance.
Understanding how to replace washing machine agitator cogs is an important step toward maintaining your appliance. The process requires some technical care but is quite manageable when done with patience and precision. Whether you’re a homeowner curious about how your washer works or a professional technician looking to refine your approach, learning this repair method ensures your washing machine continues performing at its best.

Understanding the Function of Agitator Cogs
Agitator cogs are small, gear-like components located inside the upper portion of the agitator. Their purpose is to control the one-way movement that allows the agitator to move back and forth during a wash cycle. As the washer’s motor drives the agitator, these cogs grip during one direction and release in the other, ensuring the clothes tumble properly through water and detergent.
When these cogs wear out or break, the agitator loses its ability to move correctly. You might notice the washer making more noise than usual, or the agitator spinning freely without any resistance. Clothes may come out partially cleaned, and cycles might take longer to complete. At this stage, replacement becomes the only effective solution.
Signs of Worn or Damaged Agitator Cogs
A washing machine typically gives clear warning signs when the agitator cogs are failing. The most common symptom is when the top part of the agitator no longer moves during the wash cycle, even though the bottom section continues to function. This uneven movement disrupts the washing pattern, leaving clothes less clean than usual.
Another noticeable sign is a rattling or clicking noise when the agitator attempts to turn. This sound indicates that the cogs are slipping and unable to grip properly. In some cases, the agitator might even stop moving entirely. Recognizing these symptoms early prevents further strain on the machine’s motor and gears, saving you from more expensive repairs later.
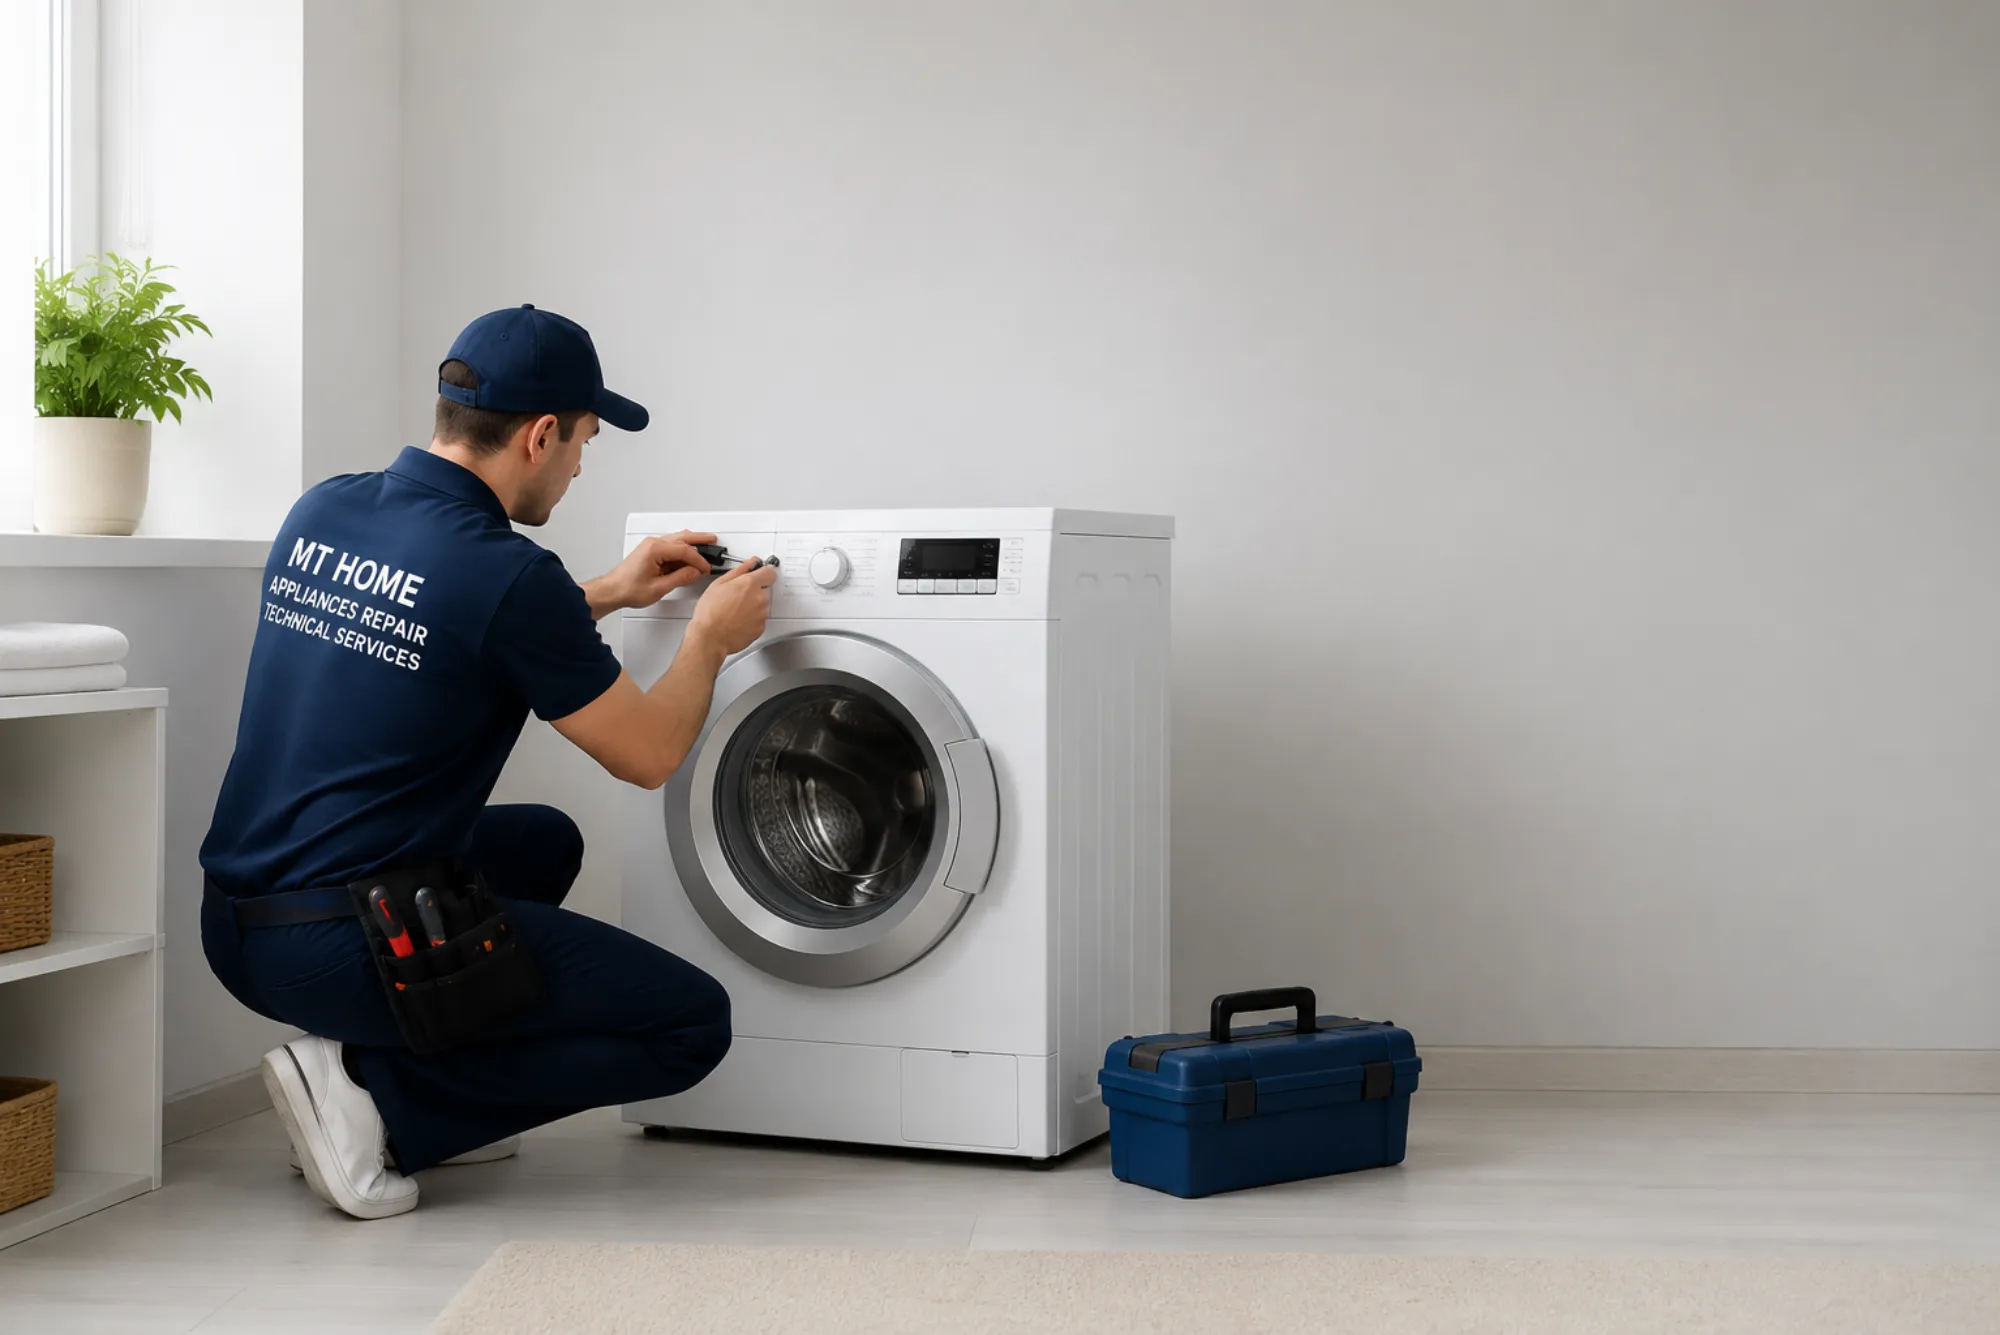
Preparation Before Replacement
Before any mechanical work begins, the first and most important step is ensuring safety. The washing machine should be disconnected from its power source and water supply. This eliminates the risk of electrical shocks and accidental operation during the process. Once the machine is unplugged, it should be moved slightly away from the wall to provide enough space to work comfortably.
It’s also important to understand the model and make of your washing machine. Different brands may have variations in how the agitator assembly is designed. Reviewing the user manual helps identify specific instructions or parts unique to your appliance. The replacement cogs should match the original specifications to guarantee smooth function once installed.
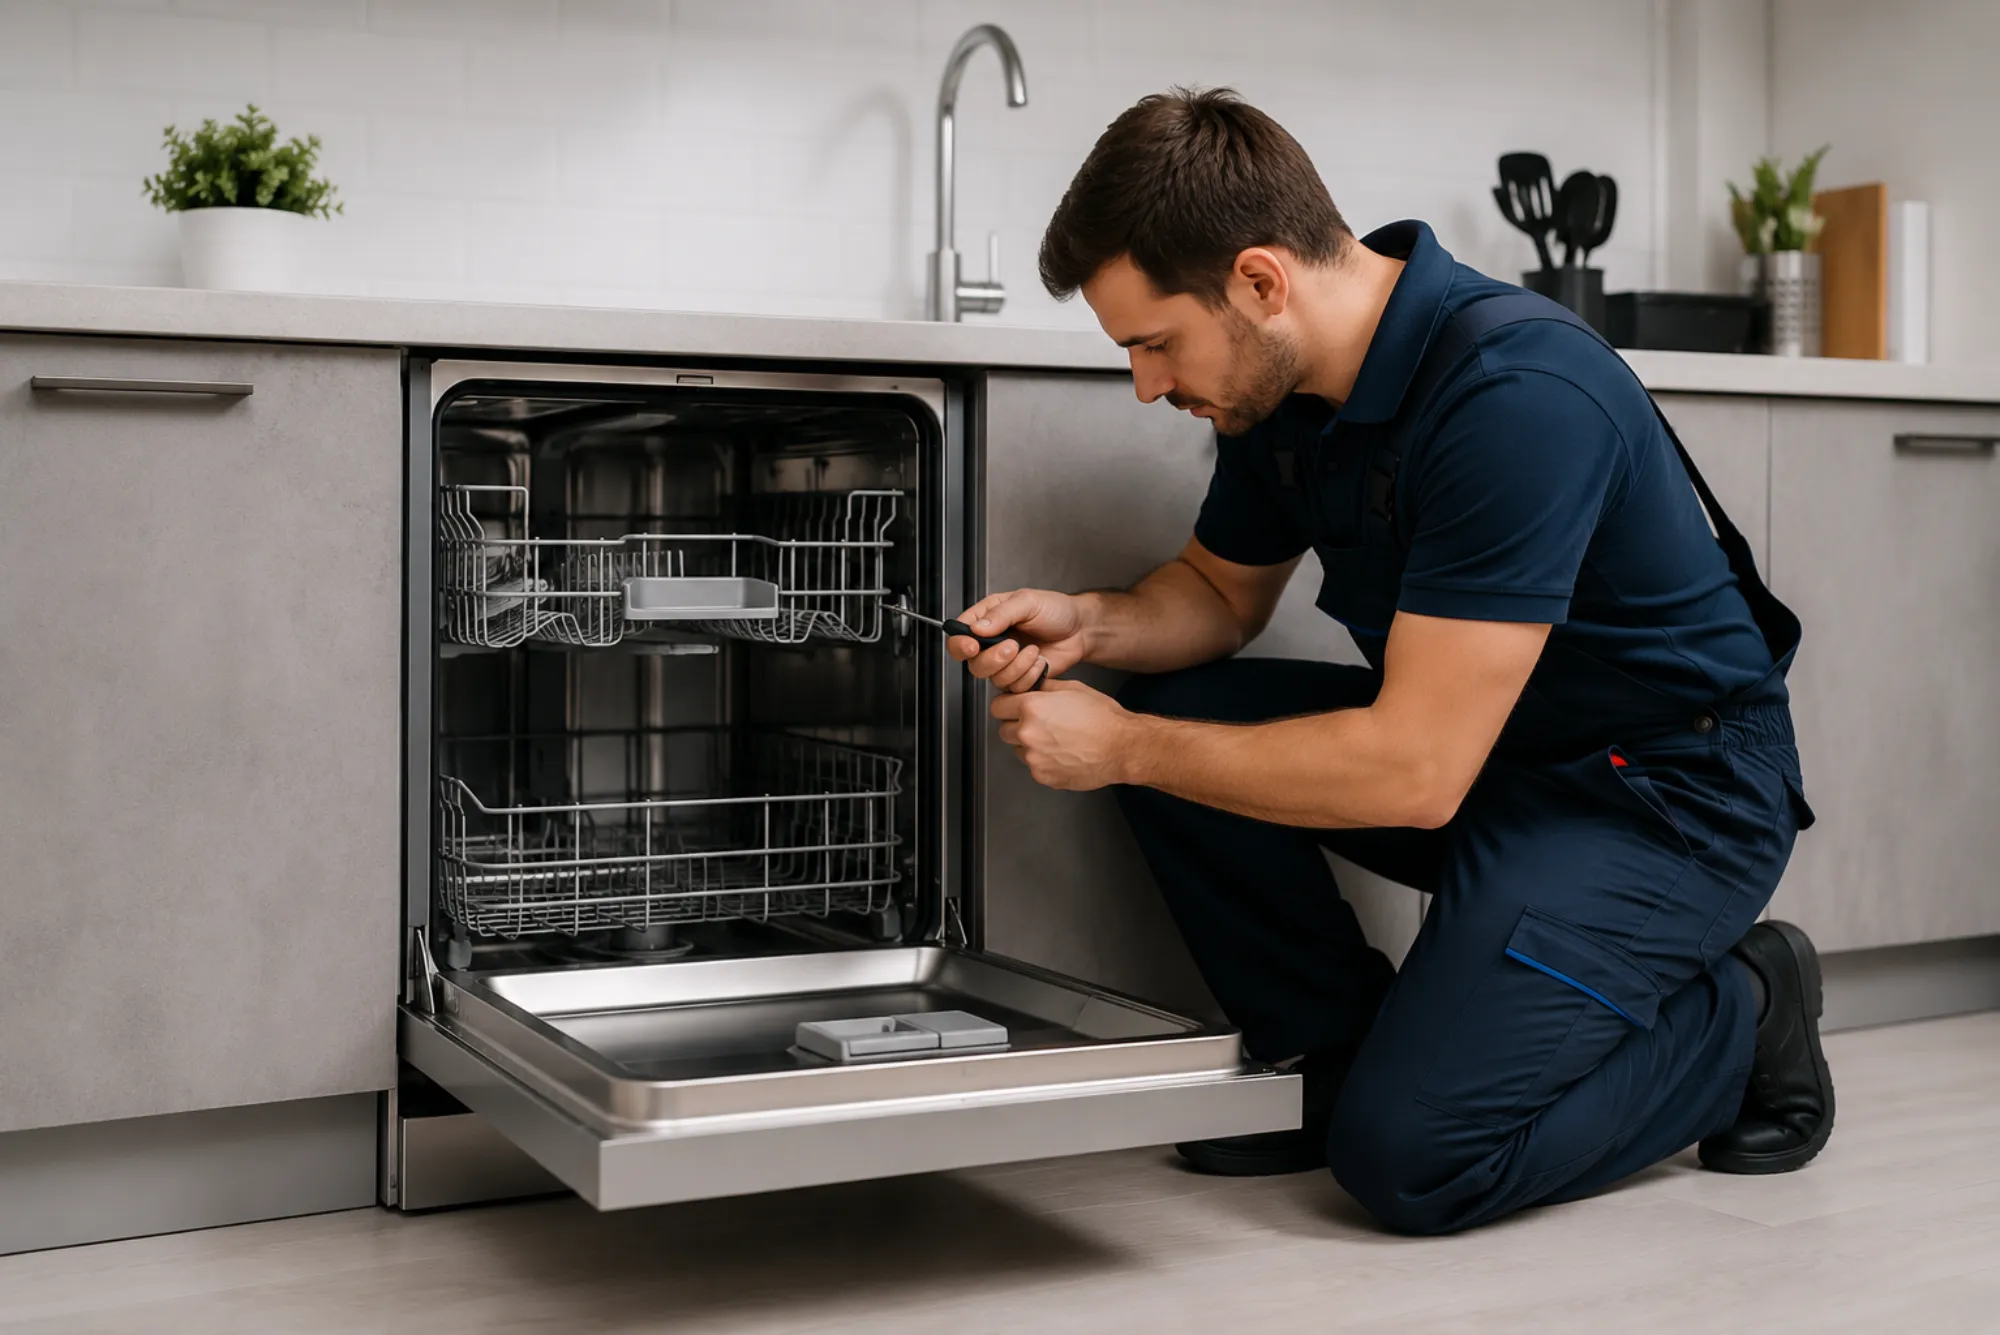
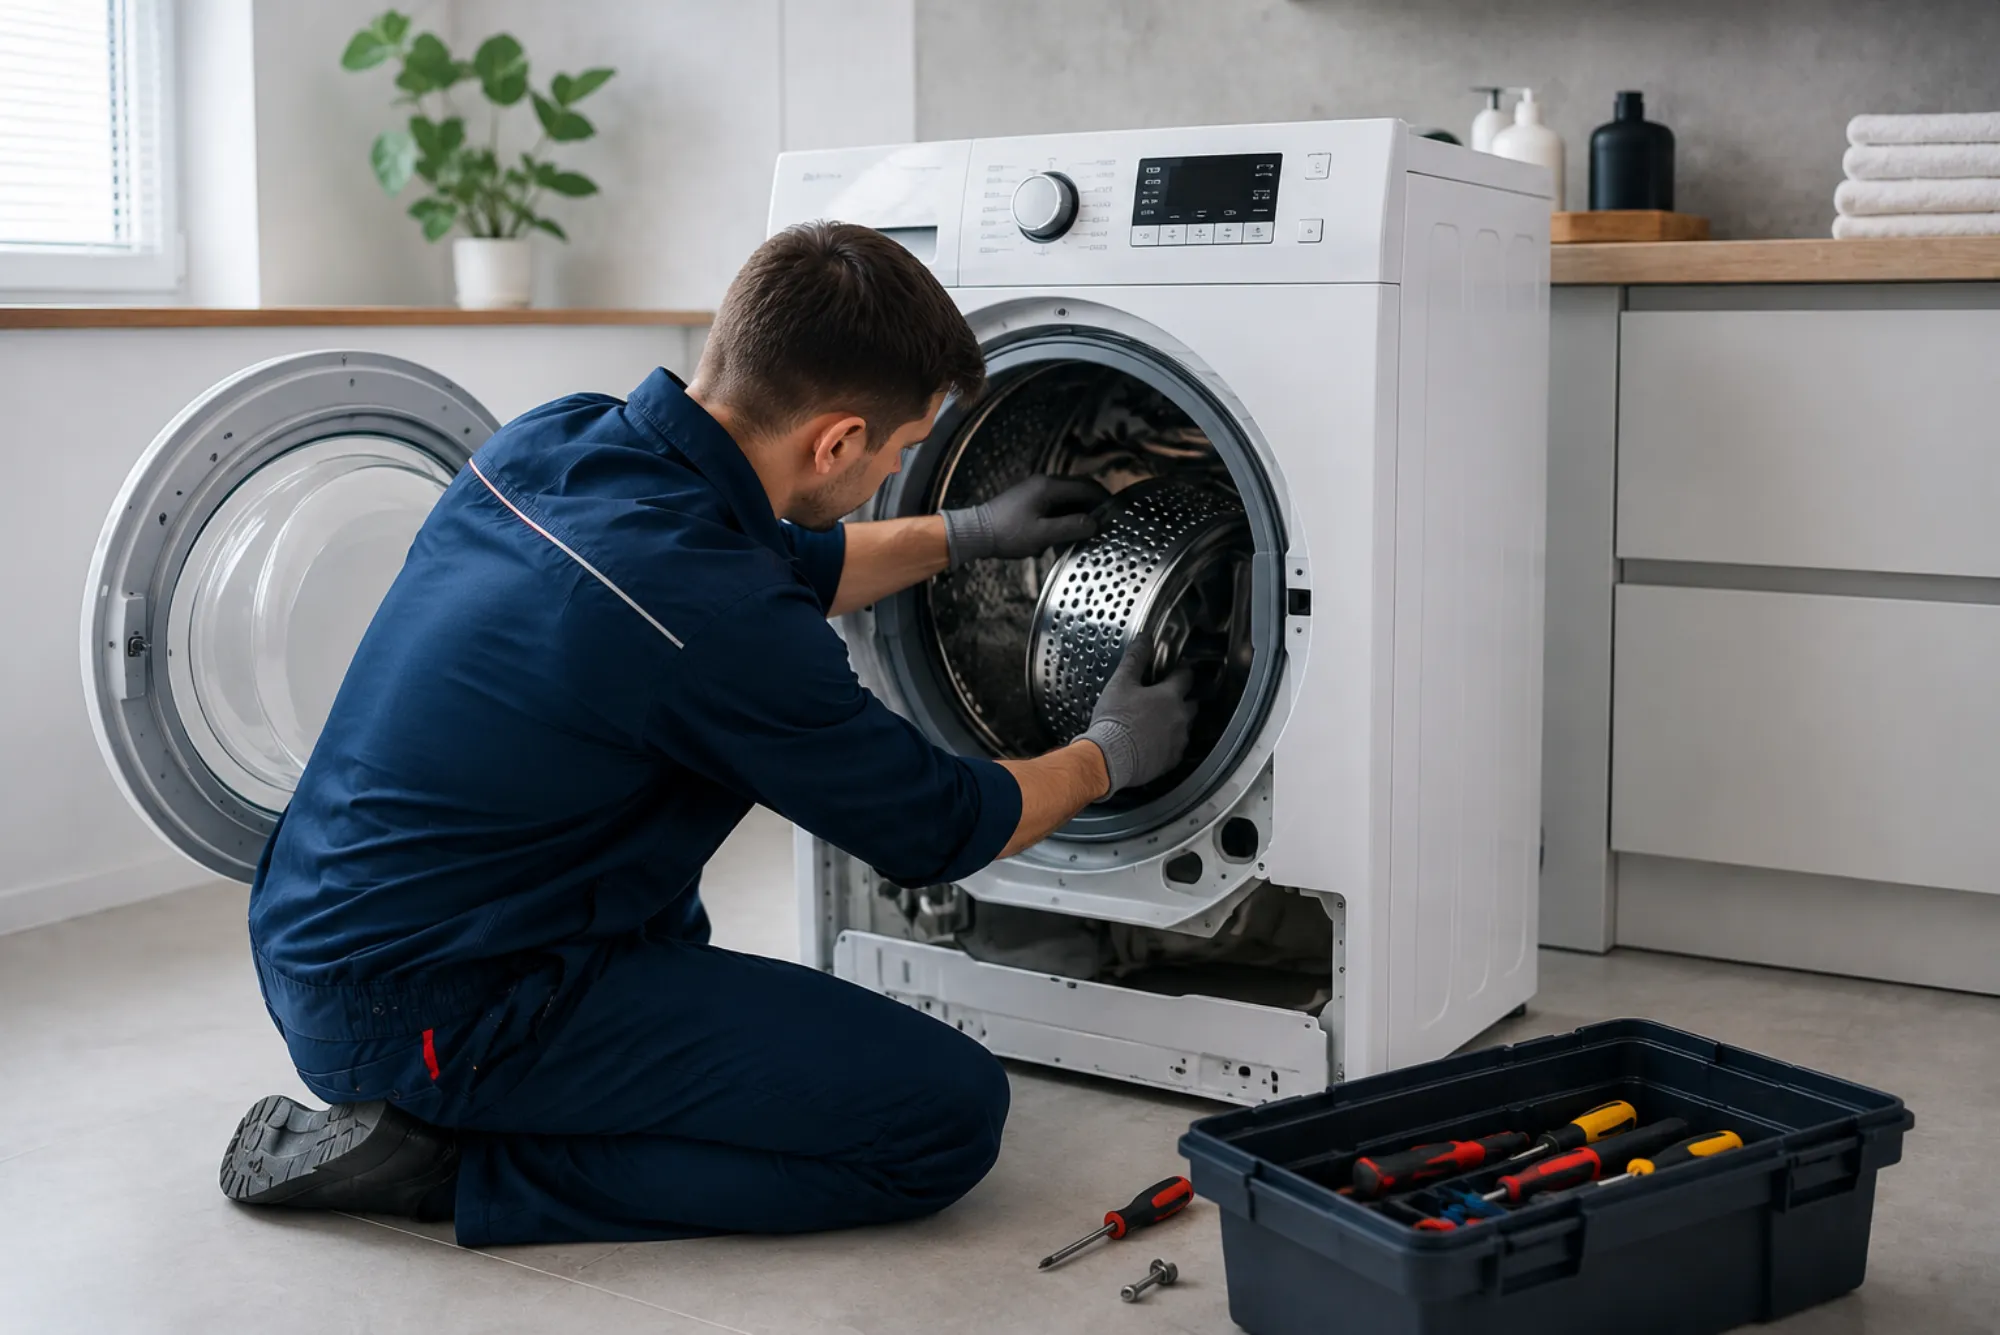
The Process of Accessing the Agitator
Accessing the agitator involves removing the fabric softener dispenser or cap at the top of the agitator column. Beneath this, there is typically a bolt or screw that secures the agitator to the transmission shaft. Once this bolt is removed, the agitator can be lifted out of the washer tub. In some models, the agitator may be separated into two parts, allowing easier access to the upper section that contains the cogs.
Inside the upper section, you will find the old cogs seated in small slots. These components are usually made of durable plastic but wear out after years of continuous motion and friction. Carefully removing them allows you to inspect the housing for any debris or damage that might interfere with the new parts.
Installing the New Agitator Cogs
The new cogs should fit snugly into the designated slots inside the agitator. Precision during installation ensures they engage correctly when the agitator moves. Once the cogs are in place, the two sections of the agitator can be reassembled and the securing bolt tightened again. This step must be done with care to avoid overtightening, which can damage the plastic components or threads.
After reassembly, it’s important to rotate the agitator manually to confirm that the new cogs are functioning as expected. You should feel resistance in one direction and free movement in the other. This behavior confirms that the mechanism is working properly.
Testing the Machine After Repair
Once the agitator has been reassembled and secured, reconnect the washing machine to power and water supply. Run a short test cycle without any laundry to observe how the agitator moves. During this cycle, watch for smooth back-and-forth motion, consistent rhythm, and absence of grinding or clicking noises.
If everything operates smoothly, it confirms that the new agitator cogs are properly installed. The washing machine should now restore its full washing efficiency, providing even agitation and cleaner laundry results.
The Importance of Regular Maintenance
Even after replacing the agitator cogs, regular maintenance ensures the longevity of your washing machine. Cleaning the agitator area periodically prevents buildup of detergent residue, lint, and minerals that can affect mechanical parts. Checking for early signs of wear—such as sluggish agitation or abnormal noise—allows you to take timely action before the problem becomes severe.
Routine care, combined with prompt repairs, helps the appliance operate efficiently and extend its service life. Simple habits like not overloading the washer and using proper detergent quantities also minimize mechanical stress on components like the agitator.
When to Seek Professional Help
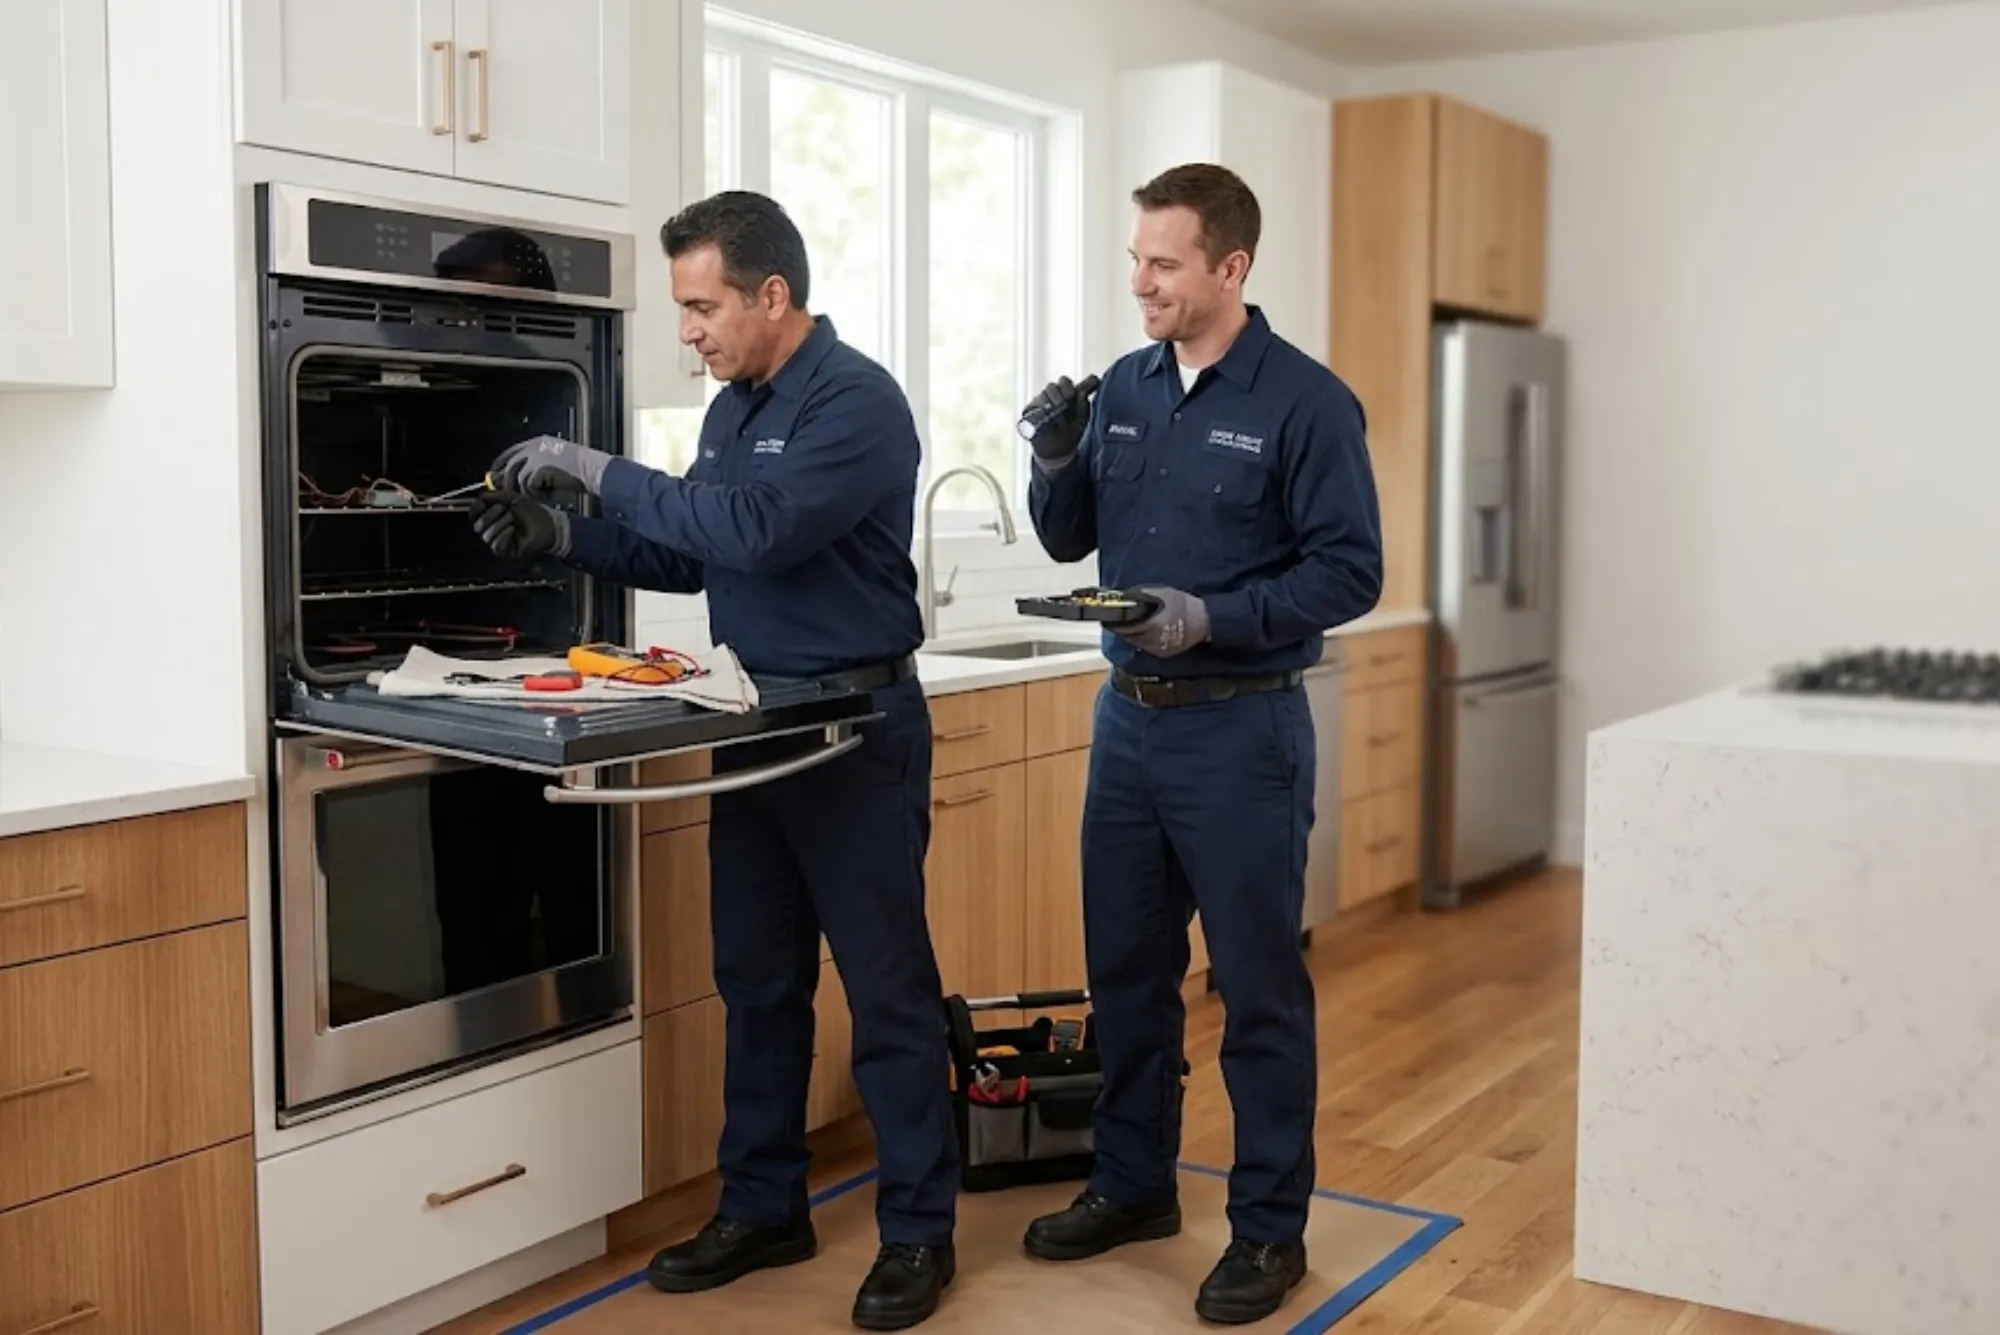
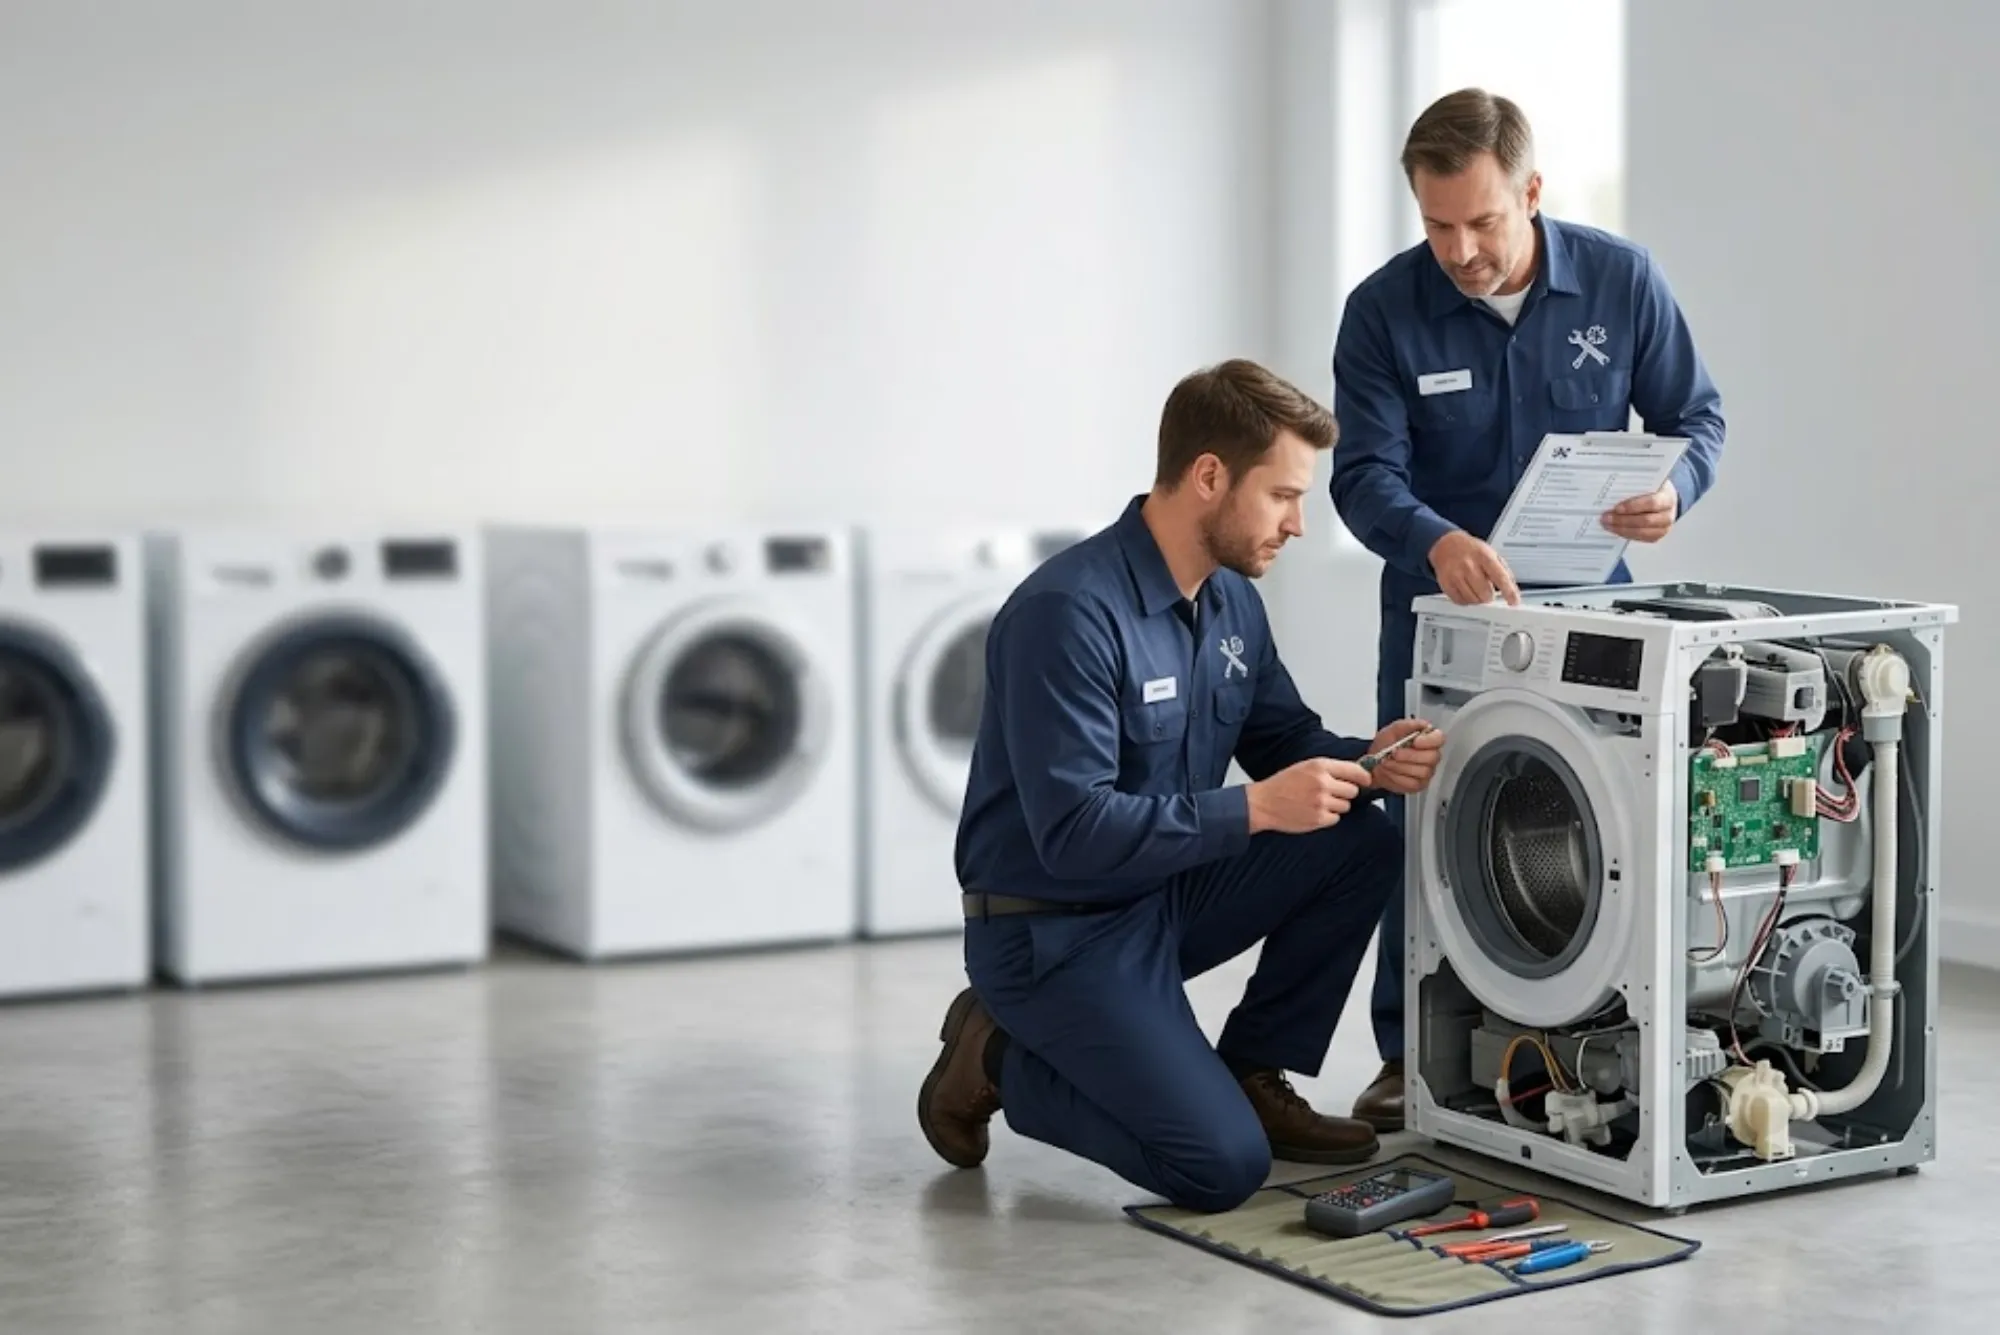
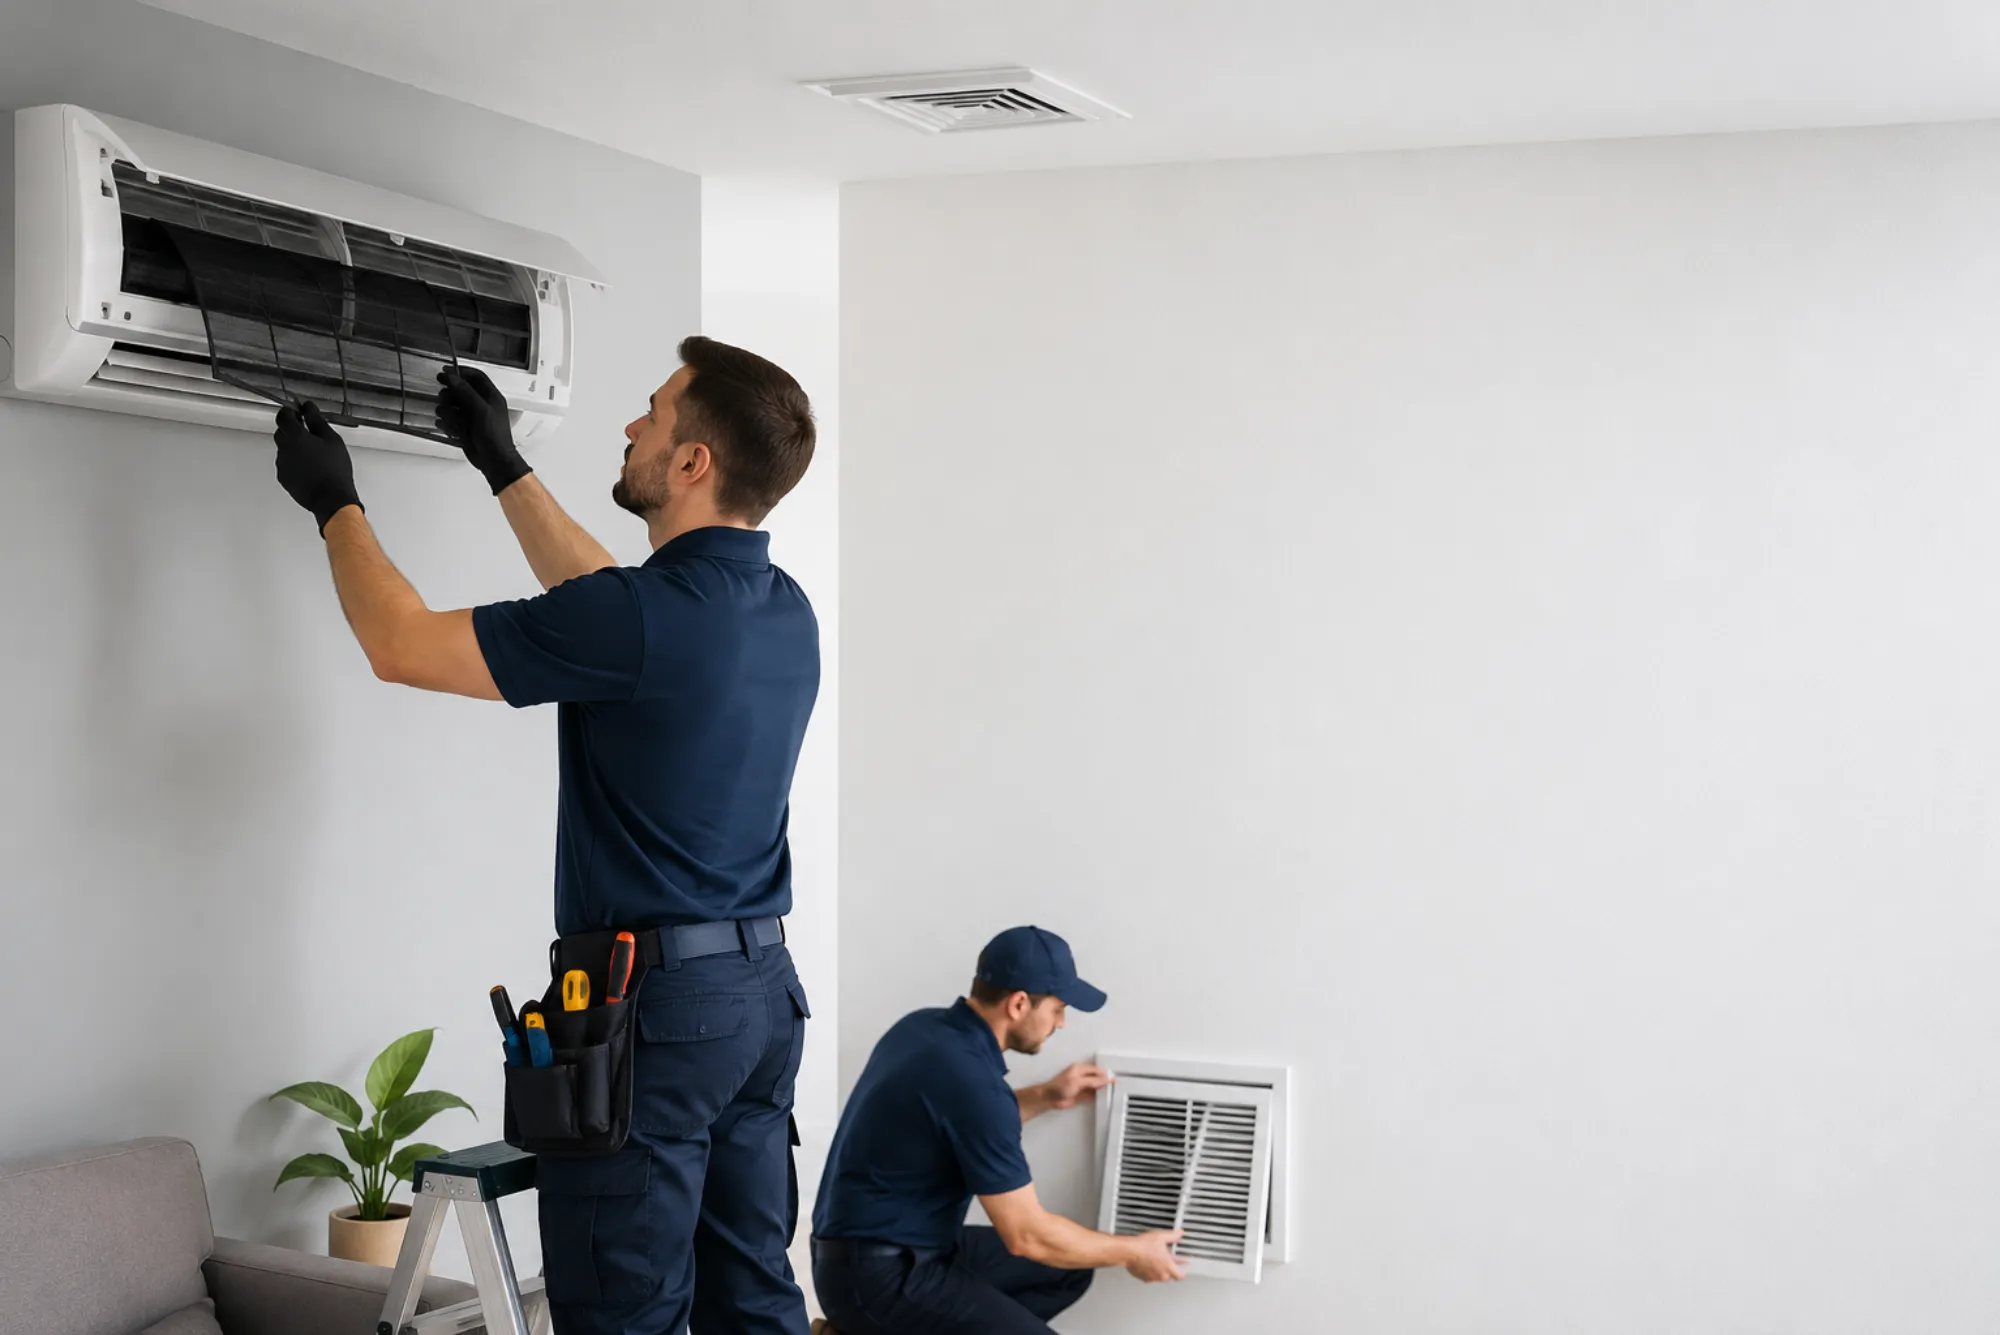
Although replacing agitator cogs is a manageable task for those with basic mechanical skills, some situations require expert attention. If the agitator assembly is damaged, or if the machine still performs poorly after replacement, deeper issues might exist within the transmission or motor coupling. In such cases, it’s best to seek assistance from professional technicians who have the tools and knowledge to handle more complex repairs safely.
A professional repair not only ensures correct installation but also provides a full diagnostic check of the washing machine. This approach identifies other worn parts that could lead to future failures, ensuring your appliance remains in top condition for years to come.
Restoring Efficiency Through Careful Repair
Replacing washing machine agitator cogs is a crucial step in restoring the efficiency and performance of your appliance. While these small parts may seem insignificant, they play a major role in ensuring thorough cleaning action. With the right understanding, careful preparation, and proper execution, the process of replacement is straightforward and highly rewarding.
A well-maintained washing machine operates smoothly, conserves energy, and provides consistently clean laundry. Whether performed independently or through a trusted technician, repairing agitator cogs ensures that your appliance continues serving your household effectively. In the end, good maintenance and timely repairs protect your investment and keep one of your home’s most valuable appliances running reliably for years to come.