Ovens are among the most relied-upon kitchen appliances, serving as the centerpiece for everyday meals and special occasions alike. However, like all mechanical and electrical devices, ovens experience wear over time, and one of the components most vulnerable to heat stress is the element insulator. These small but critical parts provide electrical isolation between the heating element and the oven body, ensuring both safety and efficiency during operation. Replacing a damaged or worn oven element insulator is not only a matter of functionality but also of protecting against potential hazards such as electrical shorting, sparking, or even fire.
Understanding how to safely and effectively replace oven element insulators can help homeowners extend the lifespan of their appliance, restore reliable performance, and avoid the cost of unnecessary service calls. This guide explores every aspect of the process in detail—from recognizing the signs of a failing insulator to carrying out the replacement step by step with professional care.

The Role of Element Insulators in an Oven
An oven heating element generates high levels of heat when electric current passes through it. This process is only safe and stable because insulators are installed to keep the live element securely separated from the metallic oven chassis. The insulators are typically ceramic or mica components designed to withstand extreme temperatures while maintaining electrical resistance.
When these insulators begin to degrade, the heating element may no longer sit firmly in place. Electrical conductivity may bypass the intended circuit, leading to tripping breakers, uneven heating, or even dangerous sparks. In essence, insulators are silent guardians of the oven’s safe and efficient operation, and their importance cannot be overstated.
Common Signs of Insulator Wear or Damage
Insulators do not fail overnight but show gradual signs of deterioration. Recognizing these early warnings can help you act before minor issues escalate into costly repairs or safety hazards. A damaged insulator may manifest through several symptoms:
Visible cracks or crumbling of ceramic components.
Heating elements sagging or shifting from their original position.
Burn marks, discoloration, or carbonized residue near mounting points.
Frequent circuit breaker trips when the oven is switched on.
Uneven heating, where one section of the oven cooks faster than another.
These signs should never be ignored. Continued use of an oven with failing insulators risks damaging other components or posing an electrical hazard in the home.
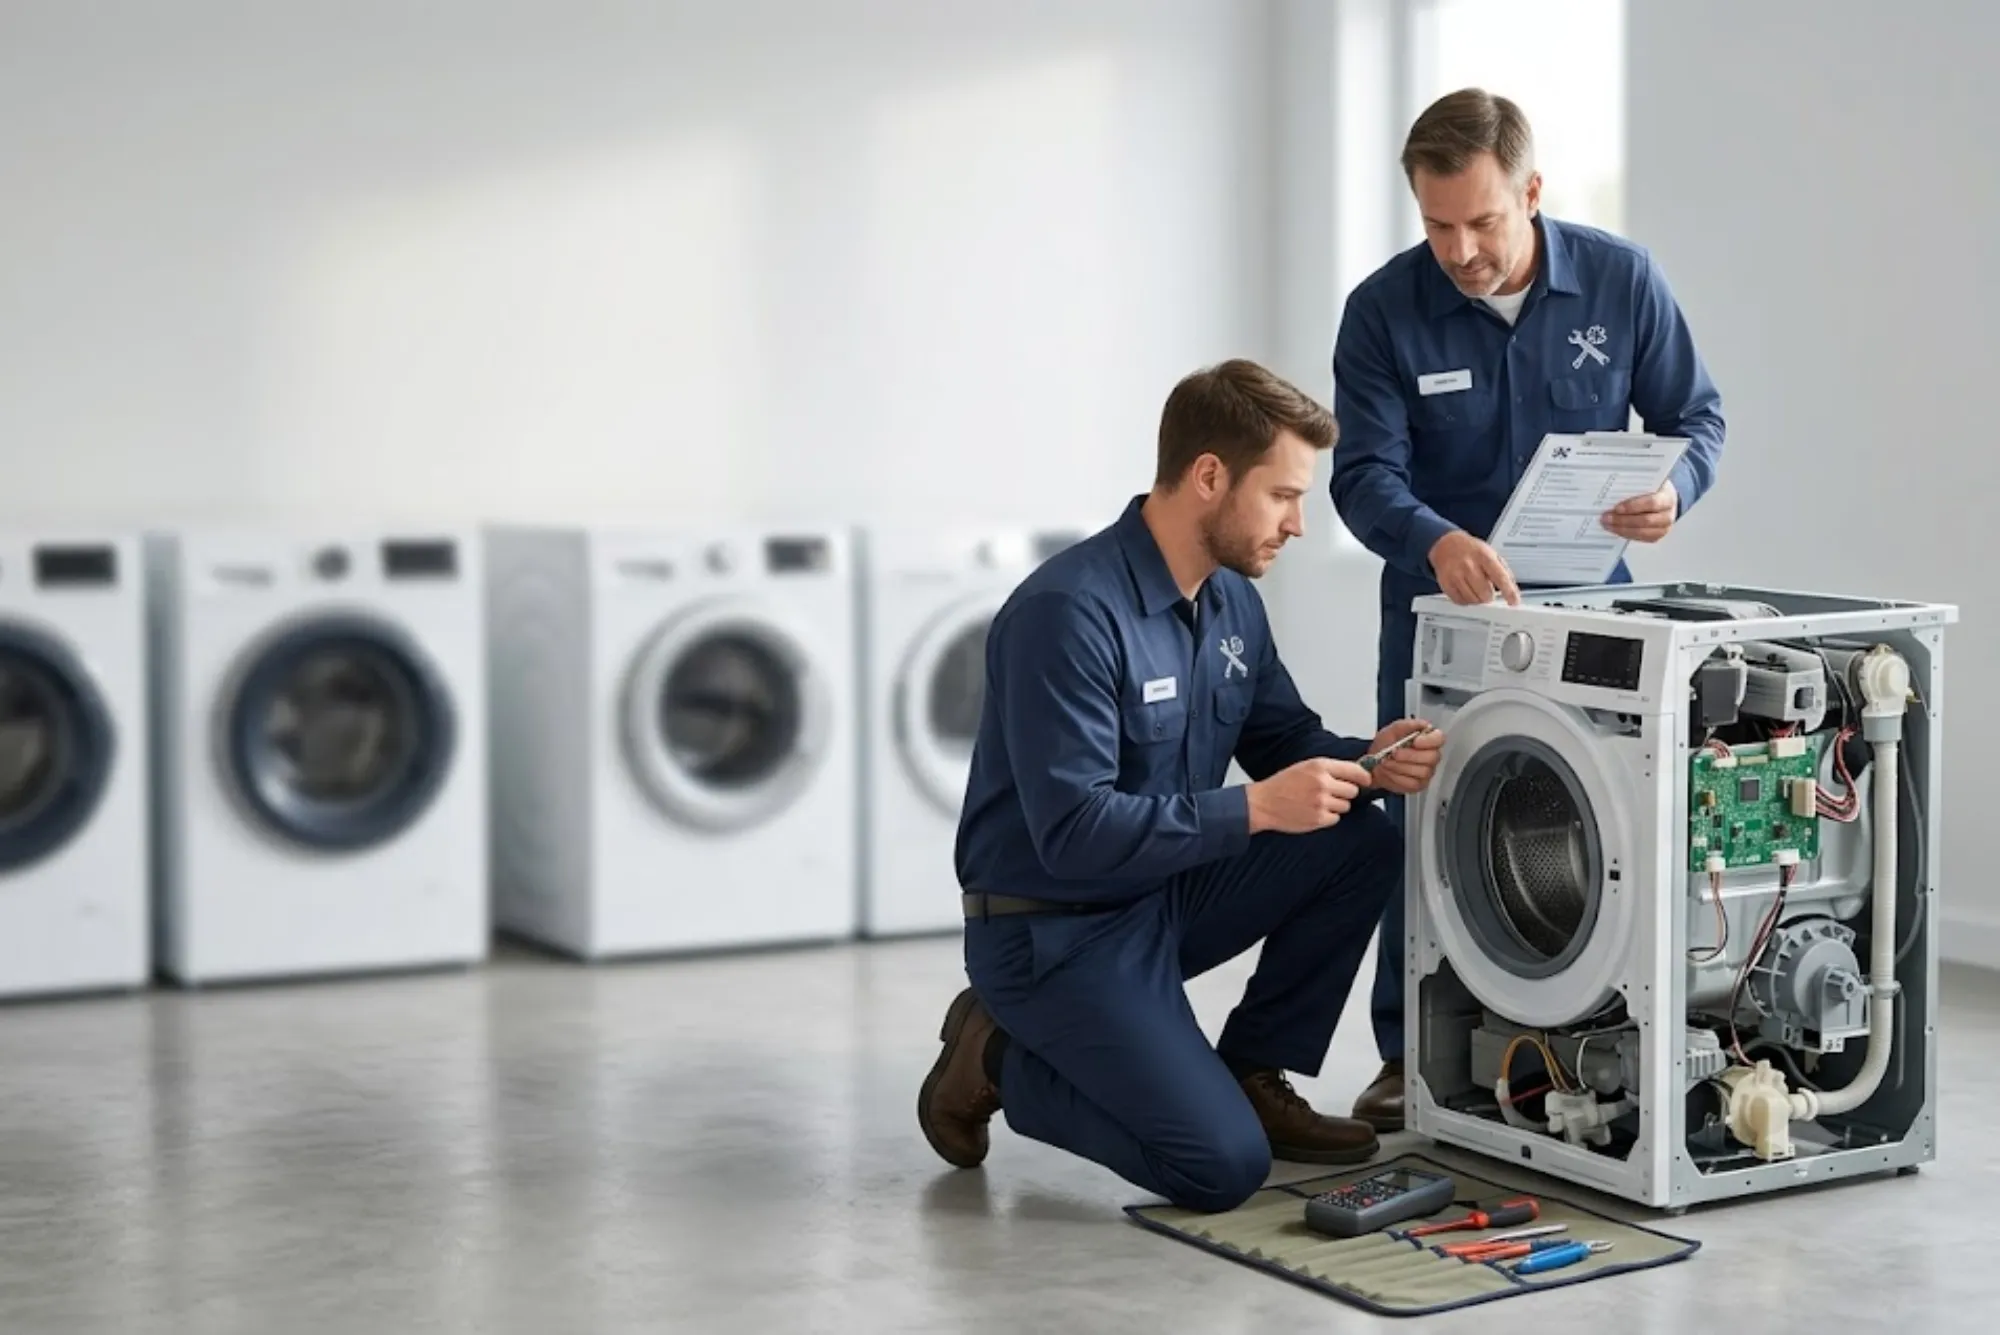
Why Professional Replacement Matters
At first glance, replacing an oven element insulator may appear simple—after all, it involves only small parts and a handful of screws. Yet the procedure requires a clear understanding of electrical safety, careful handling of heating elements, and knowledge of the oven’s wiring layout. Improper installation can cause loose electrical connections, heat leakage, or even a complete short circuit.
For homeowners comfortable with electrical repairs, replacement is achievable with preparation and the right tools. However, for those unfamiliar with appliance maintenance, consulting a professional technician is strongly advised. A certified repair specialist not only ensures correct installation but also checks for underlying issues such as worn wiring, corroded terminals, or failing heating elements that may accompany insulator damage.
Preparing for Safe Replacement
Before touching any component inside an oven, preparation is essential. Safety comes first, and ovens combine both high electrical voltage and extreme heat capacity. Begin by disconnecting the appliance completely from its power source. If the oven is hardwired rather than plugged in, switch off the appropriate breaker at the electrical panel. Double-check that the oven is fully powered down before proceeding.
Next, gather the necessary tools and replacement parts. A typical replacement process may require:
- A screwdriver set suitable for appliance screws.
- Needle-nose pliers for maneuvering wires.
- Heat-resistant gloves to protect against sharp edges and fragile ceramics.
- Replacement insulators designed for your specific oven make and model.
Ensuring compatibility of the insulators is critical. Manufacturers may use slightly different dimensions, mounting systems, or materials, and using the wrong part could compromise safety or performance. Always confirm with the oven’s model number or consult the manufacturer’s parts guide before purchase.
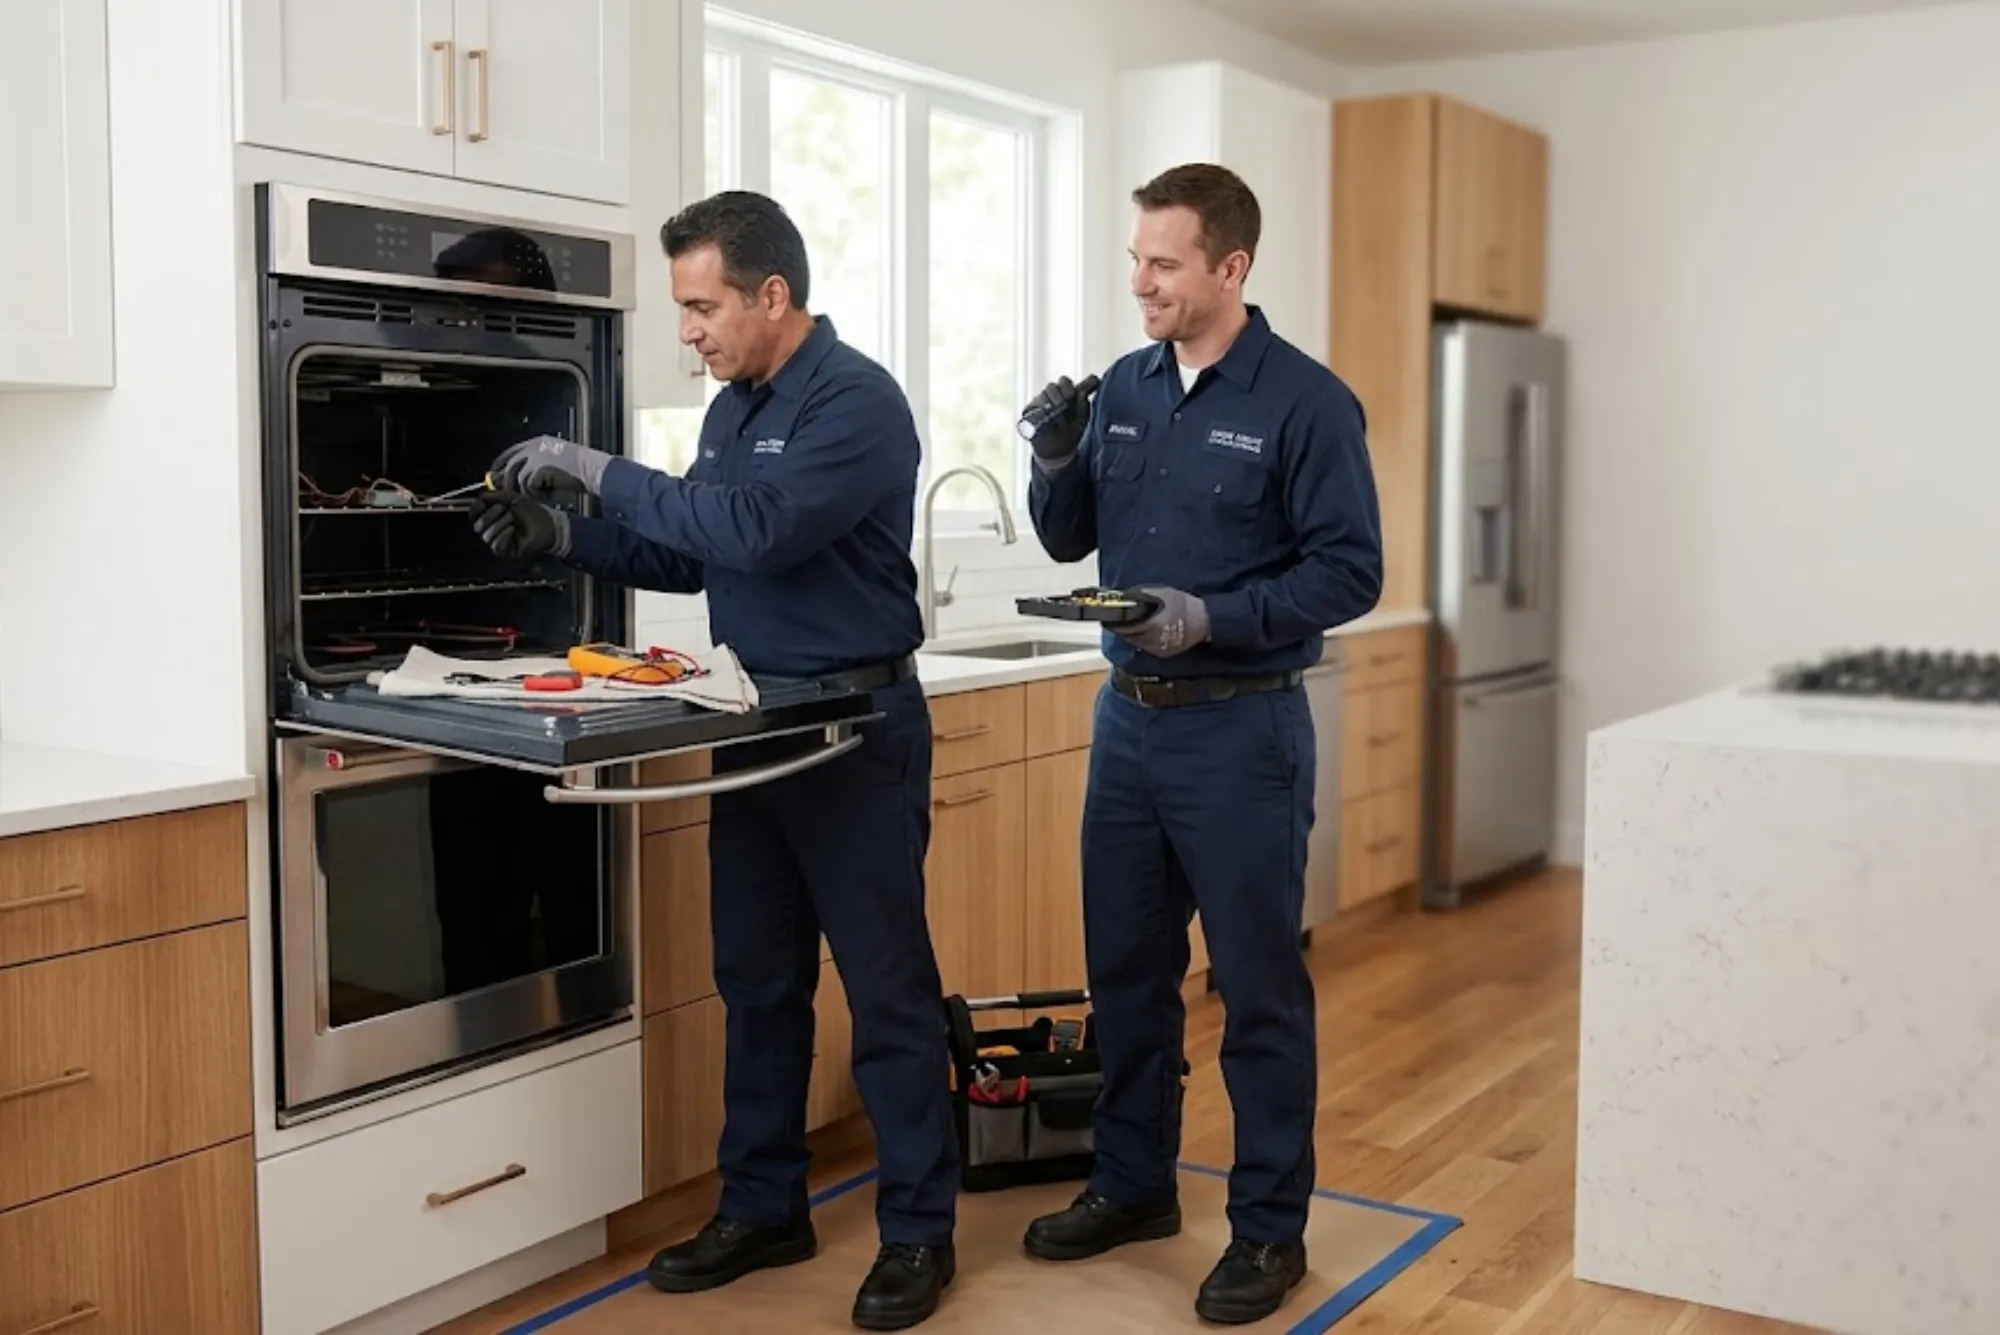
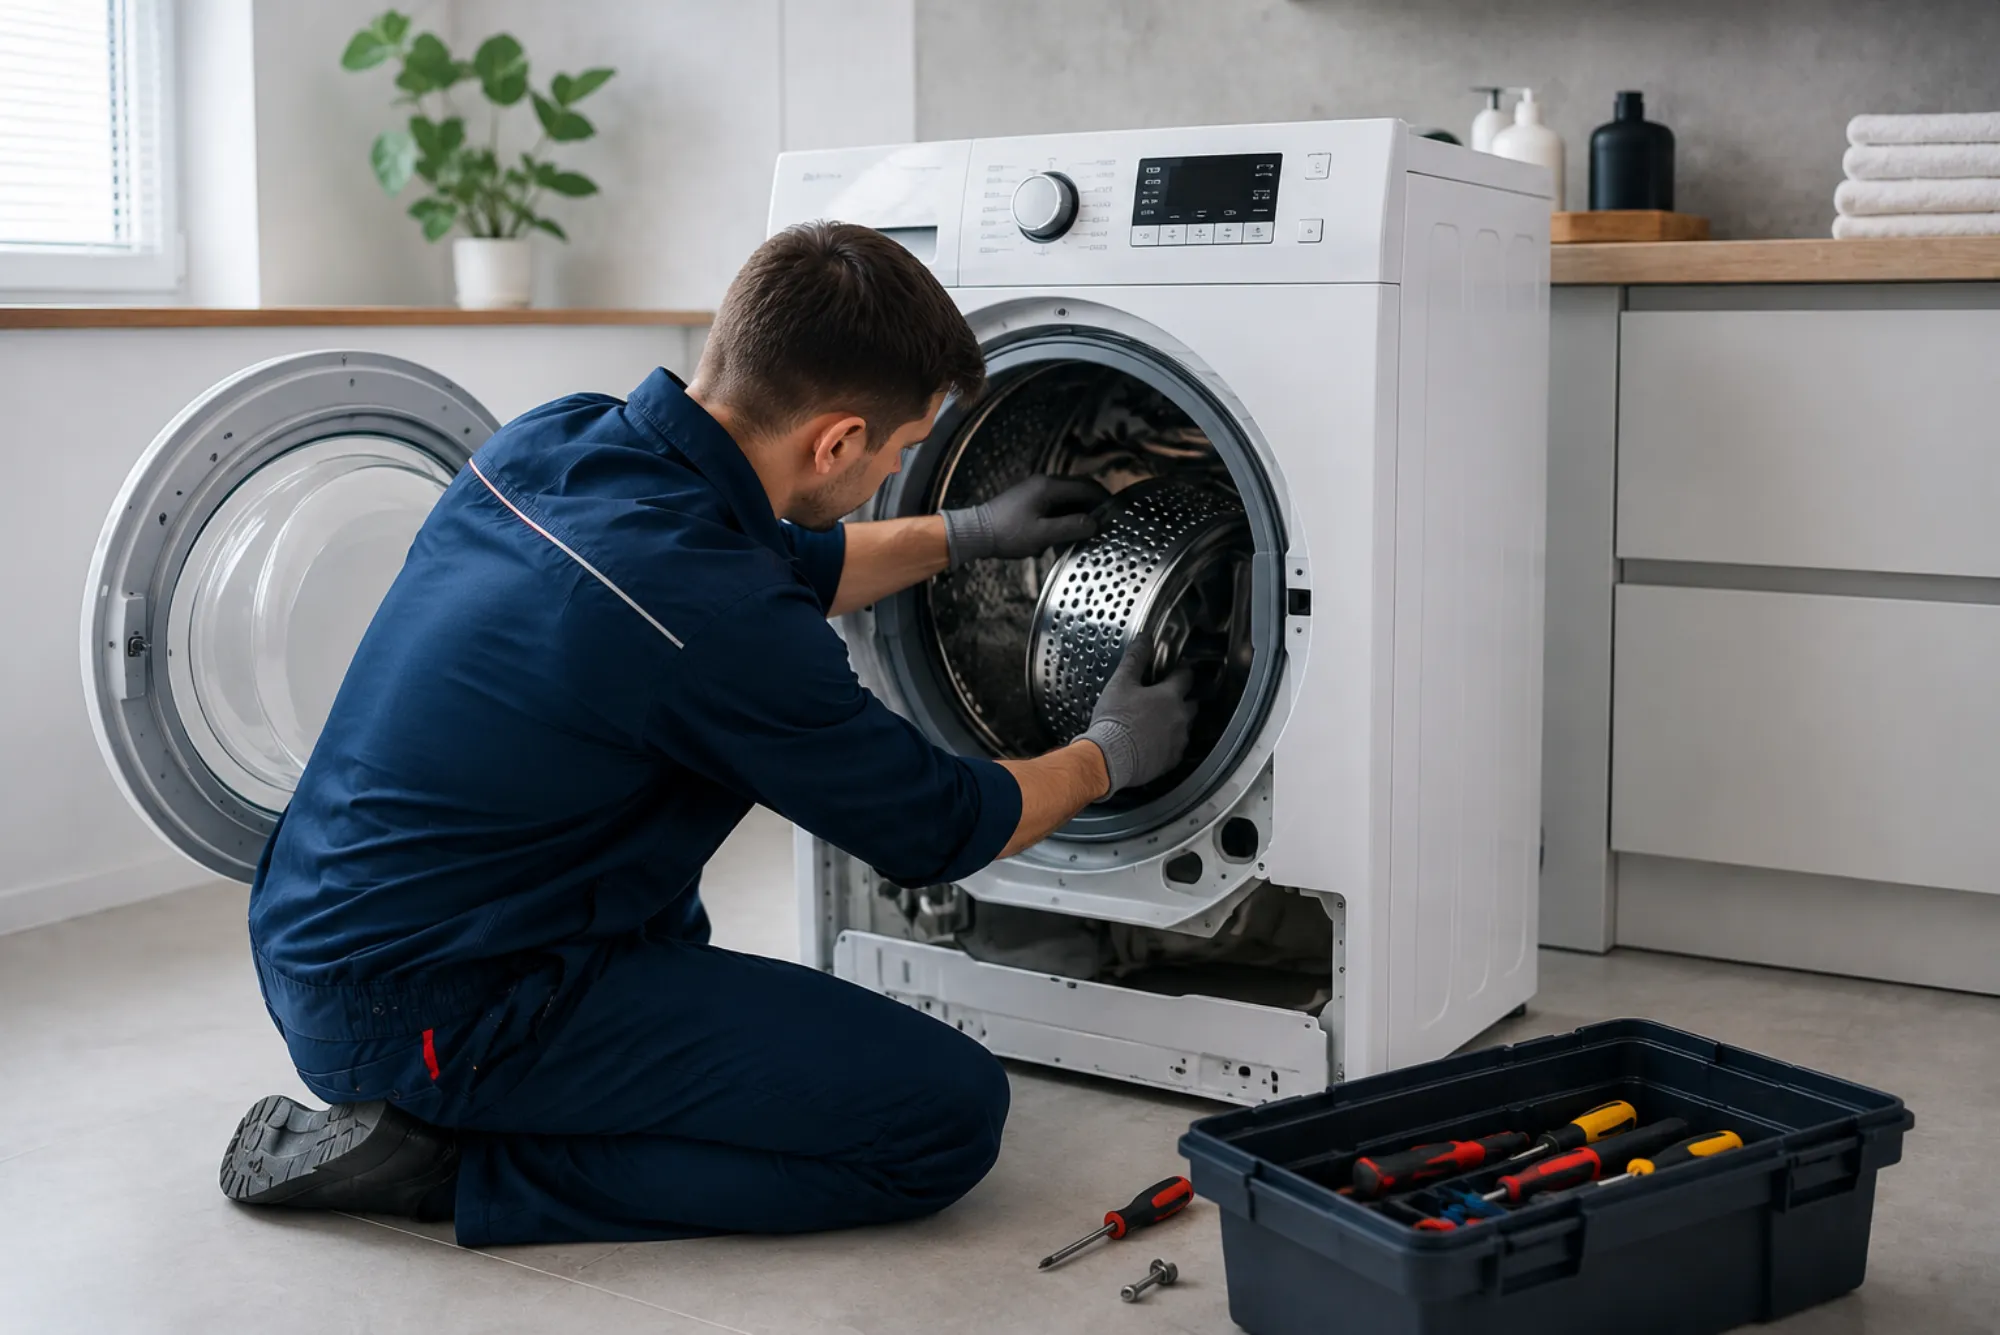
Removing the Heating Element Assembly
With safety precautions in place, the first practical step involves accessing and removing the heating element assembly. Depending on the oven model, this may require opening the oven’s rear panel or working directly inside the cooking chamber. The element is usually fixed with mounting screws or brackets, with insulators located at the points where the element connects to the electrical terminals.
Carefully unscrew the mounting hardware while supporting the element to prevent strain on the wiring. Once freed, gently pull the element forward. Wires attached to the terminals should be handled with care—note their position, or take a photograph before disconnecting to ensure accurate reassembly later. At this stage, the insulators should be visible, often surrounding the terminals or fitted within brackets securing the element.
Inspecting and Replacing the Insulators
Before installing new parts, inspect the removed insulators closely. You may find fractures, missing chunks, or excessive heat damage, confirming the need for replacement. Clean the surrounding area of any debris or residue that could interfere with installation.
The new insulators should be positioned exactly as the originals, aligning the heating element securely and ensuring no exposed metal comes into contact with the oven body. This alignment is critical: even a small misplacement could allow vibration or heat expansion to loosen the connection over time.
When installing ceramic insulators, handle them with care to avoid chipping. For mica or composite varieties, avoid bending or stressing the material, as this could compromise their insulating properties. Once fitted, confirm that the heating element sits firmly in place with no wobbling or undue movement.
Reconnecting and Securing the Element
After the new insulators are installed, reconnect the heating element to its terminals, using the photographs or notes taken earlier as reference. Ensure each connection is snug but not overtightened, as excessive force can damage ceramic insulators or strip terminals.
Secure the element with its mounting brackets and screws, confirming that it lies flush against the oven wall. Loose elements not only cause uneven heating but also place strain on insulators, shortening their lifespan.
Before replacing any access panels, perform a final check: confirm all connections are tight, insulators are properly seated, and no foreign material remains inside the oven cavity.
Testing the Oven After Replacement
With reassembly complete, restore power to the oven and carry out a careful test. Begin by setting the oven to a moderate temperature, such as 180°C (350°F), and observe its performance. The heating element should glow evenly without flickering or sparking.
Allow the oven to operate for several minutes, monitoring both the element and the insulators. Listen for unusual sounds such as crackling, and check for any odor of burning insulation. If all functions appear normal, gradually increase the temperature to confirm stability at higher heat levels.
Successful testing indicates that the insulator replacement has restored proper operation. At this stage, the oven should be ready for regular use.
Preventive Maintenance for Longer Lifespan
Replacing insulators is not a task most homeowners expect to perform regularly, but adopting preventive measures can reduce the likelihood of premature wear. Key practices include:
Avoiding excessive force when cleaning near the heating elements.
Ensuring spills or food debris are promptly cleaned to prevent residue buildup near terminals.
Periodically checking the oven interior for early signs of wear such as discoloration or sagging elements.
Scheduling routine maintenance checks if the oven is used heavily, especially in commercial or semi-commercial settings.
By practicing attentive care, insulators and heating elements alike can last significantly longer, reducing the need for frequent replacements.
When to Consider Full Heating Element Replacement
In some cases, replacing insulators may not be sufficient. If the heating element itself shows severe damage—such as burn-through, deep pitting, or repeated electrical faults—it may be more practical to replace the entire element assembly. Insulators are often sold as part of complete kits for this reason, ensuring both the insulating and heating functions are restored simultaneously.
When weighing the choice between replacing only insulators or the full element, consider the age of the oven, the cost of parts, and the reliability of previous repairs. For older ovens approaching the end of their service life, investing in full replacement or even a new appliance may prove more economical in the long run.
Oven element insulators may be small components, but their role is vital for both performance and safety. By keeping high-voltage elements securely isolated, they protect users, preserve appliance efficiency, and extend the lifespan of heating systems.
Learning how to replace these insulators requires patience, care, and respect for electrical safety. With proper preparation, the correct parts, and careful reassembly, homeowners can successfully restore their oven’s reliability. For those less confident with electrical repairs, professional service remains the safest option.
Ultimately, replacing oven element insulators is not just about fixing an appliance—it is about preserving the safety and functionality of one of the most essential tools in the modern kitchen.