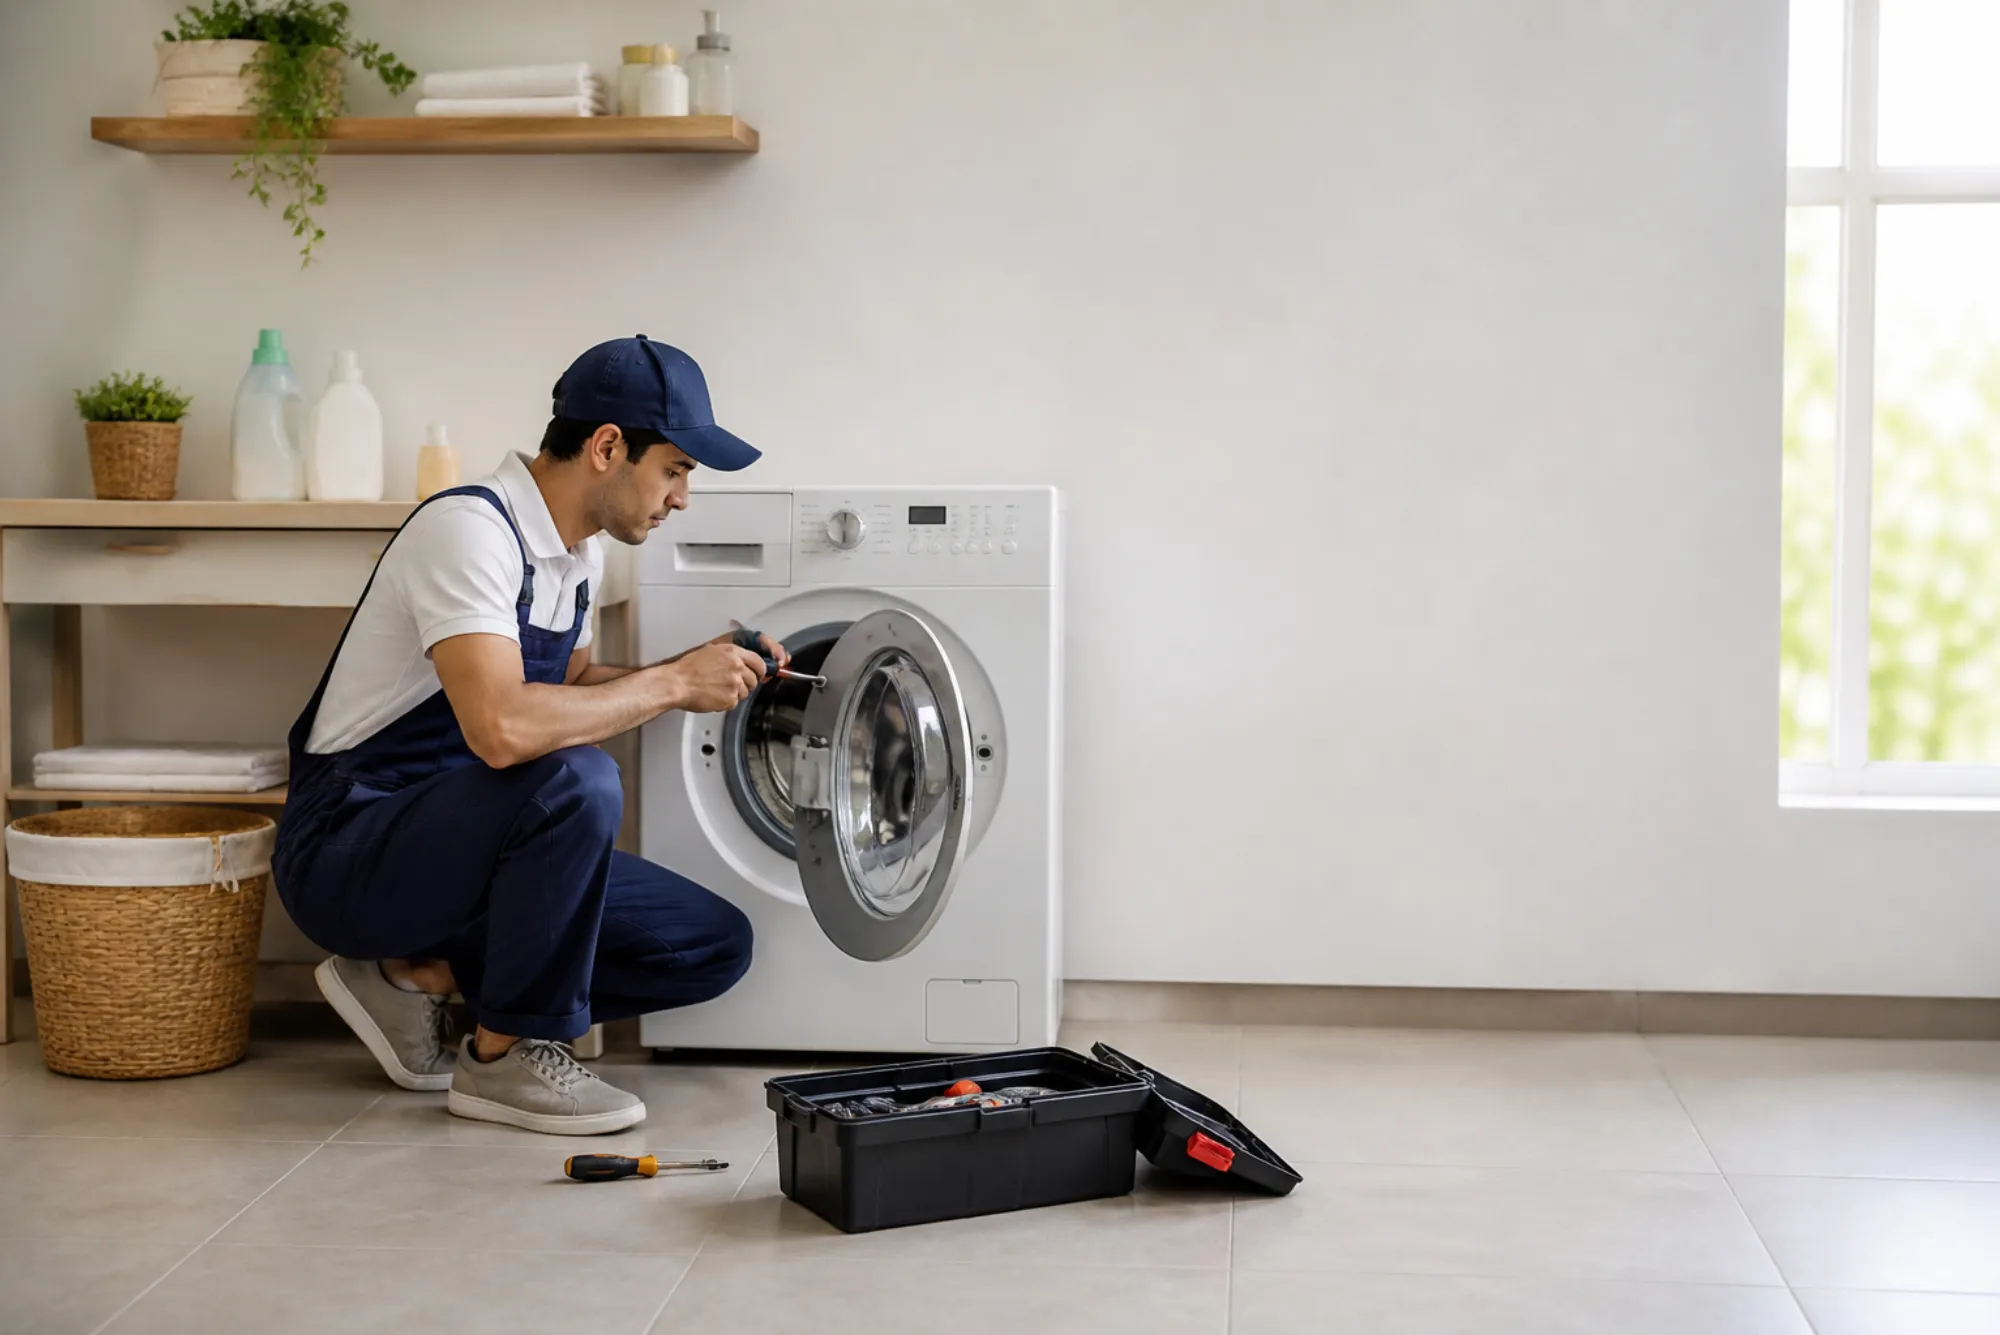
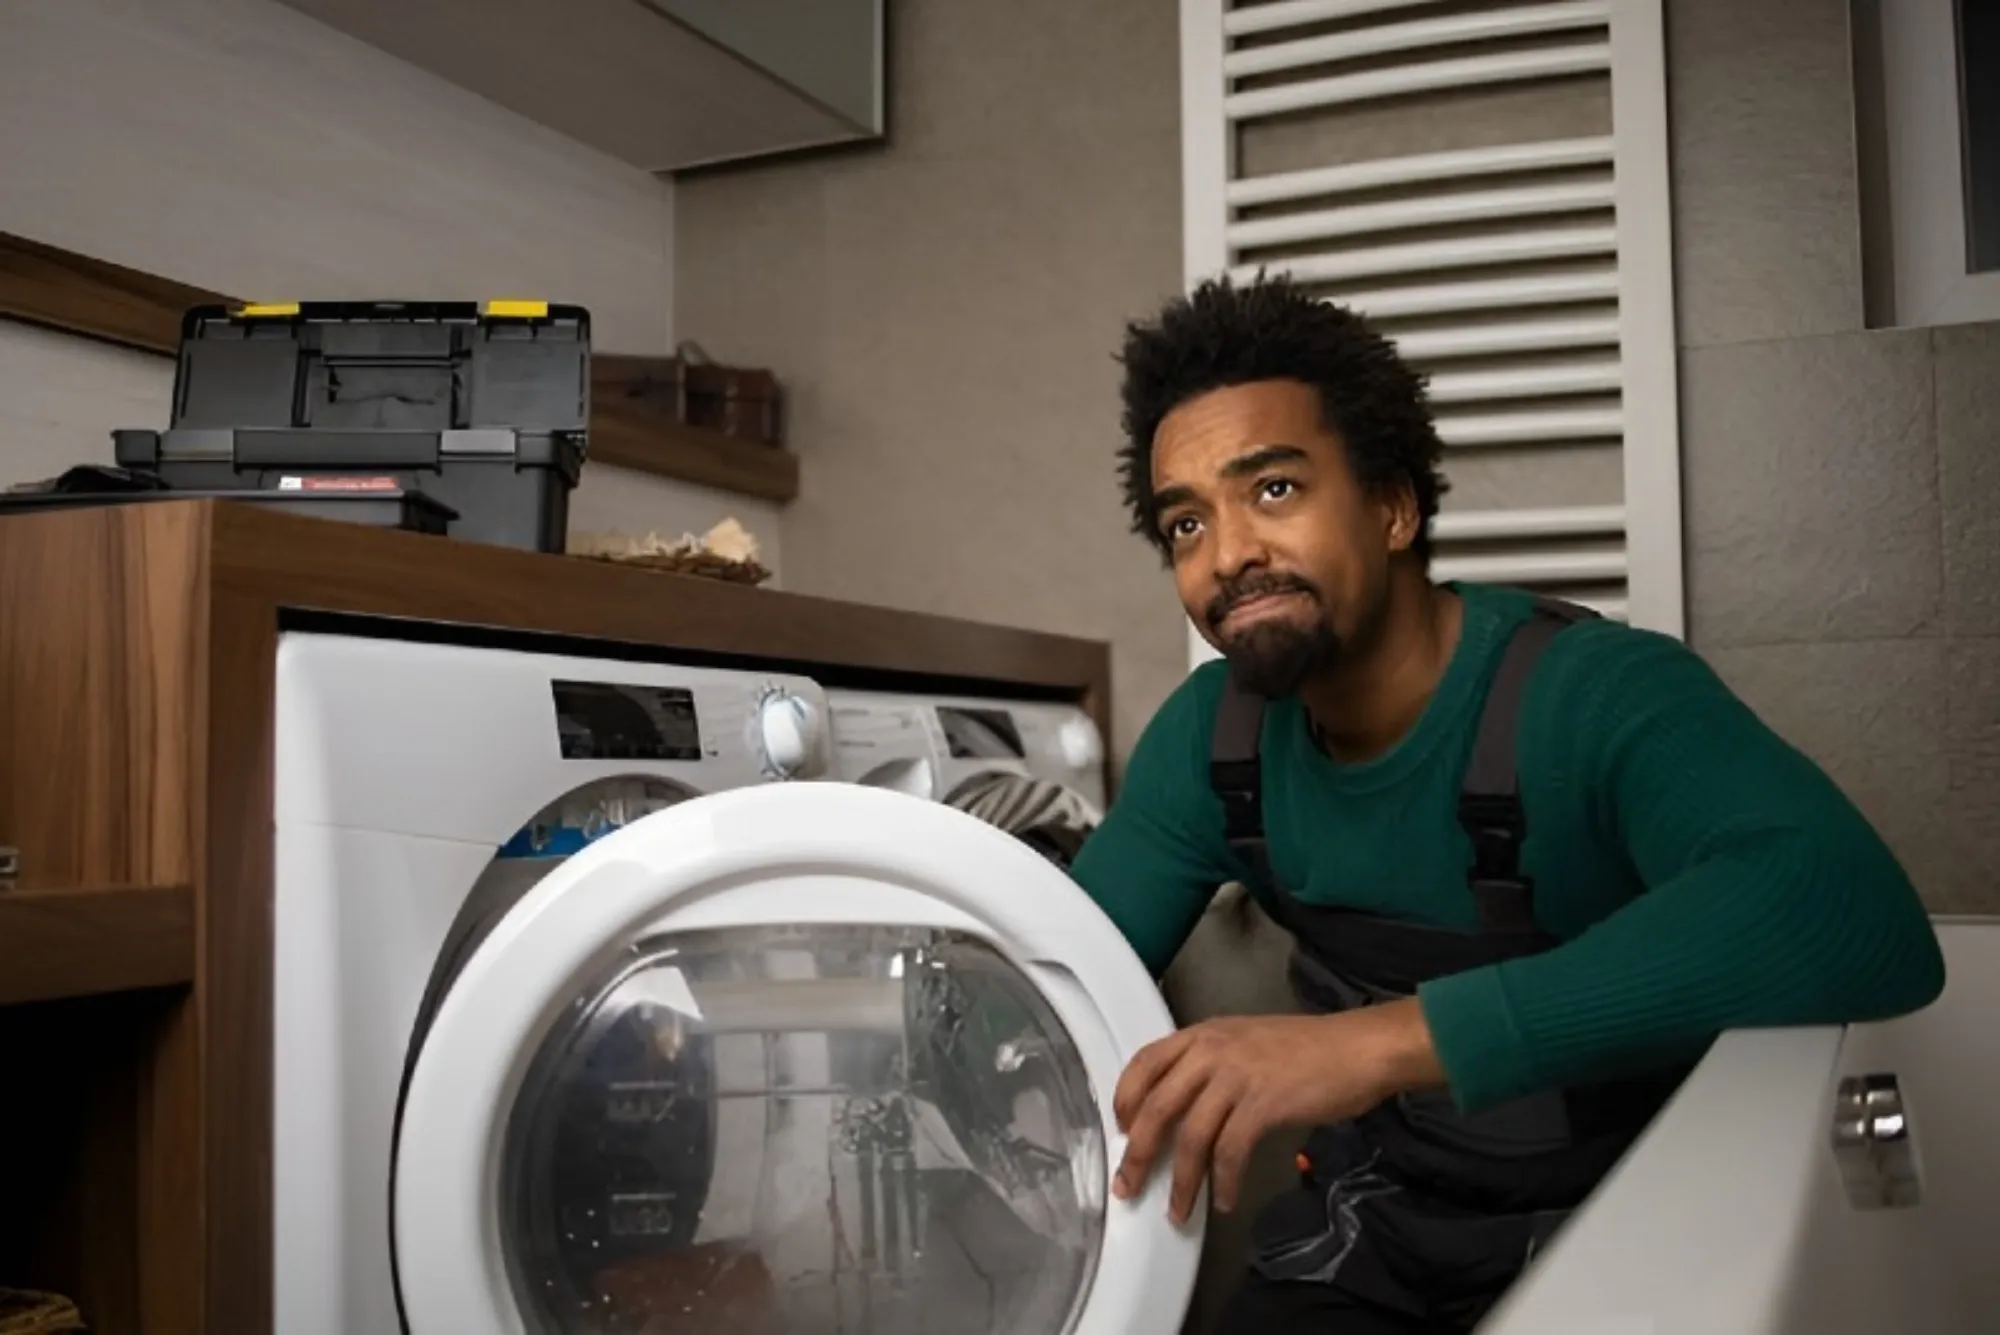
A washing machine is one of the most reliable and frequently used appliances in any home. From daily laundry to large family washes, it keeps your clothes clean and fresh. However, like every mechanical device, wear and tear eventually lead to problems. One common issue homeowners face is water leakage from the bottom of the washer, which often points to a worn or damaged main shaft seal. Understanding how to replace the washing machine’s main shaft seal is crucial if you want to restore your machine’s performance and prevent costly damage to other internal parts.
Understanding the Function of the Main Shaft Seal
At the heart of every washing machine lies a rotating drum connected to a central shaft. Around this shaft sits the main seal, a strong rubber or silicone ring designed to keep water from escaping the drum area. Its job is to maintain a watertight barrier between the drum and the bearing or transmission system. This seal ensures that while water circulates freely inside the drum during washing and rinsing, it doesn’t leak into mechanical areas that should remain dry.
When the seal becomes worn, cracked, or brittle, water slowly begins to leak past it. Once water reaches the bearings, rust and corrosion start forming, leading to grinding noises, drum misalignment, and eventually motor failure. The main shaft seal is therefore not just a small component—it is vital to the overall operation and health of the washing machine.
Why the Shaft Seal Fails
A washing machine’s shaft seal can fail for many reasons. Continuous friction, high spin speeds, and constant exposure to detergent and heat gradually wear down its material. Over time, detergent residue and mineral deposits from hard water cause the seal to lose its elasticity. If the washer is overloaded regularly, the strain on the drum and shaft accelerates seal damage.
Another contributing factor is aging. Even the best quality seals have a limited lifespan. After several years of use, the rubber becomes stiff and starts to crack. When this happens, leaks appear beneath the washer, sometimes accompanied by an unpleasant burning or metallic smell from the motor area due to moisture exposure. Recognizing these signs early allows you to act before the damage becomes irreversible.
Signs Your Washing Machine Needs a New Shaft Seal
A leaking washing machine repair is often the first sign of trouble, but there are several other indications that the shaft seal may be failing. Water appearing underneath the appliance after a wash cycle, rust forming near the drum shaft, or consistent water stains inside the washer’s cabinet are common symptoms. Some users also notice a grinding or screeching noise during spinning, caused by moisture reaching the bearings.
When the seal fails completely, the water leak becomes more noticeable, and the spin cycle may produce uneven or shaky motion. If left unchecked, this issue can destroy the bearing assembly and damage the motor, leading to expensive repairs. Therefore, replacing the main shaft seal as soon as problems arise is essential for preventing more significant damage.
Preparing for the Replacement
Before you begin the replacement process, ensure that safety comes first. Always disconnect the washing machine from the power outlet and shut off both hot and cold water supply valves. Move the washer away from the wall to give yourself enough workspace. Replacing the main shaft seal is a moderately complex task that requires patience and attention to detail, so take your time to prepare properly.
You will need a few standard tools such as wrenches, screwdrivers, pliers, and possibly a rubber mallet. A seal puller can also be helpful for removing the old seal without damaging surrounding components. Make sure you purchase the correct replacement seal for your washing machine’s brand and model. Using the wrong size or type will prevent a watertight fit and could lead to future leaks.
Accessing the Drum and Shaft Assembly
To reach the main shaft seal, you must first remove several outer parts of the washing machine. Start by taking off the top and back panels to expose the inner drum structure. Detach the hoses, electrical connectors, and water inlets connected to the drum. Once everything is disconnected, locate and remove the bolts that secure the drum assembly in place.
Carefully lift out the drum. Depending on your machine type, this step may require assistance, as the drum can be heavy and awkward to maneuver. Once removed, set it aside on a soft towel or blanket to avoid scratching or damaging the surface. This will give you a clear view of the main shaft and its surrounding components.
Removing the Old Shaft Seal
The old seal will be positioned around the shaft near the bearing housing. Over time, it can harden, making removal difficult. Use a flat screwdriver or seal puller to gently pry it out. Be careful not to damage the metal or plastic surfaces underneath. Once removed, inspect the area thoroughly.
Look for rust, debris, or residue buildup around the shaft and tub. If there’s corrosion, gently clean the area using fine sandpaper and a cleaning agent. The cleaner and smoother the surface, the better the new seal will adhere and function. This step is critical to ensuring that your repair lasts a long time.
Installing the New Shaft Seal
Before placing the new seal, lightly lubricate its edges with waterproof grease or silicone lubricant. This not only makes installation easier but also improves the seal’s ability to resist friction and maintain its shape. Align the seal over the shaft, ensuring that it sits perfectly centered. Using steady pressure, press it into the housing until it fits snugly.
Avoid hitting the seal with excessive force. If it doesn’t fit smoothly, recheck the alignment and apply more lubricant. The seal should sit flush against the housing without any gaps or distortion. Once properly installed, wipe away any excess lubricant or debris before moving to the next step.
Reassembling the Washing Machine
Now that the new seal is in place, carefully reinstall the drum onto the shaft. Ensure the shaft fits securely through the new seal without forcing it. Tighten the bolts evenly around the drum to maintain balance during operation. Reconnect the hoses, wiring, and other attachments exactly as they were before disassembly.
When reassembling, double-check that no parts or connectors are left loose. A secure reassembly ensures that your washing machine operates quietly and efficiently. Finally, reattach the outer panels and move the machine back to its original position.
Testing for Leaks and Performance
After completing the reassembly, plug the machine back into the power supply and turn on the water valves. Run a short wash cycle without any clothes inside to test for leaks. Observe the area around the shaft and underneath the washer during the cycle. If the installation was successful, you should see no signs of water leakage, and the machine should spin smoothly and quietly.
If you detect minor dripping, stop the machine immediately and inspect the seal area again. Sometimes, even a small misalignment or debris under the seal can cause leakage. Once adjustments are made, rerun the test cycle until you are confident that the problem is fully resolved.
The Importance of Proper Maintenance
Replacing the main shaft seal is a significant repair, but you can prevent premature wear with good maintenance practices. Always use the correct amount of detergent, as excess soap can break down rubber seals over time. Avoid overloading the drum, since too much weight puts unnecessary stress on the shaft and bearings.
Additionally, keep your washing machine clean by running maintenance cycles with vinegar or washing machine cleaner to remove residue buildup. Inspect the drum area periodically for moisture, rust, or noise. Catching small issues early helps avoid costly breakdowns later.
When to Call a Professional Technician
Although many people with basic mechanical knowledge can replace the shaft seal themselves, not everyone feels comfortable dismantling an appliance. If your washing machine is still under warranty or you’re unsure about any part of the process, calling a professional technician is a smart choice.
Professional repair experts have specialized tools and experience with various washing machine models. They can quickly diagnose the issue, replace the seal correctly, and ensure your washer functions safely. At Home Appliances Repair, our skilled technicians handle all types of washing machine problems, including shaft seal replacement, drum repair, and leak detection. We serve homes across Dubai with reliable, affordable, and efficient repair solutions to keep your appliances running perfectly.
Replacing a washing machine’s main shaft seal is not only about stopping leaks; it’s about protecting your appliance from further damage. The seal plays a crucial role in preventing water from reaching the bearings and motor, ensuring smooth and quiet operation. By following proper repair steps, you can restore your washing machine’s performance and extend its lifespan.
However, if you’re uncertain or prefer expert help, Home Appliances Repair Dubai is always ready to assist. Our technicians have the expertise to fix leaks, replace seals, and perform all kinds of washing machine repairs efficiently and professionally. Taking timely action on a faulty shaft seal can save you from expensive breakdowns and ensure that your laundry routine continues without interruption.