An oven light bulb may seem like a small component, but it plays a significant role in the overall convenience and functionality of your appliance. When the bulb goes out, many homeowners immediately consider calling a technician, but in most cases, replacing an oven light bulb can be a straightforward task when done with proper precautions. At the same time, the process requires careful attention to safety to avoid electric shocks, burns, or accidental damage to the oven itself.
This detailed guide provides everything you need to know about replacing an oven light bulb safely. Whether you are a homeowner attempting the replacement for the first time or simply looking to understand the proper procedure, the following information will help you carry out the task effectively while keeping safety at the forefront.
Why an Oven Light Bulb Is Important
The oven light bulb is designed to withstand high temperatures and allows you to monitor food without repeatedly opening the oven door. Each time you open the door unnecessarily, heat escapes, causing the oven temperature to drop and forcing the appliance to use more energy to reheat. Over time, this can increase energy consumption and prolong cooking times. A working oven light ensures you can watch your dishes bake or roast without affecting cooking performance.
When the bulb burns out, you are left with two choices: proceed blindly or open the oven door multiple times. Both options compromise cooking results, making the replacement of a faulty bulb a necessary task rather than a luxury.
Safety Precautions Before Starting
Replacing an oven light bulb is not a complicated process, but it does involve working with an electrical appliance. Ovens are designed with high wattage and can pose risks if handled carelessly. The first and most crucial step is prioritizing safety before even touching the bulb or any part of the oven’s internal components.
Always ensure that the oven is switched off and completely cool before attempting the replacement. An oven that is still warm not only increases the risk of burns but can also make the light cover difficult to handle. Furthermore,Post Category, disconnecting the appliance from its power source eliminates the possibility of electric shock while working on the bulb.
It is also important to use the correct type of bulb. Ordinary household light bulbs are not designed to endure the high temperatures inside an oven. Only bulbs specifically manufactured for ovens should be used, as they are designed to withstand intense heat without failing prematurely.
Identifying the Correct Bulb for Your Oven
Every oven model has specific requirements for replacement parts, including light bulbs. Typically, oven light bulbs are small, heat-resistant bulbs ranging between 25 and 40 watts. They are often manufactured with thicker glass to tolerate high temperatures.
Before purchasing a replacement, consult your oven’s user manual to confirm the exact type of bulb required. If you no longer have the manual, you can check the existing bulb for markings or wattage information. In many cases, appliance manufacturers recommend genuine parts to ensure durability and compatibility.
Using the wrong bulb may lead to early failure or, in some cases, damage to the socket or cover. To ensure smooth operation, always match the new bulb with the manufacturer’s specifications.
Step-by-Step Guide to Replacing an Oven Light Bulb
Once safety precautions are in place and you have the correct bulb, the process becomes relatively simple. The bulb is usually located inside the oven cavity, often near the top or side panel, covered with a protective glass or metal shield.
Begin by ensuring that the oven is unplugged or switched off at the circuit breaker. Next, carefully remove the cover protecting the bulb. Depending on the oven model, the cover may twist off, slide out, or require a small screwdriver to loosen. Once the cover is removed, gently unscrew the old bulb in a counterclockwise direction.
After removing the faulty bulb, take the new heat-resistant oven bulb and screw it into place. Make sure it is fitted snugly but do not overtighten, as the glass can be fragile. Reattach the protective cover securely, ensuring it sits properly to shield the bulb during high-heat cooking.
Finally, restore power to the oven and test the new bulb by turning on the light switch. If it illuminates, the replacement has been successful.
Common Mistakes to Avoid
While replacing an oven bulb is a manageable task, homeowners often make mistakes that can lead to complications. One of the most common errors is attempting to replace the bulb while the oven is still hot. This not only risks injury but may also cause the glass cover to crack from sudden temperature changes.
Another mistake is using an incorrect bulb type, such as a standard household bulb, which is not designed for oven conditions. These bulbs tend to burn out quickly or may even shatter due to heat exposure.
In some cases, individuals force the cover back into place incorrectly, leading to misalignment or damage to the protective casing. Always handle parts gently and avoid excessive pressure when removing or securing components.
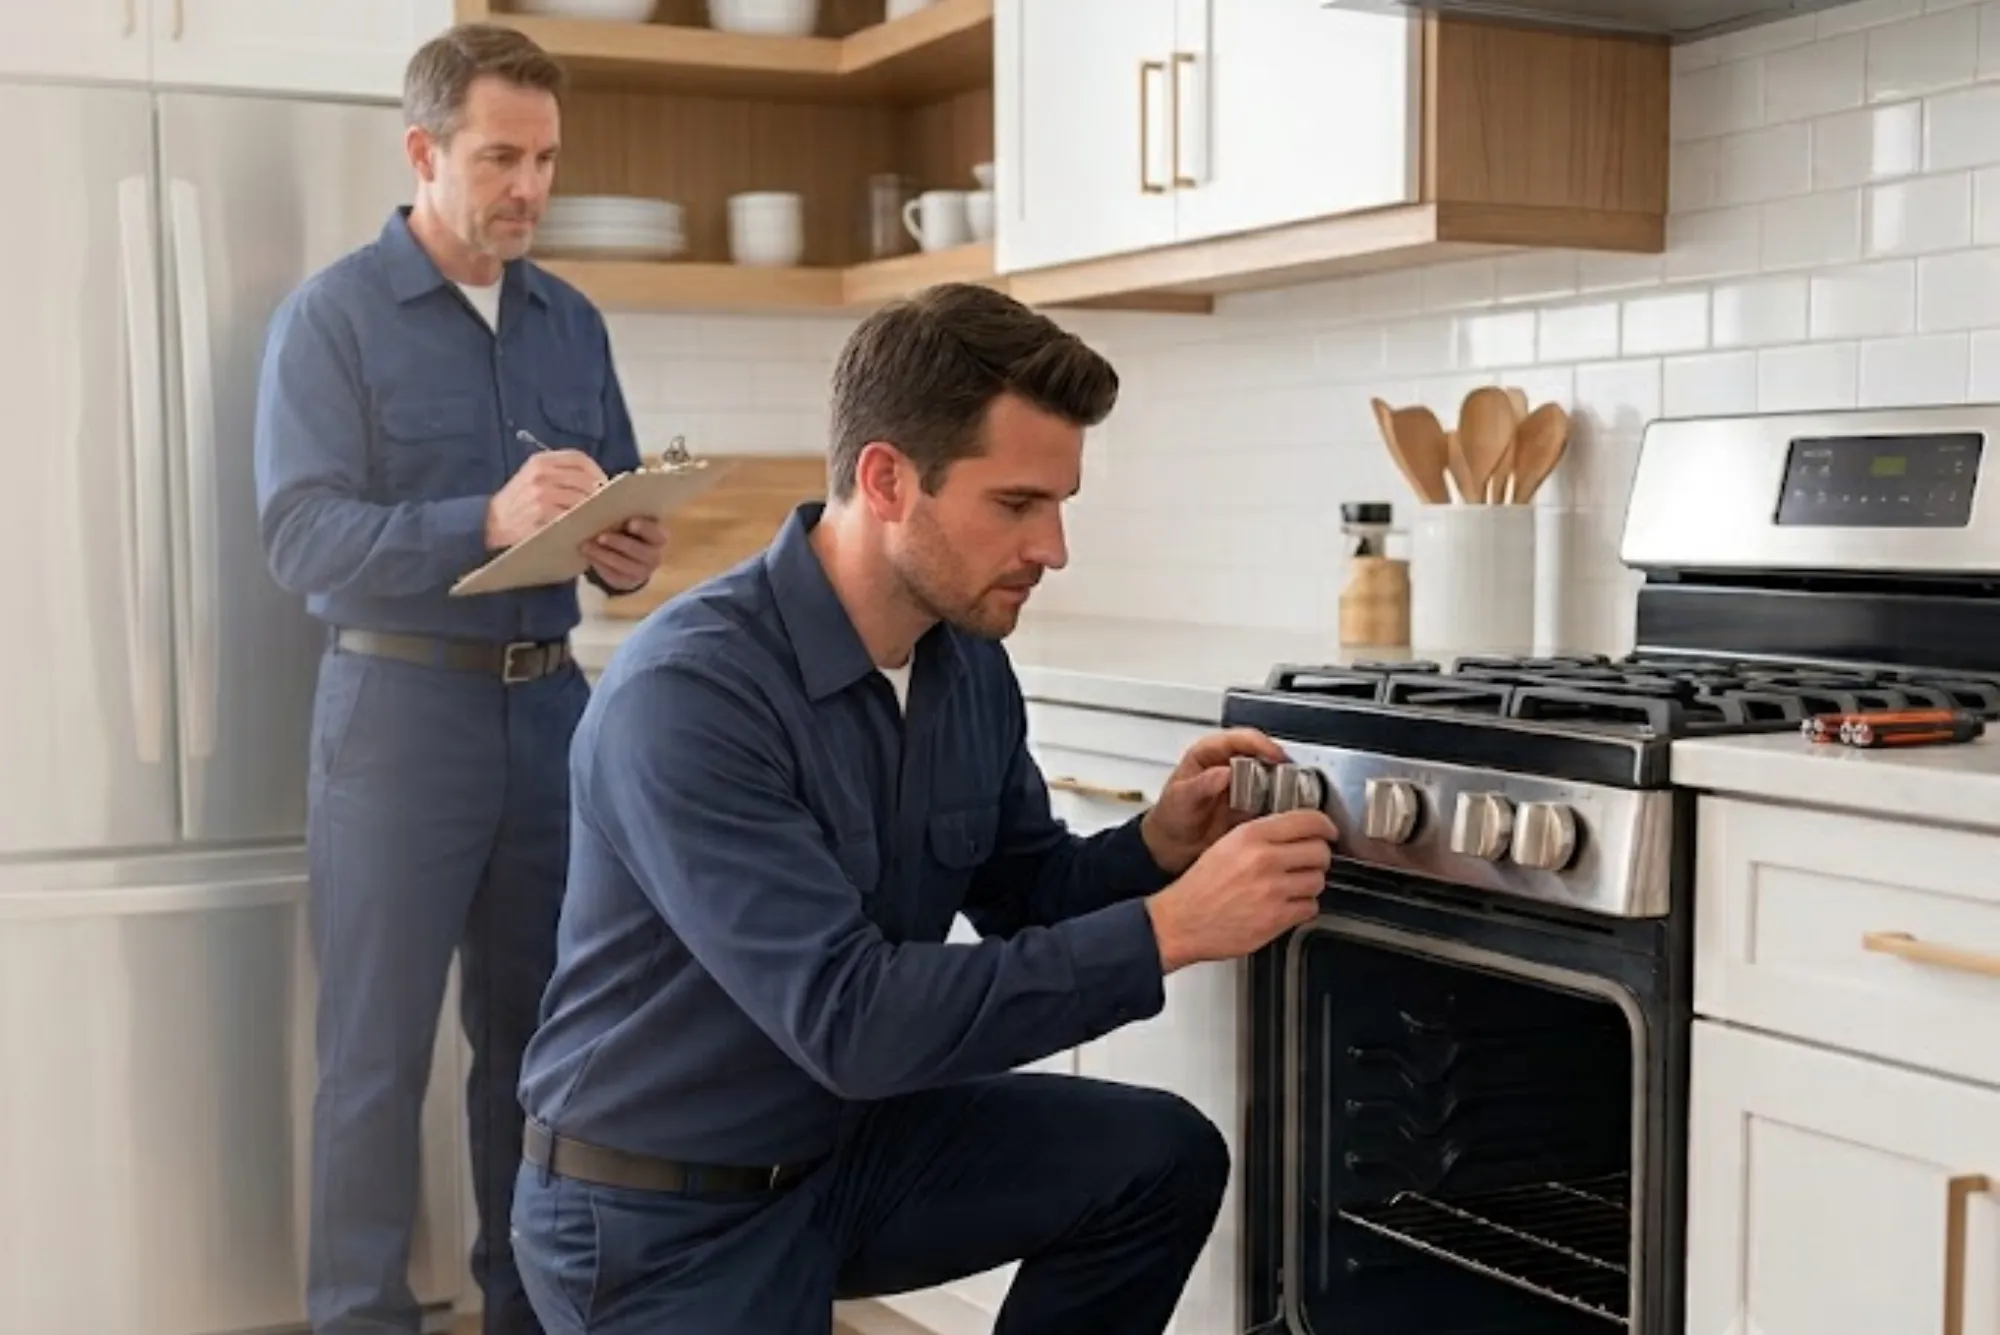
When to Call a Professional
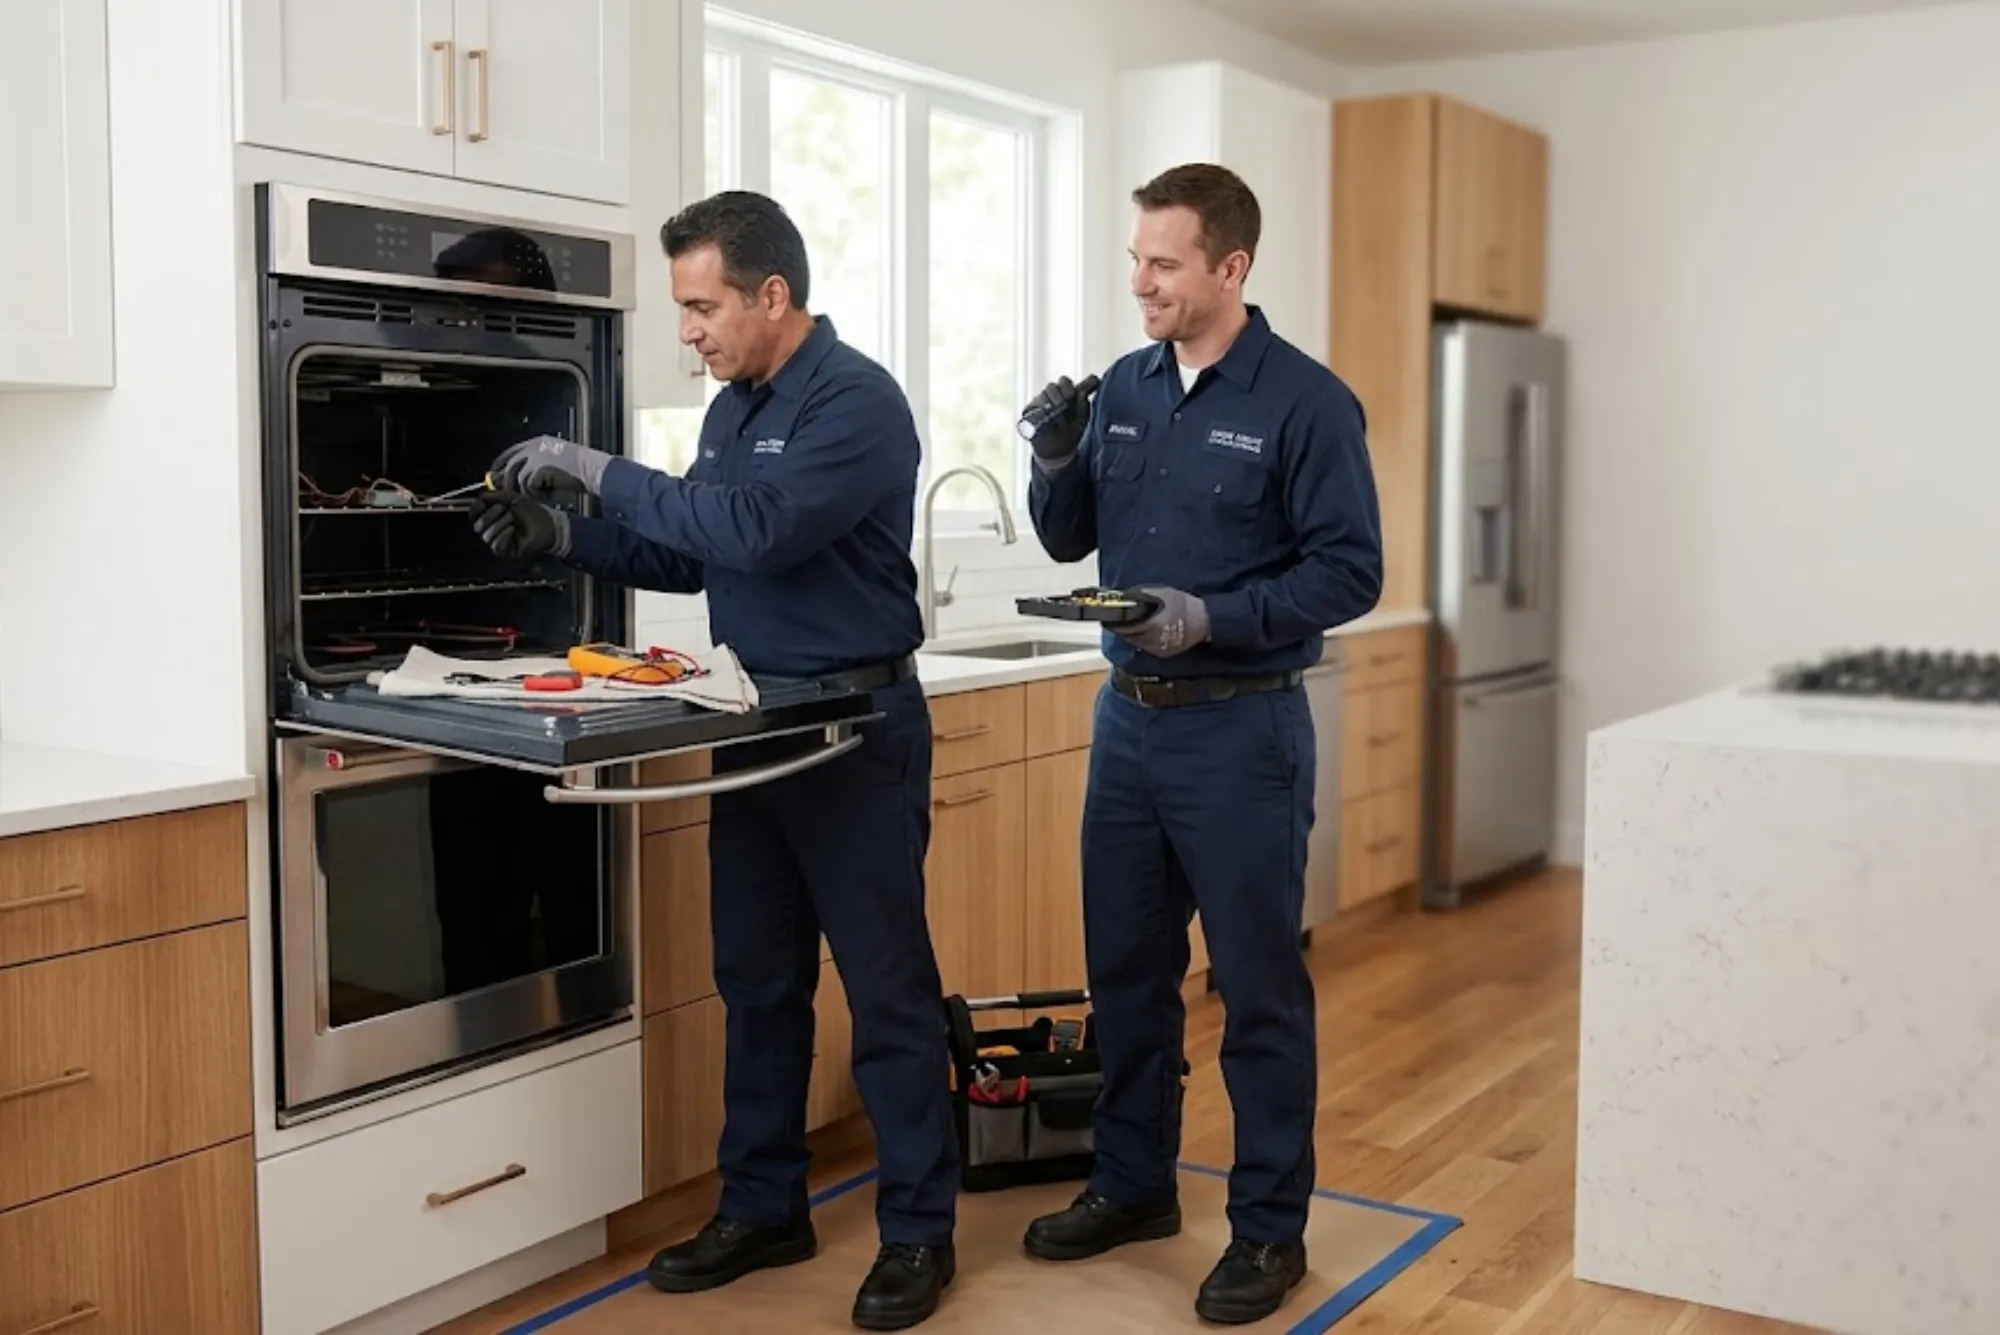
Although most oven light bulb replacements can be handled without professional assistance, certain situations may require expert help. For example, if the bulb appears to be stuck or if the cover cannot be removed easily, applying too much force could damage the oven. Similarly, if you replace the bulb but the light still does not function, there may be an electrical fault or issue with the wiring.
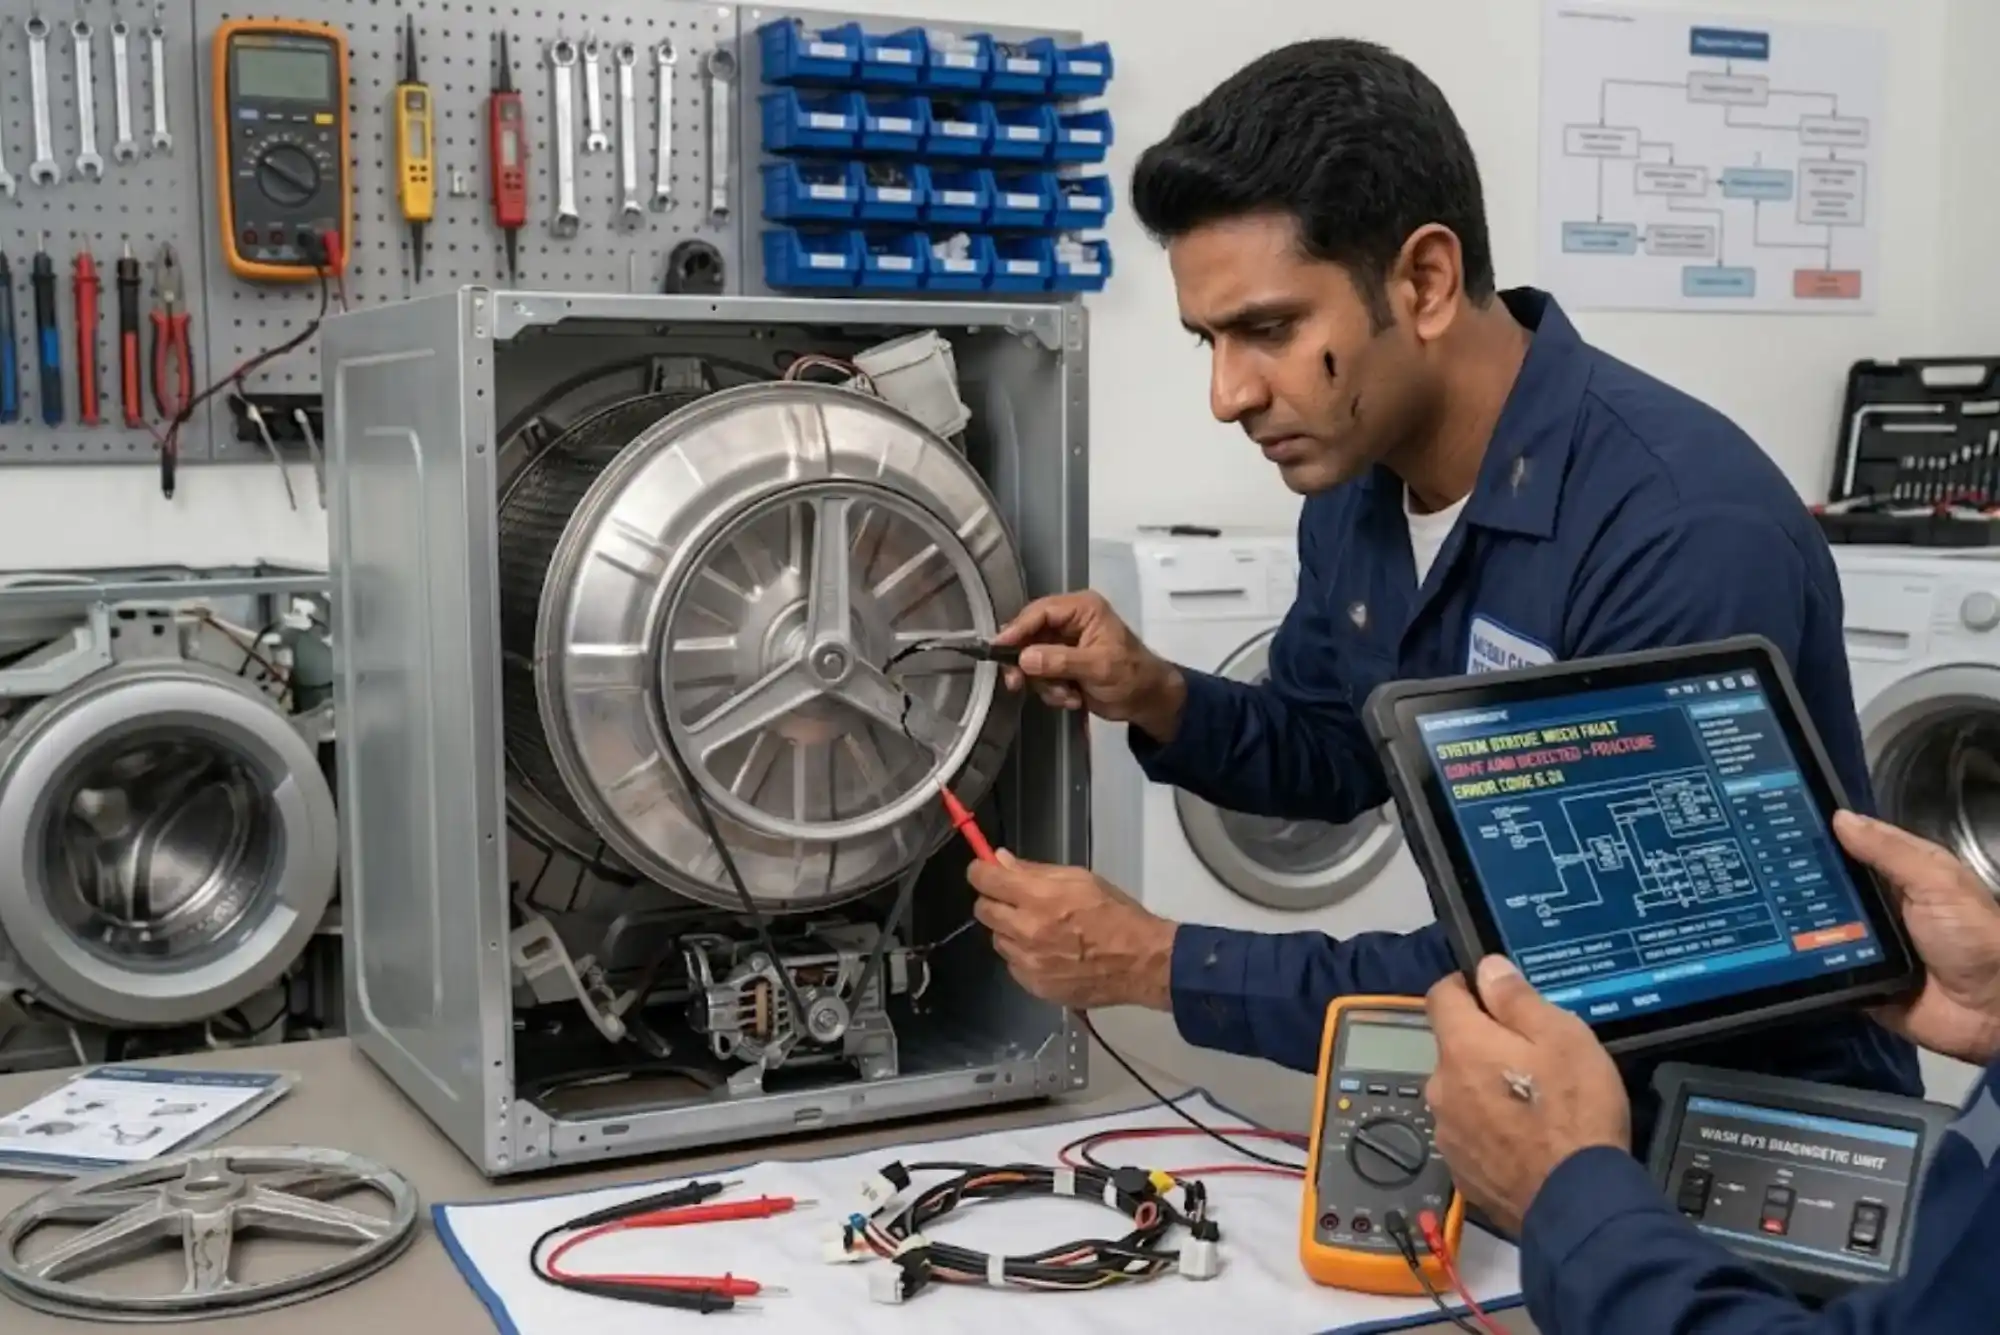
In such cases, it is advisable to contact a professional technician. Appliance repair experts have the right tools and knowledge to diagnose and fix the problem safely. Attempting to handle complex electrical issues without experience can increase the risk of accidents and lead to higher repair costs in the long run.
Extending the Life of Your Oven Light Bulb
While bulbs will eventually burn out over time, you can extend their lifespan with proper care. One key tip is to avoid repeatedly turning the oven light on and off unnecessarily. The constant switching shortens the bulb’s operational life. Additionally, keeping the oven interior clean helps prevent grease and debris from building up on the bulb, which can contribute to overheating and reduced efficiency.
If your oven allows it, using the light only when needed can help the bulb last longer. Investing in high-quality replacement bulbs from trusted manufacturers also ensures better durability compared to low-cost alternatives.
The Importance of Professional Guidance
Even though replacing an oven bulb seems simple, professional advice can help prevent common mistakes and ensure the job is done correctly. At appliance repair companies such as Hafixer Home Appliances Repair Dubai, technicians often receive calls from homeowners who attempted a DIY replacement but encountered difficulties.
By relying on professional services when necessary, you not only save time but also reduce the risks associated with improper installation. Skilled technicians can also check for underlying issues such as faulty sockets or wiring that may be the real reason behind a non-functioning oven light.
Replacing an oven light bulb safely requires a combination of caution, the right tools, and knowledge of your appliance. By prioritizing safety, using the correct bulb, and following proper steps, you can easily restore the convenience of monitoring your food without opening the oven door. While most replacements can be done at home, there are situations where professional assistance becomes the best option.