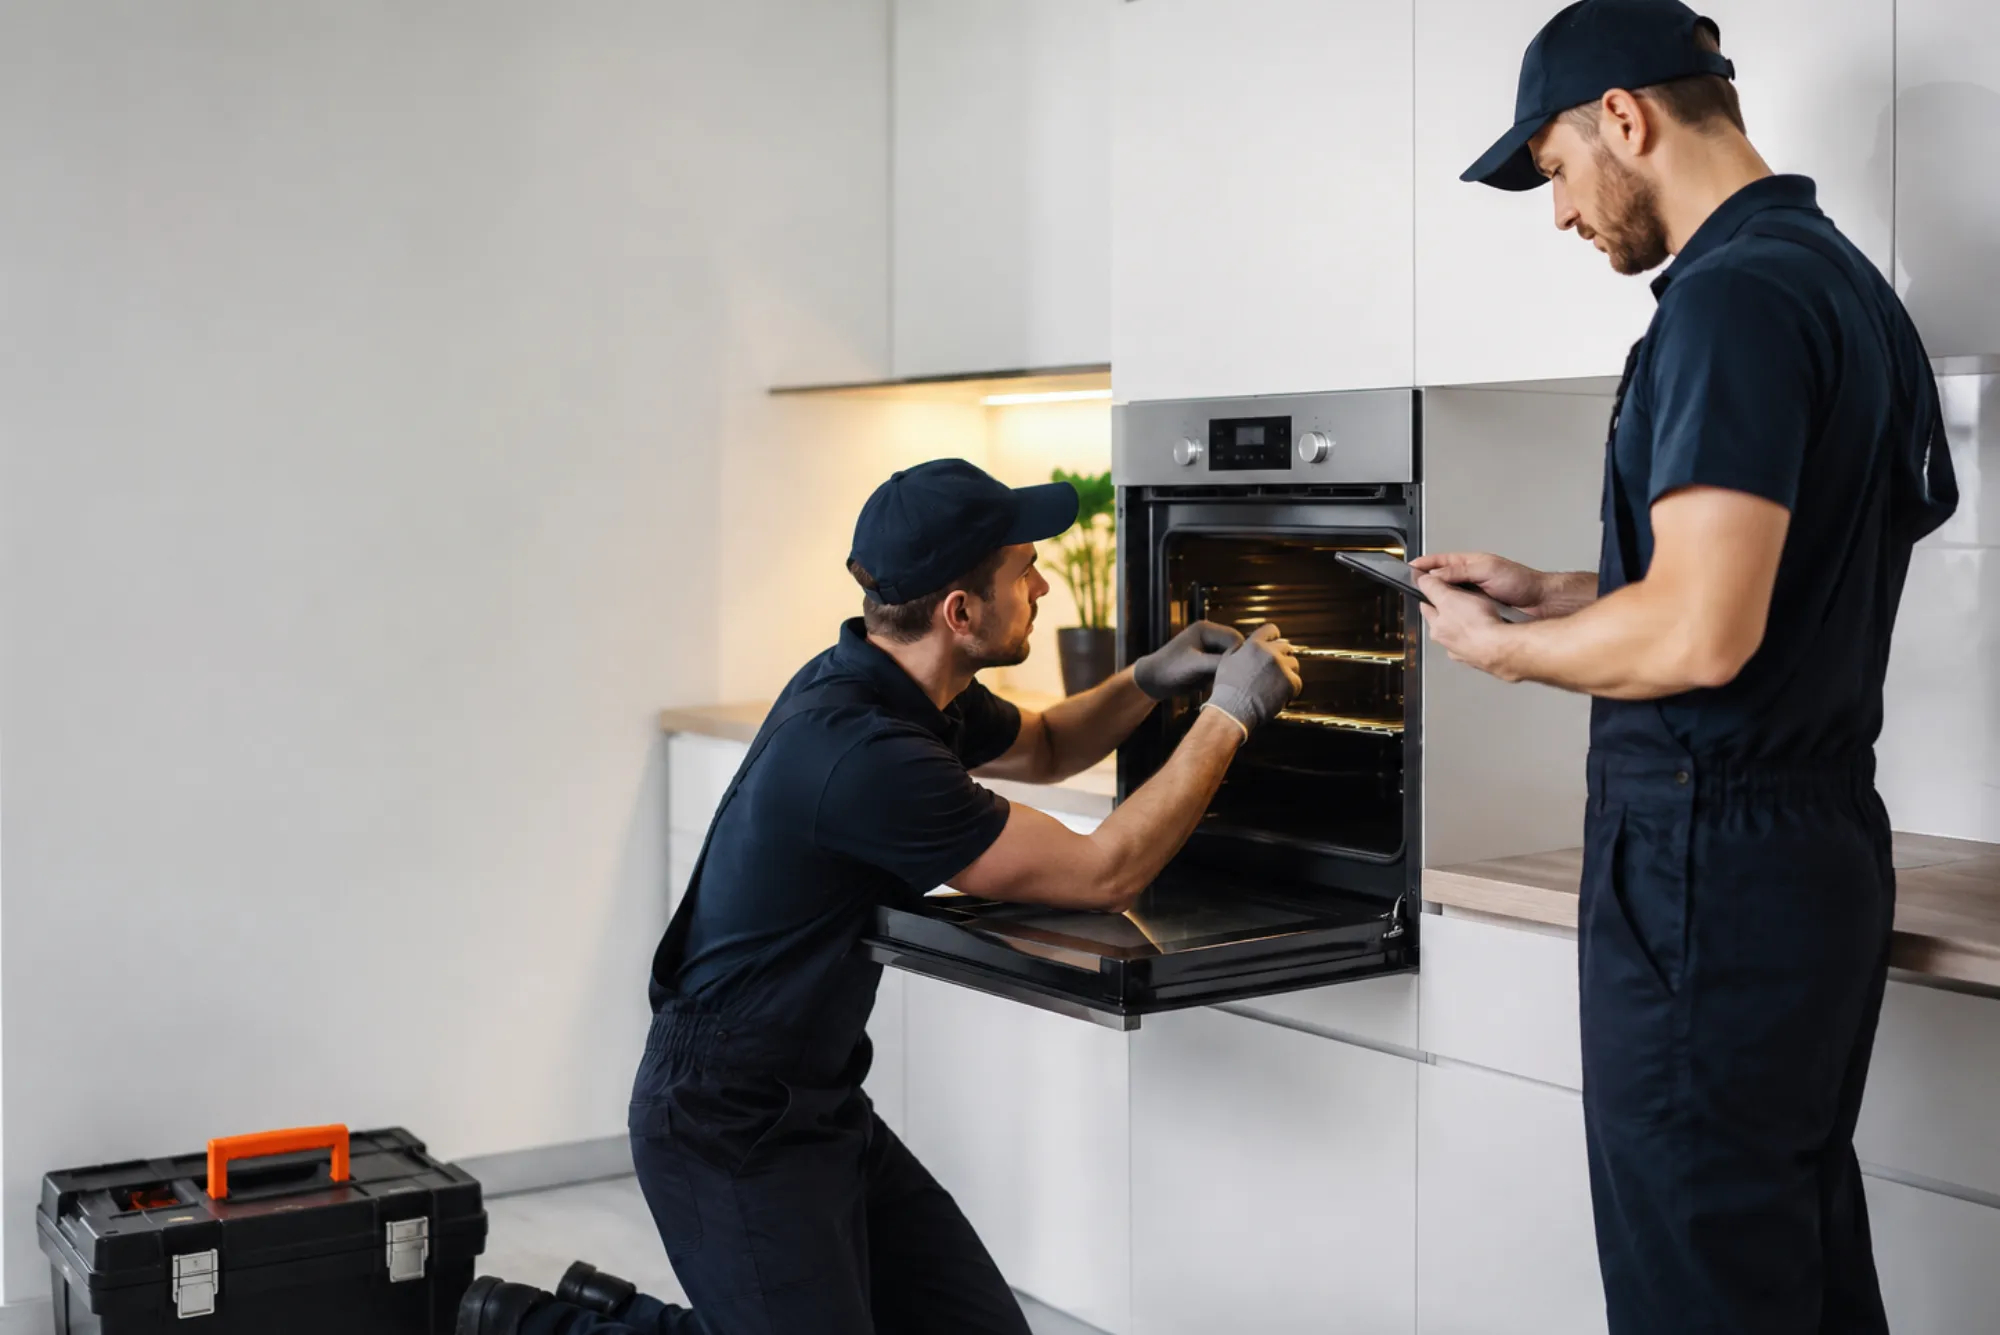
The performance of a stove depends on more than burners and electronics; the door seal is one of the most overlooked yet essential components. A worn or broken seal allows heat to escape, leading to uneven cooking, wasted energy, and higher utility bills. Learning how to replace stove door seals ensures your range continues to operate efficiently while extending its overall lifespan. Although many homeowners assume this is a complicated repair, the process is surprisingly manageable with careful attention and preparation.
Why Door Seals Matter in Range Performance
Every oven is designed to create a contained, stable cooking environment. The door seal, often a heat-resistant rubber or fiberglass gasket, plays a central role in trapping heat inside the cavity. When intact, it allows the range to reach the programmed temperature quickly and maintain it with minimal fluctuation. Once the seal weakens, the oven struggles to perform as intended. Food may cook unevenly, baking times extend unnecessarily, and the appliance requires more energy to compensate for escaping heat. Over time, these inefficiencies affect both your cooking results and household costs.
Common Signs That a Seal Needs Replacement
Recognizing when a door seal requires replacement is the first step toward maintaining your appliance. One of the most obvious indicators is visible wear, such as cracks, fraying, or sections that no longer sit firmly in place. You may also notice that the oven door does not close tightly, leaving small gaps even when locked. In practical use, longer preheating times or difficulty reaching higher temperatures point directly to heat loss through the seal. A kitchen filled with excessive warmth or the smell of cooking escaping before a dish is finished also indicates that the gasket is no longer functioning effectively.
Preparation Before Beginning the Replacement
Replacing a stove door seal requires only a few basic tools and a structured approach. Before starting, ensure the range is turned off and completely cool to the touch, since residual heat can make handling the gasket uncomfortable or unsafe. A flashlight helps inspect the gasket track clearly, while a flat-head screwdriver or pliers may be necessary to remove clips or old attachments. Having a damp cloth available is useful for cleaning the channel once the old seal is removed, ensuring the new one adheres properly. Finally, ordering the correct replacement gasket specific to your model is essential, as variations exist in length, thickness, and attachment method.
Removing the Worn or Damaged Seal
The removal stage should be performed carefully to avoid damaging the oven’s frame. Many stove door seals are held in place by small metal clips or anchors that slide into pre-cut holes along the gasket channel. Begin at one corner and gently pull the seal away from the frame, loosening clips one at a time. If resistance is strong, use a flat-head screwdriver to nudge clips out of place. As the gasket is released, note its orientation and the position of each clip, since this information will guide the installation of the new seal. Once removed, inspect the channel for debris, burnt residue, or grease buildup, as these can interfere with the new gasket’s ability to seat securely.
Cleaning the Gasket Channel Thoroughly
A clean channel is the foundation of a successful replacement. Over years of use, food particles and grease may have collected around the door frame. Use a damp cloth or a mild kitchen cleaner to wipe the area thoroughly, avoiding harsh chemicals that could damage the enamel surface. In some cases, a nylon brush may help remove stubborn debris. Allow the frame to dry completely before proceeding, as moisture can affect the fit of the new seal. A smooth, dry channel ensures that the new gasket seats tightly and functions without gaps.
Installing the New Seal with Precision
When installing the replacement gasket, align one end at the corner of the oven frame and gently press it into the channel. Many seals are designed to compress slightly during installation, creating the tight fit necessary for heat retention. Work your way around the frame, pressing the gasket evenly into place without stretching it excessively. If clips are included, insert each one securely into its designated hole, ensuring uniform tension across the entire seal. The final step is to join the two ends together, usually at the bottom of the oven door. They should meet cleanly without overlapping or leaving a gap.
Ensuring a Proper Seal After Installation
Once the gasket is installed, the oven door should close firmly without resistance or looseness. To test the seal, place a sheet of paper between the door and the frame, then close the oven. If the paper pulls out easily without resistance, the seal may not be installed tightly enough in that section. Repeat the test in several areas around the door to confirm even pressure. If necessary, adjust clips or press the gasket deeper into the channel until the door compresses the seal consistently. This final check ensures that the oven will maintain its efficiency during future cooking.
Benefits of Timely Seal Replacement
A properly sealed oven delivers more consistent cooking results by stabilizing the internal temperature. Dishes bake evenly, meats roast thoroughly, and recipes requiring precise heat perform reliably. Beyond cooking performance, a new gasket helps reduce energy consumption, preventing the range from working harder than necessary. This efficiency translates to noticeable savings over time, especially for households that use the oven frequently. Additionally, maintaining a strong seal protects other internal components of the oven from prolonged overuse or heat stress, extending the lifespan of the appliance as a whole.
Mistakes to Avoid During the Process
While the replacement procedure is straightforward, certain mistakes can undermine the effectiveness of the repair. Stretching the gasket during installation can distort its shape, creating gaps that compromise heat retention. Neglecting to clean the gasket channel thoroughly often leads to uneven seating and early wear. Installing a gasket not designed for your specific model may appear to fit but rarely delivers the required tightness for efficient performance. Finally, skipping the post-installation test can result in unnoticed leaks that defeat the purpose of the repair. Avoiding these mistakes ensures your effort produces lasting results.
When to Seek Professional Assistance
Although replacing a stove door seal is generally manageable for homeowners, certain situations call for professional service. If your oven model uses a complex clip system or integrated hinges that must be partially dismantled, professional expertise prevents accidental damage. Likewise, if after replacement the oven continues to lose heat or fails to close properly, there may be deeper issues with the door alignment or latch mechanism. In these cases, scheduling a technician ensures that the root cause of inefficiency is addressed. Professional service also offers peace of mind when working with high-end or commercial ranges where precision is critical.
Maintaining Your Stove Door Seal
After replacing the seal, regular maintenance helps extend its life and preserve oven efficiency. Wipe the gasket periodically with a damp cloth to remove grease or residue that may cause deterioration. Avoid using sharp tools or abrasive cleaners near the seal, as these can cut or weaken the material. Be mindful when opening and closing the oven door, ensuring it is not slammed or forced against heavy cookware, as this can damage the gasket prematurely. With routine care, a new seal can last many years, protecting both your appliance and the quality of your cooking.
Final Thoughts on Replacement and Efficiency
Replacing a stove door seal may seem like a minor repair, but its impact on performance and energy efficiency is significant. The process requires patience and attention to detail but no advanced technical skills. With a clean channel, a correctly fitted gasket, and a careful post-installation check, homeowners can restore their range to peak condition. Ultimately, maintaining the seal is about more than just cooking efficiency—it is an investment in energy savings, appliance longevity, and the confidence that every meal will be prepared in a stable, reliable environment.