A washing machine is one of the most essential household appliances, saving time and energy by handling large loads of laundry efficiently. Yet, even the best washing machines can experience problems if not properly maintained. One common issue homeowners face is poor drainage or standing water inside the washer drum. When this happens, the first suspect should be the drain valve. Knowing how to clean a washing machine drain valve correctly can make a huge difference in performance, hygiene, and longevity of the appliance.
Cleaning the drain valve is a simple but often overlooked task. Over time, lint, fabric fibers, detergent residue, and mineral deposits accumulate, blocking the water flow and causing unpleasant odors. Ignoring this buildup can eventually lead to expensive repairs or even a full drain system failure. Understanding the purpose of the drain valve and learning to clean it thoroughly ensures your washing machine continues to function efficiently for years.
What Is a Washing Machine Drain Valve?
The drain valve is a small yet vital component of the washing machine’s plumbing system. It regulates the discharge of wastewater after each wash and rinse cycle. When the cycle finishes, the valve opens to allow water to flow out of the drum through the drain hose. Once the water is expelled, the valve closes tightly to prevent backflow.
In most washing machines, the valve works in coordination with the drain pump. The pump pushes the water out, while the valve ensures smooth flow and prevents clogging or leakage. If the drain valve becomes blocked or malfunctions, the machine will not drain properly, and leftover water may remain in the drum. In severe cases, it can trigger an error code or prevent the spin cycle from completing.
Signs That the Drain Valve Needs Cleaning
Recognizing the signs of a clogged or dirty drain valve early can save you from bigger problems later. You might notice water staying in the drum after a cycle ends or slow drainage where the washer takes too long to empty. In some cases, the washer may stop mid-cycle because it cannot drain water fast enough.
Another noticeable sign is a foul odor coming from inside the drum or from the bottom of the washing machine. This smell often results from stagnant water mixed with detergent residue and lint. A noisy drain cycle—like a humming or gurgling sound—can also indicate that the pump is struggling to push water through a restricted valve.
If your machine gives error codes related to drainage, such as “OE,” “ND,” or “F02,” it’s likely the valve or pump area is blocked. Instead of immediately calling a technician, you can attempt a thorough cleaning, which often resolves the problem.
Preparing to Clean the Drain Valve
Before you start cleaning, preparation is key for both safety and efficiency. First, unplug the washing machine from the power outlet. Never work on an electrical appliance that’s still connected to power. Next, turn off the water supply connected to the machine to prevent leaks or accidental flooding.
Place an old towel or a shallow container under the washer to catch any water that might spill when you disconnect hoses. Gather your cleaning supplies—typically a screwdriver, a small brush or toothbrush, a bucket, gloves, warm soapy water, and a vinegar solution for stubborn buildup.
If you have the machine’s user manual, check it to locate the drain valve and understand how to access it. The location varies depending on whether your machine is a front-loading or top-loading model.
Locating the Drain Valve
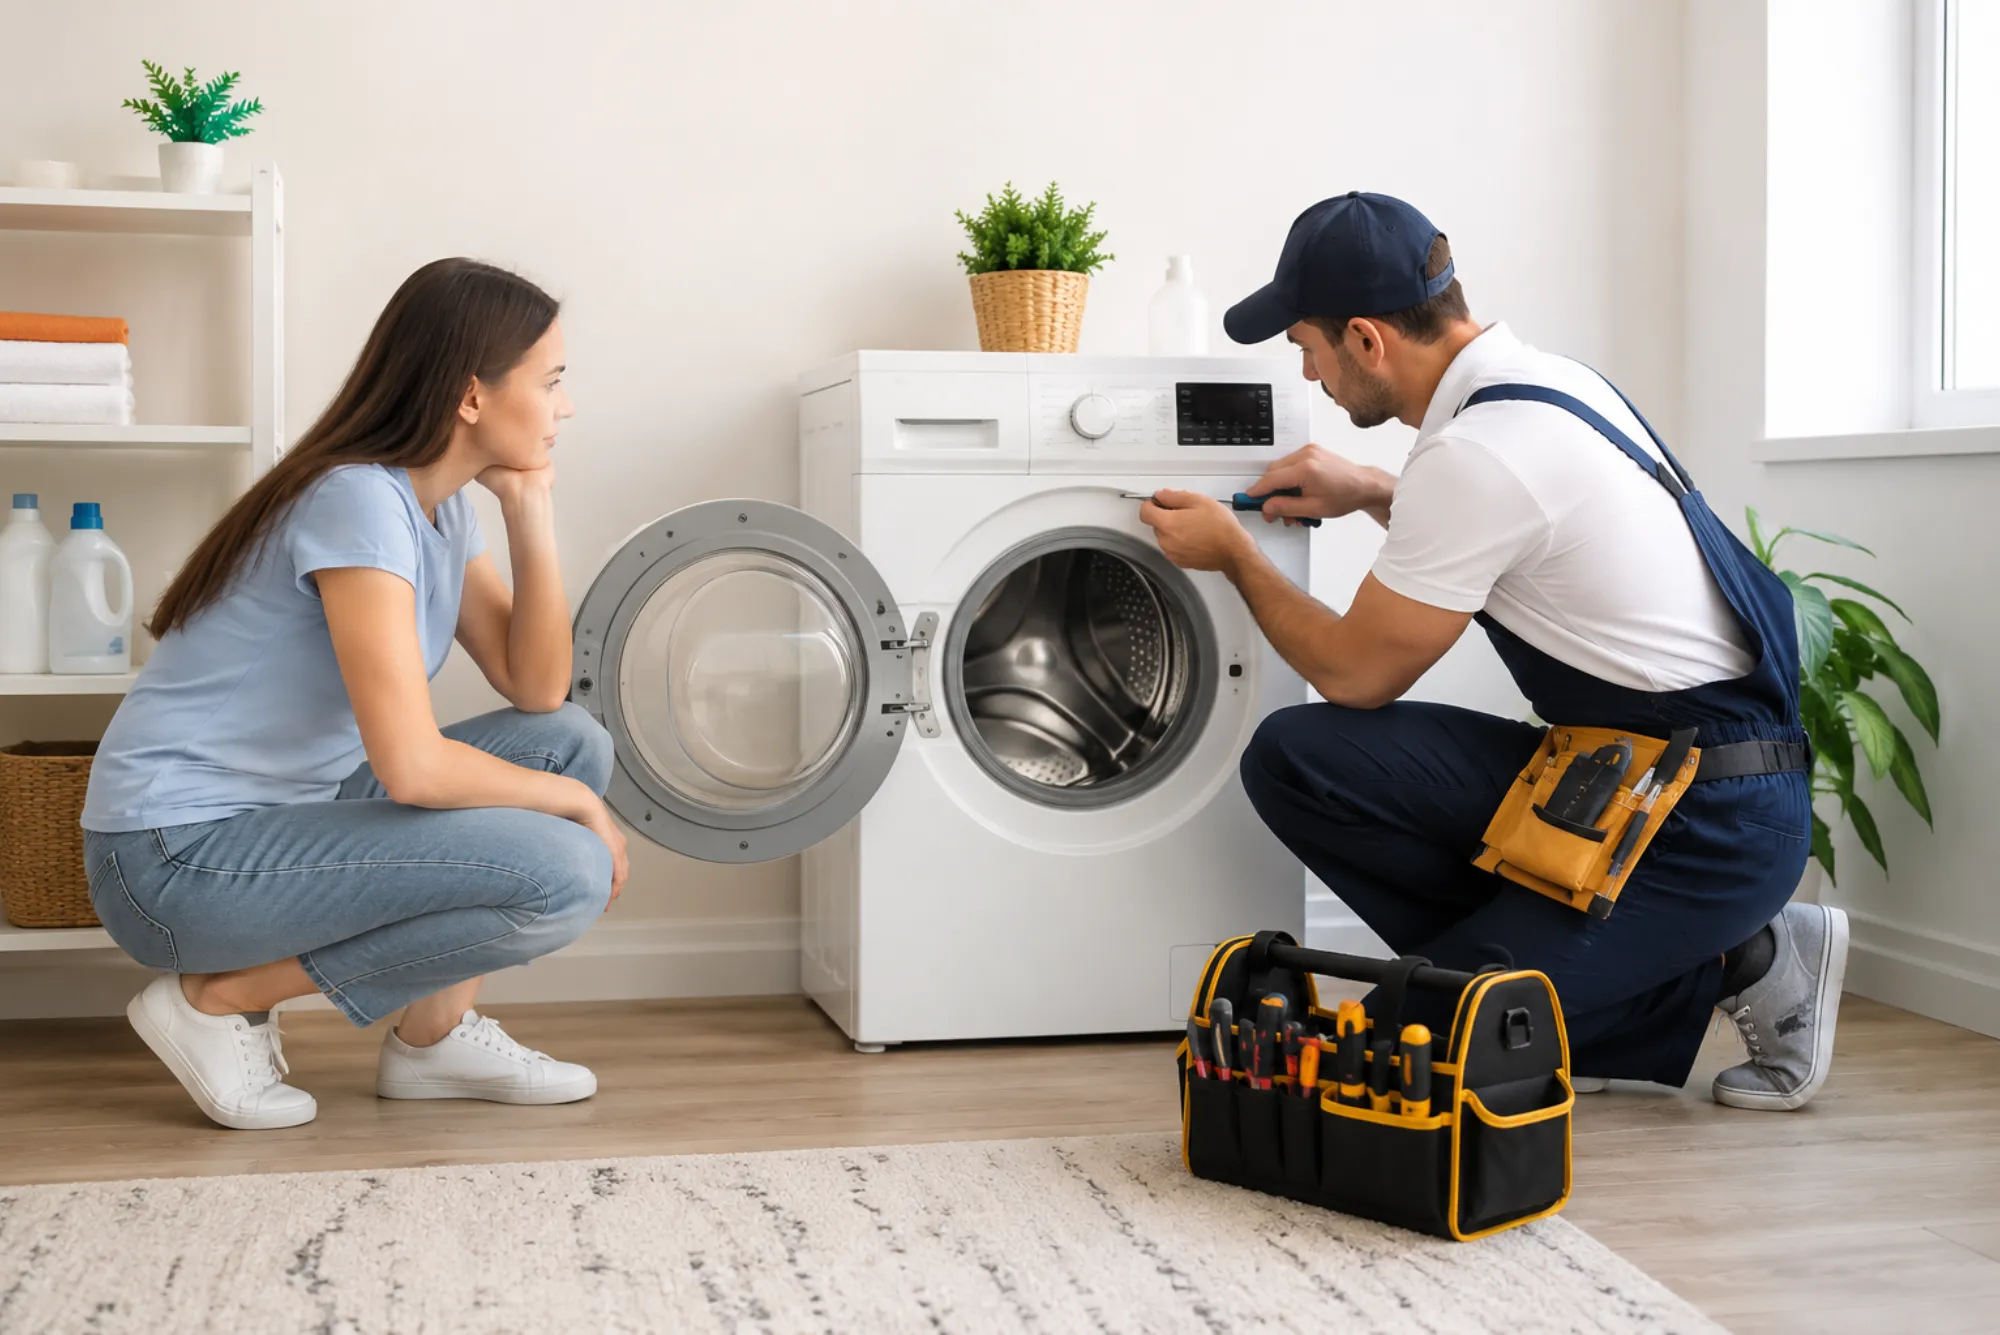
In most front-loading washing machines, repair the drain valve is located at the bottom front of the appliance, usually behind a small service panel or access door. This area often also contains the drain pump filter.
For top-loading machines, the valve might be located underneath the drum, near the drain pump assembly, or at the back of the washer near the hose connections. You may need to remove the back or bottom panel with a screwdriver to reach it.
Once you’ve located the valve, keep your bucket ready—some leftover water will likely spill out when you disconnect the hoses or remove the valve.
Step-by-Step Process to Clean the Drain Valve
Cleaning the drain valve requires patience and care to avoid damaging any parts. Once you’ve gained access, inspect the valve closely. You’ll often find a buildup of lint, soap residue, small threads, or even coins and buttons stuck inside.
Begin by removing any visible debris by hand. Then, using a small brush or toothbrush, scrub away dirt and residue around the valve opening. If you notice hardened detergent or mineral deposits, soak a cloth in warm water mixed with mild dish soap and wipe the inside gently.
To break down stubborn buildup, use a mixture of equal parts white vinegar and water. Vinegar naturally dissolves detergent scum and disinfects without damaging the rubber or plastic components. Pour a little solution through the valve opening and let it sit for a few minutes. Then, rinse thoroughly with clean water to remove any residue.
Check that the valve flap or seal moves freely and isn’t cracked or worn. If it appears damaged, replacement might be necessary to ensure proper drainage and prevent leaks.
Cleaning the Drain Hose and Pump
Once the drain valve is cleaned, it’s wise to clean the drain hose and pump simultaneously since debris often travels between these parts. Detach the hose from the valve and run warm water through it to flush out any dirt. You can also use a flexible brush to clean inside the hose.
Next, inspect the drain pump inlet. Remove any foreign objects like lint, coins, or small clothing pieces that may have gotten stuck. Cleaning these parts together ensures the entire drainage system operates smoothly and prevents future blockages.
Reassembling the Washing Machine
After cleaning, reconnect the valve and hoses securely. Make sure all clamps and seals are tight to prevent leaks. Reattach any panels or covers you removed earlier. Once the machine is reassembled, plug it back in and turn on the water supply.
Run a short rinse or spin cycle without any clothes to test the drainage. Watch closely to see if the water flows out smoothly and the machine completes the cycle without stopping or displaying error codes. If the water drains quickly and efficiently, you’ve successfully cleaned the valve.
Preventive Maintenance for Long-Term Efficiency
Cleaning the drain valve once doesn’t guarantee that the issue won’t reappear. Regular maintenance is the best way to keep your washing machine in top condition. Here are some habits that can prevent future clogging and drainage problems:
Use the recommended amount of detergent. Excess detergent creates more residue that can stick to internal parts, including the valve. Always follow the manufacturer’s dosage instructions based on load size and water hardness.
Avoid overloading your washer. Overloading causes poor rinsing and increases lint production, leading to faster buildup in the drain system.
Leave the washer door open after every wash to allow air circulation and prevent mold growth inside the drum and valve.
Run a monthly cleaning cycle using a washing machine cleaner or a natural mix of vinegar and baking soda. This helps break down soap scum, dirt, and bacteria that collect in the drainage system.
Inspect the drain hose and valve periodically. A quick check every few months can identify early signs of blockage before they become serious.
When to Replace the Drain Valve
Even with proper care, the drain valve can eventually wear out due to constant use and water exposure. If you continue to experience drainage problems even after multiple cleanings, the valve might be damaged. Signs of a faulty valve include continuous leaks, difficulty opening or closing, or visible cracks in the rubber seals.
In such cases, replacing the drain valve is often more practical than repeated cleaning attempts. Most replacement valves are affordable and can be installed with simple tools. However, if you’re unsure about disassembling your washer, consider hiring a qualified technician to handle the replacement safely.
Benefits of a Clean Drain Valve
Keeping the drain valve clean offers several benefits beyond proper drainage. First, it helps the washing machine run more efficiently. When the valve is clear, water flows freely, and the pump doesn’t have to work as hard, reducing energy consumption.
A clean drain valve also prevents foul odors. Stagnant water caused by blockages can produce unpleasant smells that cling to clothes. Regular cleaning ensures that dirty water exits completely after every cycle, leaving your laundry fresh.
Moreover, a well-maintained drain system extends the lifespan of the washing machine. Clogs can cause the motor and pump to overwork, leading to wear and tear. By maintaining a clean valve, you protect these costly components from unnecessary strain.
The Importance of Regular Washing Machine Care
Many homeowners focus on cleaning the drum or detergent drawer but overlook the drainage components. However, the drain valve and pump are just as important, as they ensure the machine completes every wash efficiently. Regular maintenance not only saves you from unexpected breakdowns but also keeps your appliance performing like new.
Simple steps like cleaning the valve, using the right detergent, and avoiding overloads can prevent most common washing machine problems. Regular upkeep also saves water, energy, and repair costs.