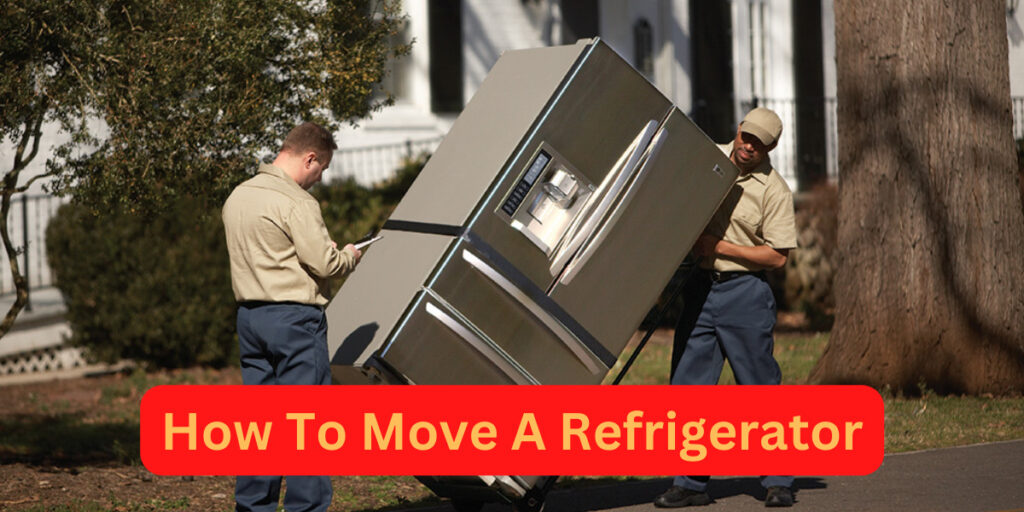
Whether you’re moving into a new home or just need to rearrange your appliances, knowing how to move a refrigerator is essential. This guide will walk you through the steps of properly and safely moving your fridge, so you can avoid any costly damages.
Unplug the fridge and clean it out
Unplug the fridge and clean it out:
- Remove all food and shelves from the fridge, and discard any expired or spoiled items.
- Wash the shelves and drawers with warm, soapy water, then rinse and dry them thoroughly.
- vacuum the coils at the back of the fridge (if accessible) to remove dust and debris.
- Wipe down the exterior of the fridge with a damp cloth, then polish with a dry cloth to remove fingerprints or smudges.

Looking For a Refrigerator Repair Service in UAE?
Looking for a reliable and affordable Refrigerator repair service in UAE? Look no further than Albarouda.ae! Our team of experienced and qualified technicians are experts in repairing all types of ovens, from small to large, including traditional ovens and ovens with electronic controls.
We also offer a range of other home appliance repair services, such as refrigerator repair, dishwasher repair, washing machine repair, air conditioner repair and more. So if you’re looking for a trusted and reliable source for oven and all home appliances repairs in UAE, visit Albarouda.ae today!
Remove all the food and store it in a cooler
If you are going to be moving your refrigerator, it is important to remove all of the food from it beforehand. This includes taking everything out of the fridge, as well as anything that may be stored in the freezer. Once all of the food is removed, it should be stored in a cooler. This will help to keep it fresh and prevent it from spoiling during the move.
Take out the drawers and shelves
You will need to take out the drawers and shelves before you can move your refrigerator. To do this, first unscrew the shelves from the inside of the fridge. There are usually two screws on each side that hold the shelf in place. Once the screws are removed, you can pull the shelves out. Next, remove the drawers by pulling them straight out. You may need to wiggle them a bit to get them unstuck. Finally, unscrew the door from the fridge and set it aside.
Disconnect the water line
Before you can move your refrigerator, you need to disconnect the water line that supplies it with fresh water. To do this, locate the valve behind your refrigerator and turn it off. Then, use a wrench to loosen the connection between the valve and the water line. Once you’ve done this, you can proceed with moving your refrigerator.
Tip the fridge on its side and roll it to its new location
If you’re moving a refrigerator, one of the best ways to get it to its new location is to tip it on its side and roll it. This will help you avoid damaging the fridge or your floors, and it will make the move much easier overall. Here’s how to do it:
1. First, unplug the fridge and empty it out completely. You don’t want anything spilling during the move!
2. Next, find something sturdy that you can use to prop up one side of the fridge. A couple of boxes or books should do the trick.
3. Carefully tip the fridge onto its side, being careful not to damage any of the doors or shelving inside.
4. Once the fridge is on its side, start rolling it towards its new location. If you need to go down any stairs, be extra careful not to drop or damage the fridge.
5. When you get to the new location, carefully tip the fridge upright again and plug it in. Then restock it with all of your food and drinks!
Reconnect the water line and plug in the fridge
1. Unscrew the water line from the back of the fridge.
2. Use a wrench to loosen the nut that secures the water line to the fridge.
3. Pull the water line out of the fridge.
4. Cut the new water line to size and screw it into place.
5. Reconnect the water line to the back of the fridge and turn on the water supply.
6. Plug in the fridge and turn it on.
Put the shelves and drawers back in
Assuming you have already unplugged and emptied your fridge, it’s time to move it back into its rightful place. If you’re moving the fridge by yourself, be sure to lift with your legs and not your back. Have someone available to help you if possible.
Now that the fridge is in its new home, it’s time to reconnect all the shelves and drawers. Make sure everything is securely in place before plugging the fridge back in and turning it on.


